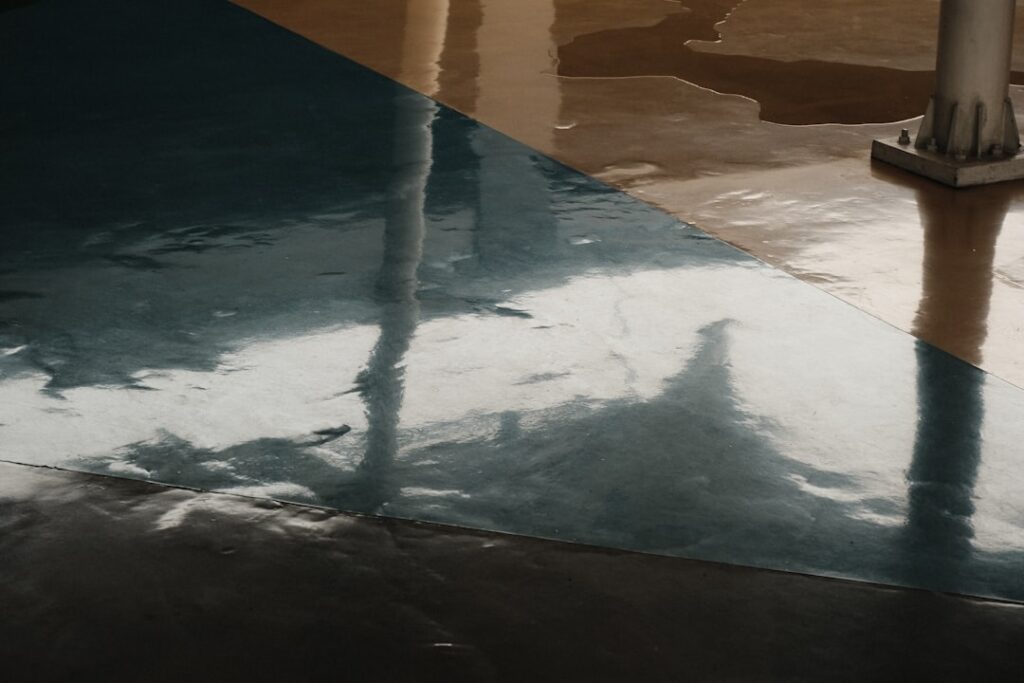
When ordinary strippers fail against a stubborn garage-floor coating, homeowners reach for a heavy hitter, and Jasco Premium Paint and Epoxy Remover is one of the best known. Formulated to cut through cured epoxy, urethane, elastomeric paint, and layered latex or oil coatings, Jasco Premium Paint and Epoxy Remover tackles the finishes that shrug off milder products, which is exactly why it demands careful handling and the right technique.
- What This Remover Is Made to Do
- Where You Can and Cannot Use It
- Safety First: Ventilation and Protection
- Step-by-Step Application
- Coverage, Dwell Time, and Realistic Expectations
- Cleanup and Preparing for Refinishing
- Disposal and Final Thoughts
- Common Mistakes to Avoid
- Comparing Chemical Stripping to Other Methods
- Storage and Shelf Life
This guide explains what the product does, how to apply it safely, realistic dwell times and coverage, and how to get a clean substrate ready for a fresh coating.
What This Remover Is Made to Do
This is a professional-strength, semi-paste stripper engineered for the toughest coatings a homeowner is likely to meet. Where a general-purpose remover targets a couple layers of house paint, this formula is built to soften and lift cured two-part epoxy, polyurethane, varnish, shellac, and multiple stacked layers of latex and oil-based paint in a single application.
The semi-paste consistency lets it cling to vertical and overhead surfaces long enough to work, so it is not limited to floors. Common jobs include stripping a failed garage-floor epoxy, removing old deck or porch paint, and clearing coatings from concrete, wood, and metal before refinishing.
Where You Can and Cannot Use It
Aggressive chemistry means surface compatibility matters. The remover performs well on concrete, masonry, bare metal, and most hardwoods. It is not appropriate for many plastics, fiberglass, or thin veneers, where the solvents can etch, cloud, or dissolve the material itself.
- Good candidates: concrete slabs, brick, cured epoxy garage floors, solid-wood decks, and metal railings.
- Test first: engineered wood, delicate antiques, and any painted plastic trim.
- Avoid: fiberglass tubs, acrylic panels, and vinyl or rubber flooring, which the formula can attack.
Always run a small test patch in an inconspicuous spot before committing to a whole floor. Wait the full dwell time on the patch to confirm the coating lifts and the substrate stays unharmed.
Safety First: Ventilation and Protection
Powerful strippers carry real hazards, and this one is no exception. The fumes are strong, so work outdoors when possible or open every window and run a fan for cross-ventilation indoors. A garage door alone rarely provides enough air exchange.
Gear up before you open the can. Wear chemical-resistant gloves rated for solvents (nitrile household gloves are not enough), splash goggles, long sleeves, and a properly fitted organic-vapor respirator, not a dust mask. Keep the product off skin; it can cause chemical burns on contact. Extinguish pilot lights and remove ignition sources, and never smoke nearby. Read the current product label and safety data sheet, because formulations and precautions can change over time.
Step-by-Step Application
Technique determines whether the coating lifts cleanly or turns into a gummy mess. Work in manageable sections rather than flooding an entire floor at once.
- Clean the surface of loose dirt and grease so the remover contacts the coating directly.
- Stir gently and apply a thick, even layer with an old natural-bristle brush, laying it in one direction and not brushing back and forth, which breaks the surface film that slows evaporation.
- Let it dwell undisturbed. Thin paint may lift in 15 to 30 minutes; thick epoxy can need several hours. Watch for the coating to bubble, wrinkle, or soften.
- Scrape the softened coating with a plastic or metal putty knife, working with the grain on wood.
- Reapply to any spots that did not release fully; multiple applications are normal on heavy epoxy builds.
Do not let the product dry out on the surface. If it starts to skin over before the coating softens, a light second application over the first can re-activate it.
Coverage, Dwell Time, and Realistic Expectations
Coverage varies with how thick you apply and how porous the surface is, but plan for roughly 40 to 75 square feet per gallon on a single heavy coat. Rough concrete drinks more product than smooth wood, so buy extra for masonry jobs.
Set realistic expectations on timing. A single coat of old porch paint may surrender in half an hour, but a fully cured, high-build epoxy garage floor can demand two or three applications and a total working time measured in hours. Rushing the scrape before the coating has fully softened just smears it and doubles your labor. Cooler temperatures slow the chemistry, so working between 65 and 85 degrees Fahrenheit gives the most predictable results.
Cleanup and Preparing for Refinishing
After scraping, the surface still holds chemical residue that will sabotage a new coating if left behind. Neutralize and clean according to the label, which typically means scrubbing with water or a recommended cleaner and rinsing thoroughly. Collect the scraped sludge into a metal container rather than letting it dry on newspaper, where solvent-soaked material can pose a fire risk.
Let the substrate dry completely before you recoat. On concrete, that can mean 24 to 72 hours depending on humidity, and a moisture test is wise before applying new epoxy. Sand bare wood lightly to knock down raised grain, then wipe clean. Only when the surface is fully stripped, neutralized, and dry should you prime or apply your new finish.
Disposal and Final Thoughts
Never pour stripper residue down a drain or onto soil. Let rags and sludge cure in a sealed metal container or dispose of them through a local hazardous-waste program; check your municipality’s guidelines. Store any leftover product tightly sealed, away from heat and out of reach of children and pets.
Used with proper ventilation, protective gear, and patience, Jasco Premium Paint and Epoxy Remover strips coatings that defeat weaker products and leaves a clean canvas for refinishing. Respect the chemistry, work in sections, and give it the dwell time it needs, and even a failed epoxy garage floor becomes a manageable weekend restoration rather than a demolition job.
Common Mistakes to Avoid
Most disappointing results trace back to a handful of avoidable errors rather than a flaw in the product. Applying too thin a coat is the biggest one; a skimpy layer skins over and dries before it can penetrate a thick coating, so lay it on generously and resist the urge to brush it out smooth.
- Scraping too early: If the coating has not fully wrinkled or softened, you smear it instead of lifting it. Wait for the visual cues.
- Working in wind or direct sun: Both accelerate evaporation and shorten dwell time, leaving the stripper unable to finish the job.
- Skipping the neutralizing rinse: Residue left in concrete pores will keep your new coating from bonding, causing peeling weeks later.
- Reusing solvent-soaked rags: Piling them up is a genuine fire hazard; spread them to dry or seal them in a metal container.
Comparing Chemical Stripping to Other Methods
Chemical removal is not the only way to strip a floor, and it helps to know when it wins. Mechanical grinding with a diamond cup wheel or shot-blaster is faster on large, open concrete slabs and leaves a profiled surface ideal for new epoxy, but it throws silica dust and demands specialized equipment. Chemical stripping, by contrast, reaches corners, edges, and detailed trim that a grinder cannot, and it does not gouge softer substrates.
For a single garage bay or a wood porch, the chemical route usually makes more sense for a homeowner: lower equipment cost, no silica-dust exposure, and better results on intricate surfaces. For hundreds of square feet of bare slab, renting a floor grinder may save hours. Many pros combine the two, grinding the open field and using a chemical remover to clean the perimeter and any coating the grinder skipped.
Storage and Shelf Life
Get the most from a partly used can by storing it correctly. Seal the lid tightly to prevent the solvents from flashing off, which thickens the remaining product and weakens its stripping power. Keep it in a cool, dry spot away from direct sunlight, furnaces, water heaters, and any open flame, and well out of reach of children and pets. Stored properly, an opened can typically stays effective for a year or more; if the contents have hardened or separated badly, replace it rather than fighting a degraded batch.