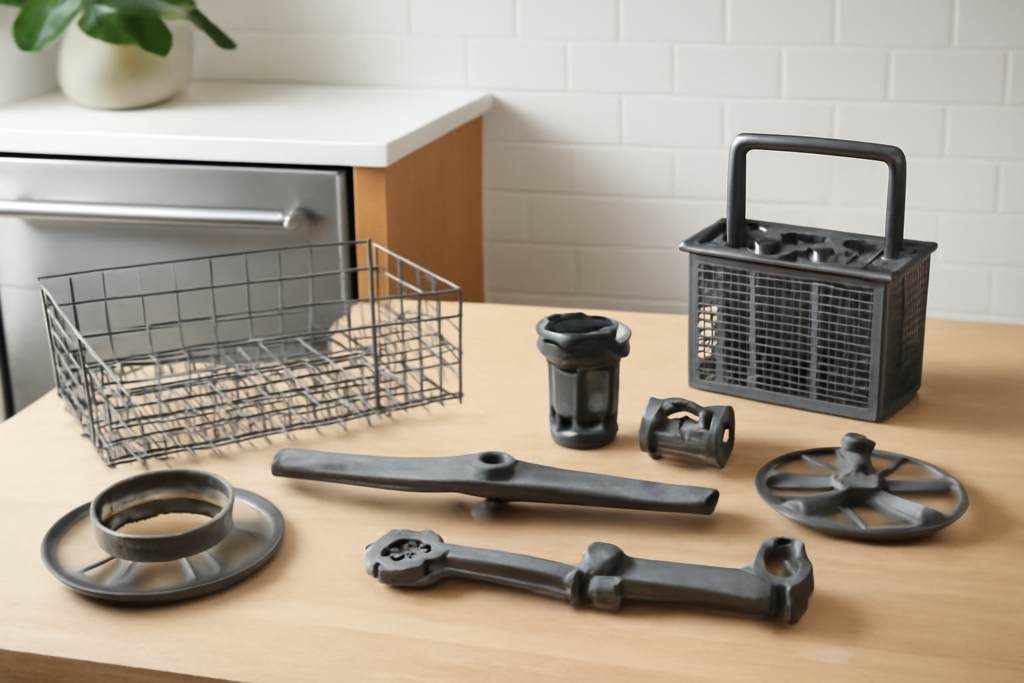
When a KitchenAid stops cleaning, drying, or draining right, the fix almost always comes down to one component — and knowing your kitchen aid dishwasher parts is what separates a $30 weekend repair from a $250 service call. These machines are built well, but every one of them wears the same handful of parts: spray arms clog, filters gum up, door seals crack, and drain pumps seize. Once you can name the part and read a model number, ordering the right piece is easy.
- Find Your Model and Part Numbers First
- Spray Arms and Wash System
- Filters and Drainage Parts
- Racks, Rollers, and Tines
- Door Parts and Seals
- Electrical and Control Parts
- OEM vs. Aftermarket: When Each Makes Sense
- Which Parts Fail First
- Tools You’ll Need for Most Swaps
- Where to Buy and What to Have Ready
Before you touch anything, cut the power. Unplug the dishwasher or flip its breaker, and shut the water supply valve under the sink. A dishwasher runs on 120 volts and holds standing water — respect both. With that done, here’s the full rundown of the parts inside your machine, what they cost, and how to know which one has failed.
Find Your Model and Part Numbers First
Every accurate parts order starts with the model number. On a KitchenAid dishwasher, it’s on a sticker along the top edge or side of the door, visible when the door is open. It usually starts with “KD” (older) or “KDTM,” “KDFE,” “KDPM,” and similar codes on newer units. Write down the full model and serial number.
KitchenAid is a Whirlpool brand, so parts cross-reference through Whirlpool’s system. Genuine part numbers often start with “W” followed by 8 digits (for example, W10350376 for a common upper rack, or W11412394 for a newer chopper assembly). Punch your model number into a parts site and it filters to only the components that fit — that’s the surest way to avoid ordering a spray arm that won’t seat.
Spray Arms and Wash System
If dishes come out gritty or with food stuck on, the spray arms are the first suspect. Most KitchenAid units have three: a lower arm, a middle arm under the upper rack, and an upper wash manifold or third-level sprayer. The tiny jets clog with mineral scale and food debris, killing water pressure and coverage.
- Lower spray arm: $25-$60. Pops off with a quarter-turn or a single nut. Soak it in vinegar and clear the jets with a toothpick before you replace it — often that’s all it needs.
- Upper spray arm/manifold: $30-$75. Feeds off a water tube at the back wall; check that tube for cracks too.
- Chopper/impeller assembly: $30-$90. Grinds food so it can drain. A grinding noise or standing water with food debris points here.
Filters and Drainage Parts
Modern KitchenAid dishwashers use a two-piece filter system at the bottom of the tub, and a clogged filter is the single most common cause of poor cleaning and odor. It should be pulled and rinsed monthly — most people never touch it.
- Filter assembly (upper mesh + lower cylinder): $20-$50. Twist to unlock, lift out, rinse under the tap. Replace it if the mesh is torn.
- Drain pump: $50-$130. If the machine won’t drain and you hear a hum but no water movement, the pump motor is likely seized or jammed with glass or a fruit pit.
- Drain hose: $15-$40. Kinks or clogs here cause standing water; check the connection at the garbage disposal or sink tailpiece too.
- Check valve/flapper: $10-$25. A worn valve lets drained water flow back into the tub.
Racks, Rollers, and Tines
Nothing dates a dishwasher faster than a rusty, sagging rack. The vinyl coating chips, exposing steel that rusts and stains dishes, and the little wheels crack so the rack won’t roll.
- Upper rack assembly: $60-$160. Pricey as a whole unit — often you only need the parts below.
- Rack adjuster kit (positioner): $30-$70. If your upper rack won’t hold its height or tilts, this is the fix.
- Rack rollers/wheels: $8-$25 for a set. Cheap and quick — clip the old ones off, snap new ones on.
- Tine clip repair kit: $10-$20. Snaps over broken tines to save a rack that’s otherwise fine.
- Silverware basket: $20-$45.
Before buying a whole $150 rack, price the adjusters, wheels, and tine caps. Nine times out of ten, $25 in small parts restores a rack that looked done for.
Door Parts and Seals
Leaks around the door almost always trace to a hardened gasket or a broken door spring. If water pools on the floor in front of the machine, start here.
- Door gasket/tub seal: $20-$55. Old seals go stiff and stop sealing. The new one presses into a channel around the tub opening — no tools beyond patience.
- Door latch assembly: $25-$70. If the machine won’t start, a failed latch (or its switch) often stops the cycle from beginning.
- Door spring and cable kit: $20-$50. When the door drops open like a trapdoor instead of easing down, a cable has snapped. Replace both sides.
- Door hinge: $25-$60.
- Vent/fan assembly: $30-$80. A dishwasher that leaves dishes wet may have a failed vent that won’t release humid air.
Electrical and Control Parts
These are the trickier repairs, and where a persistent problem might justify a technician. Still, the parts themselves are straightforward to identify.
- Control board: $80-$220. Blank display, random shutoffs, or cycles that won’t advance. Confirm with a wiring diagram before buying — it’s the most expensive common part.
- Heating element: $30-$90. If dishes never dry and water doesn’t heat, test the element for continuity with a multimeter first.
- Water inlet valve: $25-$60. No water filling, or the machine won’t stop filling, points to a stuck inlet valve.
- Float switch: $15-$35. A stuck float makes the machine think it’s full and refuse to fill.
- Thermistor/temperature sensor: $15-$40.
OEM vs. Aftermarket: When Each Makes Sense
Genuine KitchenAid (Whirlpool) parts cost more but guarantee fit and hold up. For anything electrical or precision — control boards, inlet valves, pumps — I stick with OEM. For consumables like rack wheels, tine clips, and filters, quality aftermarket parts are fine and can save half the price. Just match the exact part number, because KitchenAid revised many components mid-production and a superseded number won’t seat correctly.
Which Parts Fail First
Across the life of a typical KitchenAid, the wear order is predictable: filters and spray arms clog within the first few years (cleaning, not replacing, fixes most of it), rack wheels and tines crack around years 5 to 8, door gaskets harden and the drain pump weakens around years 7 to 10, and control boards fail last, if at all. Knowing that order tells you where to look when performance drops — and reminds you that a monthly filter rinse and periodic vinegar cycle prevent a surprising share of “broken dishwasher” calls.
Tools You’ll Need for Most Swaps
You won’t need a specialized kit for the majority of these jobs. Keep a Phillips and a flat screwdriver, a T15 and T20 Torx driver (KitchenAid uses Torx on many panels), a quarter-inch nut driver, and a pair of needle-nose pliers on the bench. For any electrical diagnosis — heating element, inlet valve, thermistor, control board — a basic multimeter that reads continuity and resistance settles the question of whether a part is actually dead before you spend money. A cheap $25 meter pays for itself the first time it tells you the heating element is fine and the real problem is the control board.
Two habits save grief. Photograph the wiring before you disconnect anything, so you can put every lead back exactly where it came from. And keep a shallow towel and a turkey baster handy — pulling a pump or inlet valve almost always spills the water sitting in the sump, and mopping it up beats it running under the cabinet.
Where to Buy and What to Have Ready
Order from Whirlpool’s parts site, established appliance-parts retailers, or the marketplace listings that let you search by model number. Have three things in hand before you order: the full model number, the OEM part number from your model’s diagram, and a photo of the old part next to a ruler. That combination eliminates the wrong-part returns that stretch a one-day repair into a two-week one.
Sorting out kitchen aid dishwasher parts is mostly a matter of naming the failure and matching a number. Cut the power and water, pull the suspect part, read its number, and order the exact match. Most of these repairs take 20 to 45 minutes and a screwdriver — and they’ll add years to a dishwasher that’s genuinely worth keeping.