
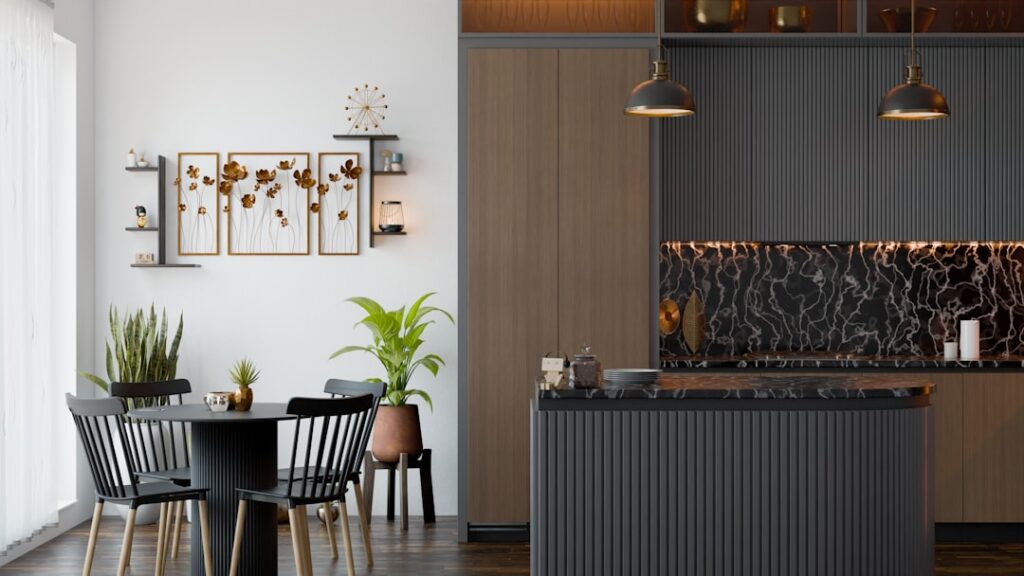
Face-frame or frameless, the choice you make on the very first drawing determines how every door, drawer, and hinge behaves for the next 20 years. That is why solid kitchen cabinet plans start with construction style and standard dimensions, not with a pretty rendering. Building your own cabinets can cut costs by half compared with stock units and by 70 percent versus custom, while giving you exactly the sizes your space demands. This guide walks through the numbers, materials, and steps that turn a sketch into cabinets that actually fit and function.
Standard Dimensions to Build Around
Cabinets follow industry-standard sizes for a reason: appliances, countertops, and hardware are all engineered to match them. Deviate without cause and you create fitment headaches later. Any set of kitchen cabinet plans should begin from these baseline numbers.
- Base cabinets: 34.5 inches tall (36 inches with countertop), 24 inches deep
- Wall cabinets: 12 to 15 inches deep, 30 to 42 inches tall
- Toe kick: 4 inches high, 3 inches deep recess at the floor
- Countertop overhang: 1 inch past the cabinet face
- Standard widths: 12 to 36 inches in 3-inch increments
Keep at least 18 inches of wall-cabinet clearance above the countertop, and 30 inches above a cooktop or range for safety.
Face-Frame vs. Frameless Construction
The two building philosophies differ in how the doors mount and how much of the box you see. Face-frame cabinets attach a solid wood frame to the front of the box, giving a traditional look and a sturdy mounting surface for hinges. Frameless, or European-style, cabinets skip the frame so doors cover the entire box edge, maximizing interior access and a clean modern line.
Face-frame is more forgiving for a first-time builder because the frame hides small box imperfections. Frameless demands more precise cuts since there is no frame to cover a gap. Choose based on your tools, your skill, and the look you want.
Choosing Materials and a Cut List
Most DIY cabinet boxes are built from 3/4-inch plywood, which holds screws well and resists sagging on wide spans. Birch and maple plywood offer smooth, paintable faces; oak gives visible grain for a stained look. Reserve MDF for painted doors and panels where a dead-flat surface matters.
Before cutting, translate your drawing into a cut list that names every part, its dimensions, and its quantity. A basic 24-inch base cabinet, for example, breaks down into:
- Two side panels: 23.25 x 34.5 inches
- One bottom panel: 22.5 x 22.5 inches
- Two stretchers (top front and back): 22.5 x 4 inches
- One back panel: 22.5 x 30.5 inches (1/4-inch plywood)
- Face frame or door and drawer fronts sized to the opening
Building the Cabinet Box
With parts cut, assembly is a repeatable rhythm. Accurate, square boxes are the foundation of good kitchen cabinet plans, so check for square at every stage rather than at the end.
- Cut a dado or rabbet near the bottom of each side panel to house the bottom, or use pocket screws for a simpler joint.
- Join the sides to the bottom and top stretchers with glue and pocket screws, checking diagonals to confirm the box is square.
- Glue and nail the 1/4-inch back panel into a rabbet; the back panel is what keeps the box from racking.
- Attach the face frame with glue and clamps, or install door hinges directly on a frameless box.
- Sand, prime, and finish before hanging doors and drawers.
Doors, Drawers, and Hardware
Shaker doors are the most beginner-friendly to build: a flat center panel captured in four rails and stiles. For drawers, half-inch plywood boxes on full-extension soft-close slides feel far more premium than the effort suggests. Concealed European hinges allow easy three-way adjustment so you can align doors perfectly after hanging.
Budget roughly $15 to $40 per pair for quality hinges and $20 to $35 per pair for good drawer slides. Skimping here is the fastest way to make handmade cabinets feel cheap.
Finishing for a Durable Surface
The finish protects your work from the steam, grease, and moisture a kitchen throws at it, so do not rush this stage. For painted cabinets, prime with a bonding primer, then apply two coats of a hard-drying enamel or a water-based alkyd; these level out to a smooth, wipeable surface that resists chips far better than standard wall paint. Sand lightly between coats with 220-grit paper for a glass-smooth result.
For stained cabinets, seal the wood with a conditioner first so the stain absorbs evenly, then topcoat with two or three coats of polyurethane or a catalyzed lacquer. Pay special attention to the exposed end panels and the area around the sink and dishwasher, where water exposure is highest. A spray finish gives the most professional look, but a quality foam roller and brush produce excellent results for a first-time builder willing to take the time.
Planning the Whole Kitchen
Individual boxes are only half the job; the layout ties them together. Lay out your run on graph paper or free design software, respecting the work triangle between sink, stove, and refrigerator and leaving 42 to 48 inches of aisle space. Account for filler strips at walls and corners, since real rooms are never perfectly square.
Order your appliances first and build the cabinets around their exact specifications, especially the range and dishwasher openings. Well-thought-out kitchen cabinet plans reward you twice: once in the money you save building instead of buying, and again every day you use a kitchen sized precisely to your space and habits.


