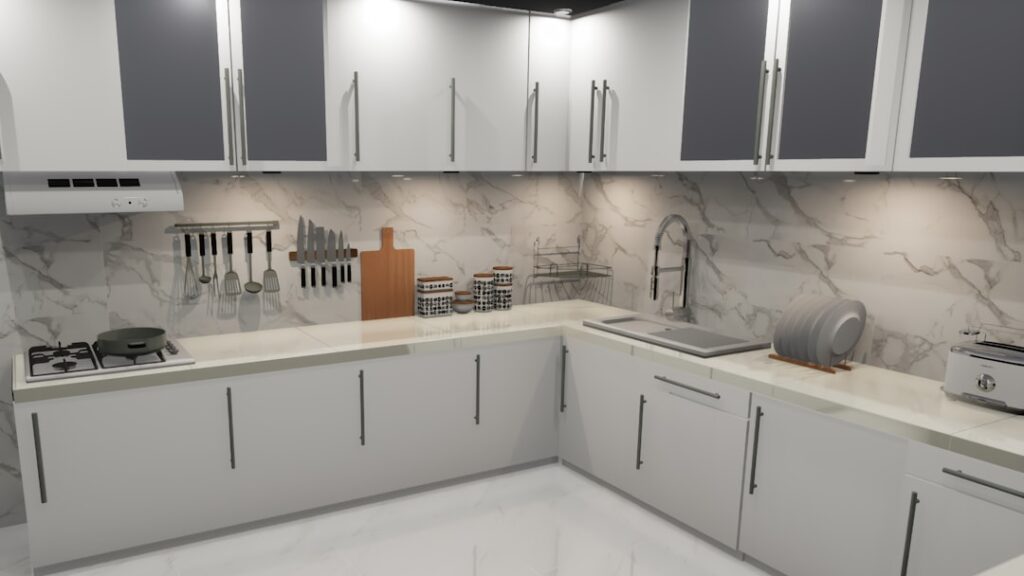
An island is the workhorse of the modern kitchen, but cramming one into a space that cannot support it is the fastest way to ruin your kitchen’s flow. Successful kitchen design with island hinges on a single number: clearance. You need at least 36 inches, and ideally 42 to 48 inches, of walkway around every side. Get that wrong and even the most beautiful island becomes a daily obstacle you bump into while carrying a hot pan.
This guide covers sizing, clearances, function, and cost so you can plan an island that genuinely improves how your kitchen works.
Do You Have Room for an Island?
The rule of thumb is that your kitchen needs to be at least 13 feet wide to fit a standard island with proper clearances. A typical island measures 3 feet by 6 feet and requires that 36-inch minimum walkway on all sides, so do the math before you fall in love with a design.
For galley or narrow kitchens under 10 feet wide, a peninsula or a rolling cart often serves better than a fixed island. There is no shame in skipping the island if the geometry does not work; a cramped kitchen with an island is far worse than an open one without.
Sizing Your Island Correctly
A functional island starts at about 4 feet long and 2 feet deep, but the sweet spot for most homes is 6 to 7 feet long and 3 to 4 feet deep. Anything wider than 4 feet becomes hard to reach across, so very large islands often combine a working depth on one side with seating on the other.
Standard counter height is 36 inches, which works for prep and pairs with 24-inch counter stools. If you want a raised bar, build the seating section to 42 inches and use 30-inch stools. Keep the island under 10 feet long, or break it into two pieces, to avoid an oversized slab that dominates the room.
Planning Clearances and Traffic Flow
Clearance is non-negotiable. Maintain a minimum of 42 inches between the island and surrounding cabinets in a one-cook kitchen, and 48 inches if two people cook simultaneously or if appliance doors swing into the aisle. Measure with the dishwasher and oven doors open, not closed.
Also plan the work triangle. The sink, range, and refrigerator should form a triangle with each leg between 4 and 9 feet. An island works best when it sits inside or just beside that triangle rather than blocking a leg of it.
Choosing the Island’s Function
Decide what the island is for before picking finishes. Common configurations include:
- Prep and storage: Solid counter with deep drawers and cabinets below. The simplest and most affordable.
- Seating hub: A 12-inch counter overhang to fit knees, seating two to four stools.
- Cooking island: Houses a cooktop or range, which requires running gas or electrical and adding ventilation.
- Cleanup station: Includes the sink and dishwasher, which means plumbing runs to the island.
Adding plumbing or electrical to an island raises cost significantly, so weigh whether the convenience justifies the trenching through your subfloor.
Countertop and Material Choices
Because the island is a focal point, many homeowners splurge here. Quartz runs $50 to $120 per square foot installed and resists stains without sealing. Granite ($40 to $100) and butcher block ($30 to $70) are popular alternatives, and a waterfall edge, where the countertop cascades down the sides, adds a high-end look but increases material cost by 30 to 50 percent.
A common designer move is contrasting the island with the perimeter cabinets, such as a navy or deep green island against white surrounding cabinetry. It anchors the room and lets the island stand out.
Storage and Outlet Details
Maximize the island’s volume with a mix of deep drawers (better than cabinets for pots and pans), a pull-out trash and recycling cabinet, and open shelving on the ends for cookbooks. Electrical code in most areas requires at least one outlet on any island over 12 square feet, so plan pop-up or side-mounted outlets for small appliances and phone charging.
Pendant lighting completes the look. Hang two or three pendants centered over the island, with the bottom of each fixture 30 to 36 inches above the countertop and spaced evenly along the length.
Budgeting Your Island Project
A basic prefab or stock-cabinet island can come in around $3,000 to $5,000 installed. A custom island with premium quartz, seating, and storage typically runs $6,000 to $10,000, and adding a sink, cooktop, plumbing, and electrical can push a full kitchen design with island toward $12,000 or more.
Start with clearances, lock in the function, then choose materials within your budget. A well-planned island pays you back every single day in prep space, storage, and the way it pulls the whole kitchen together.
Island Shapes and Configurations
Most islands are simple rectangles, but the shape can be tailored to your space and workflow. An L-shaped island wraps around a corner and creates a defined seating wing, ideal for open-concept kitchens that flow into a living area. A two-tier island sets a lower 36-inch prep surface beside a raised 42-inch bar, hiding kitchen mess from guests seated on the other side.
For very large kitchens, a double-island layout, one for prep and cooking, one for cleanup and seating, is increasingly popular, though it demands at least 15 to 18 feet of width to maintain clearances. Match the shape to how you actually cook and entertain rather than defaulting to a plain rectangle.
Putting a range or cooktop in the island looks dramatic but introduces a ventilation challenge, because there is no wall behind it for a standard hood. Your options are an island hood that drops from the ceiling, which must be sized about 6 inches wider than the cooktop on each side, or a downdraft vent that rises from behind the burners.
Island hoods vent more effectively but become a visual focal point, so choose a style you love. Downdraft units preserve sightlines but generally pull less effectively, especially for tall stockpots. Either way, plan the ductwork early, as routing it through the floor or ceiling significantly affects the install budget and timeline.
A few errors derail otherwise good island plans. The most frequent is forcing an island into a kitchen that is too small, which violates clearances and chokes traffic. Close behind is oversizing the island so far that the center becomes unreachable for cleaning, or skimping on the seating overhang, since stools need at least 12 inches of knee clearance to be usable.
Other pitfalls include forgetting electrical outlets, placing the island so it blocks an appliance door or a leg of the work triangle, and underestimating the cost of adding plumbing or gas. Plan clearances, function, and utilities up front, and your kitchen design with island will work beautifully for years instead of becoming a daily frustration.