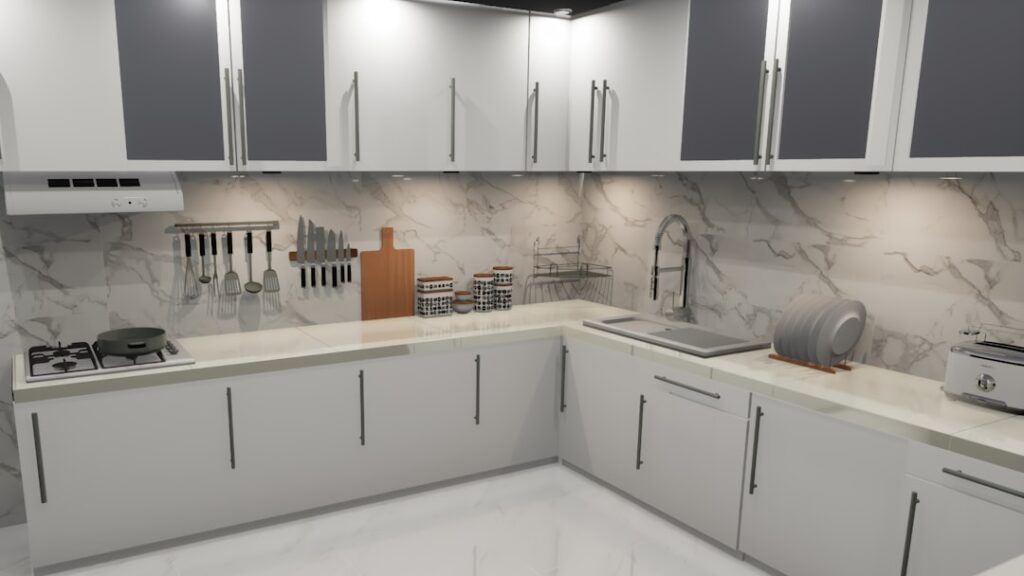
The kitchen floor takes more abuse than any other surface in the house, absorbing dropped pans, spilled water, foot traffic, and the occasional dishwasher leak. When tiles crack, vinyl peels, or old hardwood swells, a kitchen floor replacement is one of the highest-return projects you can tackle, both for daily livability and resale value. Done right, a new kitchen floor lasts 15 to 30 years and transforms how the whole room feels. The key is matching the right material to your budget, your subfloor, and how much wear the space sees.
What a Kitchen Floor Replacement Costs
Total cost depends mostly on the material and whether you DIY or hire out. For a typical 200-square-foot kitchen, here are realistic ranges including materials and professional installation:
- Sheet vinyl: $3 to $7 per sq ft installed, or $600 to $1,400.
- Luxury vinyl plank (LVP): $5 to $10 per sq ft, or $1,000 to $2,000.
- Laminate: $4 to $9 per sq ft, or $800 to $1,800.
- Ceramic or porcelain tile: $9 to $18 per sq ft, or $1,800 to $3,600.
- Engineered hardwood: $10 to $20 per sq ft, or $2,000 to $4,000.
Add $1 to $3 per square foot if the old floor needs demolition and haul-away, and budget another $300 to $800 if the subfloor requires repair.
While you’re upgrading the kitchen floor, it might be a good time to rethink the seating too. Swapping out old bar stools is one of those small changes that makes the whole room feel more pulled together.
We may earn a commission when you purchase through our links.
Best Flooring Options for a Kitchen
The kitchen demands a floor that shrugs off water, stains, and dropped objects. The strongest performers:
- Luxury vinyl plank: The most popular choice today. Fully waterproof, comfortable underfoot, easy to install, and convincingly mimics wood or stone.
- Porcelain tile: Nearly indestructible and waterproof, ideal for busy households, though it is hard and cold without radiant heat.
- Engineered hardwood: Warm and high-end looking, more stable against moisture than solid wood, but still not for households prone to spills.
- Laminate: Budget-friendly and scratch-resistant, but choose a waterproof-rated product for the kitchen.
Solid hardwood and carpet are generally poor kitchen choices because of moisture and stains.
Assess the Subfloor First
Before any new flooring goes down, the subfloor has to be sound, flat, and dry. Pull up a section of the old floor and inspect for soft spots, water damage, or rot, especially near the dishwasher, sink, and refrigerator water line. The subfloor should be flat within 3/16 inch over 10 feet for most click-together products. High spots get sanded; low spots get filled with self-leveling compound. For tile, you will typically need a cement backer board or an uncoupling membrane like Schluter Ditra to prevent cracking.
The Replacement Process Step by Step
Whether you hire a pro or DIY, the project follows the same sequence:
- Clear the room. Remove furniture and, ideally, the appliances. Disconnect the dishwasher and gas or water lines as needed.
- Demo the old floor. Pry up old material and scrape off adhesive or thinset down to the subfloor.
- Prep the subfloor. Repair, level, and clean it. Add underlayment or backer board for the new material.
- Acclimate the flooring. Let wood, laminate, and LVP sit in the room 48 hours to adjust to humidity.
- Install from a straight reference line. Stagger seams and leave a 1/4-inch expansion gap at the walls.
- Finish. Reinstall baseboards or quarter-round, transitions, and appliances.
Should You Replace Under the Cabinets?
This is the question every renovator faces. If you are keeping your existing cabinets, the floor is typically installed up to the toe-kick, not underneath. If you are also replacing cabinets, install the new cabinets first, then floor up to them, or “floor first” only when using a floating floor that needs room to expand. Going wall to wall under cabinets costs more material but makes future cabinet changes easier. For most refacing-only kitchens, butting the new floor to the existing cabinets is the practical, cost-effective approach.
DIY vs Hiring a Pro
Floating floors like LVP, laminate, and click-engineered wood are realistic DIY projects for a confident homeowner, and doing it yourself can cut the cost by 40 to 60 percent. Tile, on the other hand, is far less forgiving. Thinset, layout, leveling, and grout all require skill, and a mistake is expensive to fix. If you are tackling tile or your subfloor needs structural repair, hiring an experienced installer is money well spent.
Matching the Floor to Your Kitchen Style
Beyond durability, the look should fit your kitchen and the rest of your home. A few pointers that experienced installers rely on:
- Run planks the long direction of the room or toward the main light source to make a galley kitchen feel larger.
- Large-format tile (12×24 or bigger) means fewer grout lines, which reads cleaner and is easier to mop in a busy kitchen.
- Wood-look LVP in a wide plank ties an open-concept kitchen seamlessly into adjoining living spaces for a continuous flow.
- Mid-tone colors hide crumbs, pet hair, and the inevitable scuffs far better than very dark or very light floors, which show everything.
Common Mistakes to Avoid
A handful of errors account for most kitchen flooring failures. Skipping the acclimation step on wood and laminate leads to buckling or gapping after installation, since the planks expand and contract with the room’s humidity. Forgetting the expansion gap at the walls causes floating floors to buckle as they grow. Installing over an uneven subfloor telegraphs every dip and bump and can crack tile or stress plank joints. And choosing a non-waterproof laminate for a kitchen is asking for swollen, ruined seams the first time the dishwasher overflows. Prep the subfloor properly, respect the manufacturer’s instructions, and pick a waterproof-rated product, and you avoid nearly every callback.
Timeline and Final Tips
A straightforward LVP or laminate replacement in a 200-square-foot kitchen takes one to two days. Tile runs three to four days because thinset and grout need curing time between steps. Always order 10 percent extra material for cuts, waste, and future repairs. Keep a few spare planks or tiles in the garage. With the right material and a properly prepped subfloor, a kitchen floor replacement pays you back in durability, easier cleaning, and a noticeably fresher-looking heart of the home.
Prefer to explore on your own?
See how new flooring looks in your actual room in seconds — free, no signup.
Try the free Floor Studio →