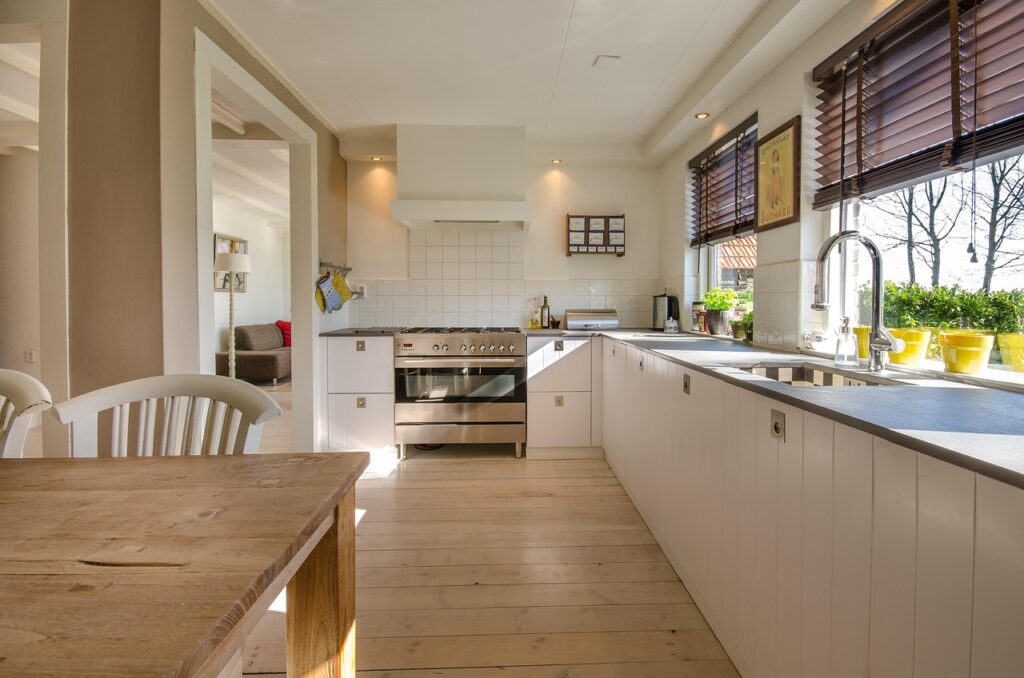
The single most-requested feature in kitchen remodels for the past 15 years has been an island, and the single biggest reason new islands frustrate homeowners is wrong sizing. Drop a 4-foot island into a 12-foot kitchen and you have blocked the work triangle. Build a 10-foot island into a 20-foot kitchen with no electrical and no overhang for stools and you have built a very expensive table. Good kitchen island plans start with three numbers — clearance, dimensions, and function — long before any cabinet style decisions.
Minimum Clearances You Cannot Negotiate
The National Kitchen and Bath Association recommends 42 inches of clearance between the island and any opposing counter, range, or wall. For kitchens with two cooks or where appliance doors will swing into the aisle, that minimum jumps to 48 inches.
Anything less than 36 inches is unworkable in daily use. Dishwashers and oven doors will not open fully, two adults cannot pass without stepping aside, and the kitchen feels permanently cramped. If your floor plan does not allow at least 42 inches on all approached sides, an island is the wrong solution. Consider a peninsula instead.
Standard Island Dimensions
- Minimum useful island: 4 feet long by 2 feet deep (48 x 24 inches).
- Standard island: 6 to 8 feet long by 3 feet deep (72-96 x 36 inches).
- Large island with seating: 7 to 10 feet long by 4 feet deep (84-120 x 48 inches).
- Counter height: 36 inches standard, matching perimeter counters.
- Bar height: 42 inches if a raised seating bar is included.
Anything longer than 10 feet should be split into two islands or a galley arrangement. Long single runs become hard to walk around and create a wall in the middle of the kitchen.
Seating Layouts and Overhang Requirements
Counter-height seating needs 24-inch stools and 15 inches of countertop overhang on the seating side. Bar-height seating uses 30-inch stools and the same 15-inch overhang. For comfort, allow 24 inches of linear width per stool.
A 6-foot island with seating on one long side comfortably holds three stools. A 7-foot island holds three stools plus elbow room or four tight. An 8-foot island with seating wrapped around one corner can fit four to five stools.
Electrical and Plumbing Requirements
The 2026 NEC requires at least one receptacle on any kitchen island over 24 inches wide. The receptacle must be GFCI-protected and placed below the countertop edge or recessed pop-up style. Pop-up outlets like the Lew Electric PUR15 ($180) keep the island surface clean while staying code-compliant.
If the island includes a sink, dishwasher, or cooktop, you need supply lines and drainage routed through the floor. This usually requires cutting the slab in concrete construction or pulling joists in wood-framed floors. Plan for $800 to $2,500 in plumbing rough-in costs alone.
Function: Pick Two, Maybe Three
Trying to fit prep, cooking, eating, storage, and washing into one island leads to compromise everywhere. Pick the two most important functions for your household and design around them:
- Prep + storage: The simplest setup. Open counter space, cabinets and drawers below.
- Prep + seating: Most popular for families. Counter for prep on one side, overhang for stools on the other.
- Cooking + prep: Drop-in cooktop with storage for pots and pans below. Requires range hood overhead.
- Sink + dishwasher: Frees up perimeter counters for prep but commits to plumbing in the floor.
- Eating + display: Marble waterfall edges, decorative legs, less utility but a statement piece.
DIY Builds Under $1,500
For homeowners who want an island without a full kitchen remodel, a DIY base from stock cabinets and a butcher block top hits the sweet spot. Buy two 36-inch base cabinets from IKEA’s Sektion line ($200-300 each), a 6-foot butcher block top from Lumber Liquidators or IKEA ($200-400), plus electrical materials, casters or trim, and a stain or sealer.
Total material cost runs $700 to $1,400. Build time is one to two weekends. Add a power strip on a heavy-duty extension cord for electrical needs without permanent wiring, or hire an electrician for a proper recessed receptacle for $250 to $400.
Cabinet and Drawer Layout Tips
Drawers outperform cabinets on islands. Three large drawers in a stack hold pots, lids, and utensils far more efficiently than a single cabinet with a fixed shelf. Spend the extra $150 per cabinet for full-extension soft-close drawer hardware.
Reserve one drawer or cabinet for trash and recycling pull-outs. A two-bin pull-out from Rev-A-Shelf ($90) keeps trash centrally located in the work zone, where most prep waste happens anyway.
Lighting the Island Correctly
Pendant lights are the standard. For a 6-foot island, two pendants spaced 30 inches apart and centered over the island work well. For an 8 to 10-foot island, three pendants spaced 24 to 30 inches apart and centered both lengthwise and widthwise.
Hang pendants 30 to 36 inches above the countertop surface. Lower than 30 inches and they obstruct sightlines across the island. Higher than 36 inches and they look disconnected from the work surface below.
What to Avoid
Avoid wheels or casters on a permanent island plan. They look temporary and never feel stable for serious prep work. Avoid placing a cooktop on the seating side of an island — splatter and heat reach diners. Avoid building an island larger than 4 feet deep without a dedicated work zone in the middle, because reaching across becomes impossible.