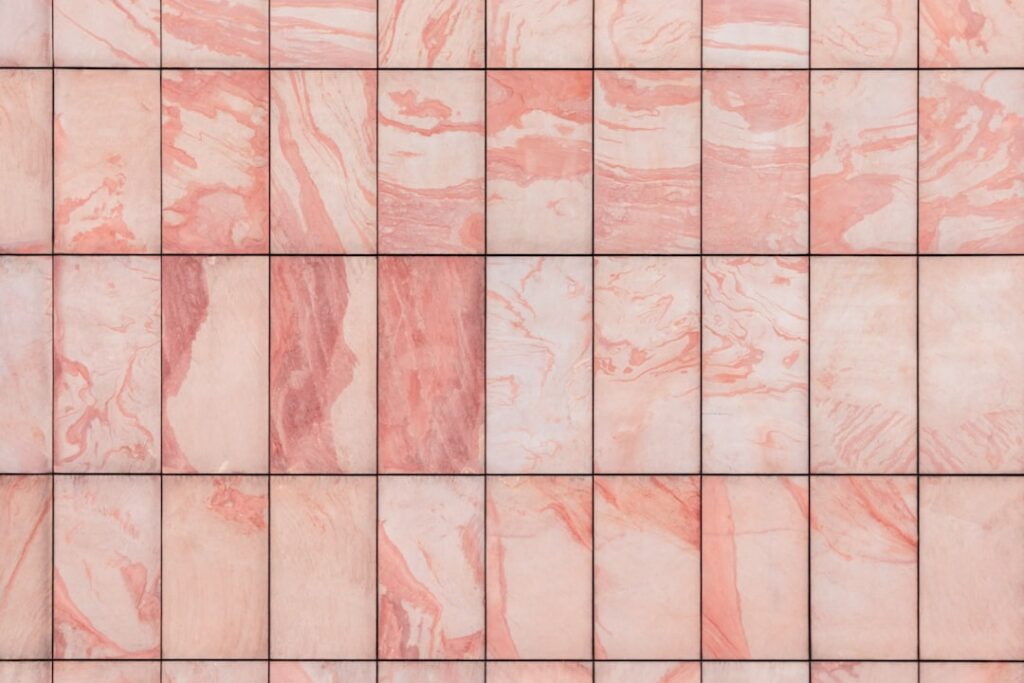
That soft, mottled, partly flattened pattern on so many drywall ceilings and walls has a name, and you can create it yourself with a hopper gun and a wide knife. Knockdown textured walls hide minor imperfections, add subtle depth, and cost far less than smooth Level 5 finishes that demand near-perfect drywall work. The technique is forgiving, which makes it popular with DIYers, but timing the “knockdown” pass correctly is what separates a professional result from a smeared mess.
What Knockdown Texture Actually Is
Knockdown is a two-stage texture. First you apply thinned joint compound, often called mud, to the wall in a stippled or splattered pattern. Then, after it sets up for a few minutes, you drag a wide knife lightly across the surface to flatten, or “knock down,” the high peaks. The result is a series of flattened islands with smooth valleys between them.
It sits between heavy popcorn or orange-peel textures and a fully smooth wall. Because the flattened peaks catch light gently, the finish reads as textured but refined, which is why builders use it across so much of the country.
Tools and Materials You Will Need
- All-purpose joint compound (premixed is easiest)
- A hopper gun with an air compressor, or a texture roller for small jobs
- An 18- to 24-inch knockdown knife or drywall taping knife
- A drill with a mixing paddle
- Painter’s tape, drop cloths, and plastic sheeting
- Primer and your topcoat paint
- A bucket and clean water for thinning
For a single wall or patch, a texture in a spray can or a thick-nap roller can stand in for the hopper gun. For a whole room, rent or buy a hopper gun and compressor; it pays for itself in speed and consistency.
Prep the Room and the Surface
Texture is messy, so prep generously. Mask off trim, outlets, and adjacent surfaces, cover the floor with drop cloths, and tape plastic over anything you cannot move. Take fixtures and switch plates off rather than texturing around them.
The wall itself should be clean, dry, and primed. Texture adheres best to a sealed surface, and priming prevents the drywall from sucking moisture out of the mud too fast. Fill any large gouges first, because knockdown hides small flaws but will not bridge a deep hole.
Mixing the Compound
Thin your joint compound with water until it reaches the consistency of thick pancake batter or runny yogurt. Add water slowly, a cup at a time, and mix with the paddle until smooth and lump-free. Too thick and it clogs the hopper gun and dries before you can knock it down; too thin and it runs down the wall and produces a weak, drippy pattern.
Mix enough for the whole wall in one batch so the texture stays uniform. Test your mix and your gun on a scrap of drywall or cardboard first to dial in the splatter size before you touch the actual wall.
Applying and Knocking Down the Texture
- Spray the texture. Hold the hopper gun 18 to 24 inches from the wall and apply an even, splattered coat. Aim for consistent coverage with raised peaks, not a solid sheet.
- Let it set. Wait roughly 10 to 15 minutes, depending on humidity and temperature. The mud should lose its wet shine and feel tacky but not dry. This timing is the heart of the job.
- Knock it down. Hold the wide knife at a low angle, around 10 to 15 degrees, and drag it lightly across the surface to flatten the peaks. Use long, overlapping strokes and wipe excess mud off the blade frequently.
- Work in sections. Spray and knock down one manageable area before moving on, so no section dries past the knockdown window.
Press too hard or knock down too soon and you will smear the pattern flat. Wait too long and the mud hardens before you can shape it. If a test section sets faster than expected, work smaller areas at a time.
Drying, Priming, and Painting
Let the finished texture dry fully, usually 24 hours, longer in humid conditions. Dried compound turns uniformly bright white and feels hard. Prime the textured surface again before painting, because raw joint compound is porous and will flash differently than the surrounding wall.
Use a thick-nap roller, around 3/8 to 1/2 inch, to push paint into the texture’s valleys without filling them in. A flat or matte sheen tends to look best on textured walls because it softens the pattern, while glossier paints can highlight every ridge.
Repairing and Patching Knockdown Texture
Matching existing knockdown for a patch is one of the trickiest parts of drywall repair, but it is doable. Repair and skim the damaged area smooth first, then prime it. For small patches, an aerosol knockdown texture in a can lets you spray, wait, and knock down just like the original.
- Practice on cardboard to match the existing splatter size and density.
- Feather the new texture slightly into the surrounding area so the seam disappears.
- Knock down the patch with the same light touch, matching the flatness of the original.
- Prime and paint, ideally the entire wall corner to corner, since a small repainted patch rarely blends perfectly.
Knockdown vs. Other Wall Textures
It helps to know where knockdown sits among the common drywall textures so you can be sure it is the look you want. Orange peel is a lighter, splattered finish that is never knocked down, leaving a bumpy surface resembling its namesake. Popcorn, mostly seen on older ceilings, is a heavy, sprayed-on texture that is now largely out of favor and a hassle to remove.
Skip-trowel and Spanish lace are hand-troweled textures with more pronounced, decorative patterns. Knockdown lands in the comfortable middle: more interesting than a flat wall, more refined than popcorn or heavy orange peel, and forgiving of the minor imperfections that plague DIY drywall. That balance of subtle texture and easy application is exactly why it remains the default choice in so much new construction.
Pro Tips for a Clean Result
A few habits make the difference. Keep your knockdown knife clean and slightly flexible for smooth strokes. Maintain a consistent distance and pressure with the hopper gun so the pattern stays even. And resist the urge to rework a section after it has started to harden, because going back over setting mud tears the surface.
With patience and good timing, knockdown textured walls are well within reach for a determined DIYer. Mask thoroughly, get your mud consistency right, nail the 10-to-15-minute knockdown window, and prime before painting. The payoff is a durable, forgiving finish that hides imperfections and gives your walls a finished, professional character.