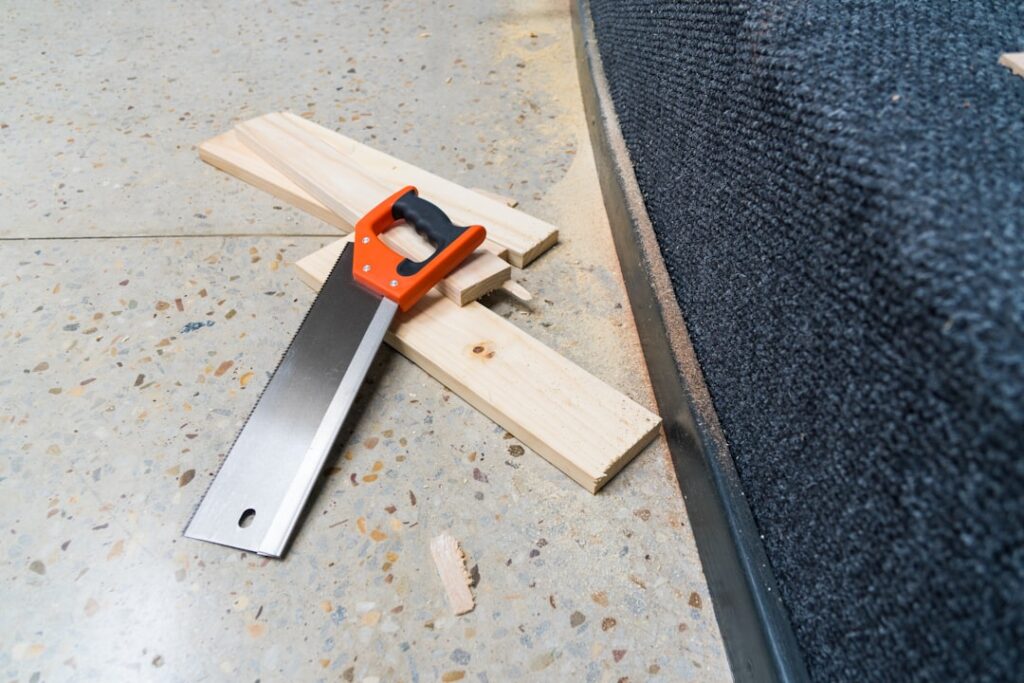
Cutting is the most important skill in any laminate flooring installation. Every room has walls to trim planks against, doorways to fit around, and obstacles to navigate. The right laminate flooring cutter makes these cuts faster, cleaner, and safer. The wrong tool leads to chipped edges, inaccurate fits, and wasted material.
This guide covers every major type of laminate flooring cutter, explains the strengths and limitations of each, and helps you pick the best tool for your specific project.
Types of Laminate Flooring Cutters
Guillotine (Manual) Laminate Cutters
A guillotine laminate cutter looks like a large paper cutter but with a hardened steel blade designed to shear through laminate planks. You place the plank on the base, align the cut line, and push the handle down to slice through the material.
Pros
- No electricity or batteries required
- Virtually no dust — cuts are clean and contained
- Very quiet operation
- Portable and lightweight
- Safe — no spinning blades or projectiles
- Fast for straight crosscuts
Cons
- Can only make straight cuts — no curves, notches, or angled cuts
- Maximum cutting width is limited by the blade size (typically 8 to 13 inches)
- May struggle with thicker laminate (12mm+) or very hard wear layers
- Quality varies widely between brands — cheap models produce rough edges
Best For
DIY installers working in apartments or condos where noise and dust are concerns. Also great for simple rectangular rooms with few obstacles.
Miter Saw (Chop Saw)
A 10 or 12-inch miter saw is the most versatile power tool for cutting laminate. It handles crosscuts, angled cuts, and beveled cuts with speed and precision.
Pros
- Extremely fast and accurate crosscuts
- Handles angled cuts for corners and transitions
- Works with any laminate thickness
- Most homeowners and DIYers already own one
Cons
- Produces dust (use a fine-tooth blade to minimize it)
- Noisy
- Cannot make rip cuts (lengthwise) or curved cuts
- Requires a work area with clearance for the plank length
Blade Selection
Use a fine-tooth carbide-tipped blade with at least 60 teeth for clean cuts in laminate. A blade designed for melamine or laminate will produce the smoothest edges. Install the blade backward (teeth facing the wrong direction) as a popular trick among installers — this reduces chipping on the decorative face, though it generates more heat and is not recommended by blade manufacturers.
Table Saw
A table saw is essential for rip cuts — cutting planks lengthwise along their length. This is needed for the first and last rows, which almost always need to be trimmed to width.
Pros
- Best tool for straight rip cuts
- Accurate and repeatable cuts using the fence
- Handles any plank thickness or width
Cons
- Bulky and expensive
- Generates significant dust
- Requires experience for safe operation
- Not portable
Jigsaw
A jigsaw is the go-to tool for curved cuts, notches, and irregular shapes. When fitting laminate around door frames, toilet flanges, pipes, or curved walls, a jigsaw is indispensable.
Pros
- Cuts curves, notches, and irregular shapes
- Affordable and widely available
- Lightweight and easy to handle
- Can make straight cuts in a pinch
Cons
- Slower than a miter saw for straight cuts
- Edges can chip if using the wrong blade or technique
- Requires a steady hand for clean curves
Blade Selection
Use a downcut (reverse-tooth) jigsaw blade for laminate. Standard upcut blades pull material upward and chip the decorative face. A downcut blade pushes debris downward, leaving a clean edge on the visible surface. Alternatively, cut from the back side of the plank using a standard blade.
Circular Saw
A circular saw with a fine-tooth blade can handle both crosscuts and rip cuts. It is a good all-around option for installers who do not have a miter saw or table saw.
Pros
- Versatile — crosscuts and rip cuts
- Portable
- Most homeowners already own one
Cons
- Requires a straight edge or guide for accurate rip cuts
- More prone to chipping than a miter saw
- Cut the plank face-down to minimize chipping on the decorative side
Oscillating Multi-Tool
An oscillating multi-tool is not a primary laminate cutter, but it is invaluable for undercutting door frames, trimming transition strips, and making flush cuts in tight spaces where no other tool can reach.
Score-and-Snap Method
Some thinner laminate planks can be scored with a utility knife along the decorative face and snapped along the score line, similar to cutting drywall. This method is dustless and noiseless but works only for straight crosscuts on thinner products and does not produce perfectly clean edges.
Which Cutter Do You Actually Need?
For most DIY laminate installations, you need a combination of tools:
- Primary crosscut tool: Miter saw or guillotine cutter for end cuts
- Rip cut tool: Table saw or circular saw with a guide for width cuts
- Detail tool: Jigsaw for curves, notches, and irregular shapes
- Trim tool: Oscillating multi-tool for undercutting door frames
If you are buying one tool specifically for a laminate project, a guillotine cutter offers the best convenience for a single-room project. If you already own a miter saw and jigsaw, you probably do not need anything else.
Tips for Clean Cuts
- Always support the plank fully — unsupported ends can crack or chip during cutting
- Mark cut lines on the back of the plank if cutting face-down, or use painter’s tape on the face to reduce chipping
- Let the blade do the work — do not force the cut, which causes heat buildup and rough edges
- Wear safety glasses and hearing protection when using power tools
- Measure twice, cut once — laminate cannot be un-cut
- Keep spare blades on hand — dull blades produce the worst chipping
Laminate Flooring Cutter Price Ranges
- Guillotine cutter (budget): $30 to $60
- Guillotine cutter (premium): $80 to $200
- Jigsaw: $40 to $150
- Miter saw (10-inch): $100 to $400
- Circular saw: $50 to $200
- Table saw (portable): $200 to $600
- Oscillating multi-tool: $50 to $200
Rental Options
If you do not own power tools and are doing a one-time project, most home improvement stores rent miter saws, table saws, and other tools by the day or week. Renting is far more cost-effective than buying tools you may not use again. A miter saw rental typically runs $30 to $50 per day.
Final Thoughts
The right laminate flooring cutter makes your installation faster, cleaner, and more enjoyable. For most projects, a combination of a miter saw for crosscuts, a jigsaw for detail work, and a table saw or circular saw for rip cuts covers every situation. If noise and dust are primary concerns, a quality guillotine cutter is a worthwhile investment. Whatever tools you choose, use fine-tooth blades, support the planks properly, and always prioritize clean edges — they are the mark of a professional-quality installation.
Prefer to explore on your own?
See how new flooring looks in your actual room in seconds — free, no signup.
Try the free Floor Studio →