A basic laminate flooring installation kit costs between $15 and $40 at most home centers, yet it can save you a $300 to $600 contractor visit if you are comfortable working with your hands. The kit packages the three or four tools that nearly every floating-floor job demands, so you are not hunting through aisles trying to figure out which gadget actually fits your planks. For a typical 200-square-foot room, the right kit pays for itself the first afternoon you use it.
At D and G Flooring we hear the same question from first-time installers every week: do I really need a dedicated kit, or can I improvise? The honest answer is that you can fake some of it, but the small purchase usually produces tighter seams and far less plank damage. This guide breaks down what is inside a kit, where it helps, where it falls short, and how to choose one that matches your project.
What Is Inside a Laminate Flooring Installation Kit
Most kits share a common core of components. While brands shuffle the contents, you can expect the following pieces in a mid-range bundle:
- Tapping block: A rigid plastic or composite block that you strike with a mallet to close the joint between planks without crushing the locking edge.
- Pull bar: An L-shaped steel bar used to draw the final plank in a row tight against the wall where a tapping block will not fit.
- Spacers: Small wedges, often 1/4 inch or 3/8 inch thick, that hold the expansion gap around the room perimeter.
- Mallet: A white rubber or dead-blow mallet that delivers force without marking the surface.
Premium kits add a contour gauge for tracing around door casings, a utility knife, and sometimes a pull saw. Budget kits may drop the mallet, assuming you already own one. Read the parts list before you buy so you are not surprised at the checkout.
Pros of Using a Dedicated Kit
The biggest advantage is plank protection. Laminate locking edges are precision-milled, and one hard hammer blow on a bare plank edge can mushroom the tongue and ruin the joint. A tapping block spreads that force across the full width of the seam. Over a 300-plank room, that difference shows up as fewer wasted boards and a smoother final surface.
Cost is the second draw. Buying a tapping block, pull bar, and spacer set separately often runs higher than a bundled kit, and you may end up with mismatched plastic that does not seat cleanly against your specific plank profile. A kit also keeps every tool in one bag, which matters when you are working on your knees and do not want to walk back to the garage.
Finally, kits lower the learning curve. The spacers enforce a consistent expansion gap, which is the single most common DIY mistake. Laminate expands and contracts with humidity, and a floor installed tight to the baseboard will buckle in summer. The included wedges take the guesswork out.
Cons and Limitations to Know
Kits are not flawless. The plastic tapping blocks in cheaper sets can crack after a few hundred strikes, especially in cold rooms where the polymer turns brittle. If you are flooring a whole house, consider a solid composite or rubber-faced block rather than the thin one in a $15 bundle.
The spacers are another weak point. Many kits include only 10 to 20 wedges, which is fine for a small bathroom but far too few for a large open-plan space where you want a spacer every 12 to 16 inches along every wall. Buying a separate bag of 30 to 50 spacers is cheap insurance.
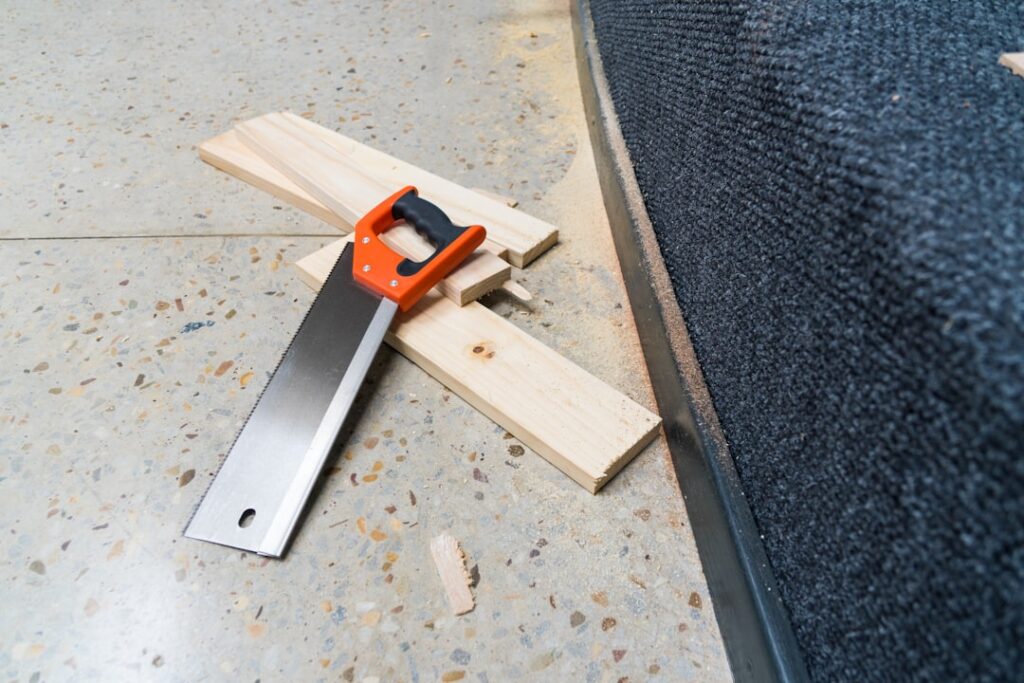
Kits also do not include the tools that do the real cutting. You still need a miter saw, jigsaw, or a quality laminate cutter to size planks and notch around obstacles. Treat the kit as the assembly toolset, not the whole job.
How to Choose the Right Kit
Match the kit to the scale and difficulty of your project. Use these criteria when comparing options on the shelf or online:
- Room size: For anything over 250 square feet, prioritize a kit with a heavy composite tapping block and order extra spacers.
- Plank thickness: Thicker 10mm to 12mm planks need a tapping block deep enough to engage the full edge. Verify the block depth.
- Pull bar quality: Look for a steel pull bar with a padded or coated striking end. Thin stamped bars bend and slip out of the joint.
- Mallet weight: A 16-ounce to 18-ounce dead-blow mallet gives controlled force. Avoid hard-faced hammers entirely.
If you already own a good rubber mallet, a kit without one can save a few dollars. Conversely, if this is your only flooring project ever, a complete bundle keeps things simple.
Tips for Getting the Most From Your Kit
Lay out the tools before you open the first box of flooring. Acclimate the laminate in the room for at least 48 hours so the planks reach the home’s temperature and humidity, which reduces movement after installation. Keep the tapping block square to the plank edge and tap in short, repeated strokes rather than one heavy swing. When you reach the last row, the pull bar lets you hook the far edge and snug the plank without crushing the visible face.
Inspect the tapping block periodically. A cracked or chipped block can transfer uneven force and chip the laminate wear layer. Replace it the moment it splits. After the job, wipe the spacers clean and store the kit so the bag is ready for your next room or a future repair.
Is a Laminate Flooring Installation Kit Worth It
For nearly every homeowner tackling a floating floor, the answer is yes. The modest price buys you tighter joints, fewer ruined planks, and a reliable expansion gap, which together raise the odds of a professional-looking result. The kit will not replace a saw or measuring tools, and the cheapest versions wear out on large jobs, but as the heart of your assembly toolkit it earns its place. Pair a quality kit with patient layout and proper acclimation, and a first-time installer can lay a floor that looks like a pro did the work. When you are ready to start, D and G Flooring recommends buying one size up in spacer count and choosing the sturdiest tapping block you can find.
Prefer to explore on your own?
See how new flooring looks in your actual room in seconds — free, no signup.
Try the free Floor Studio →