The biggest secret in flooring is that you can lay a beautiful, waterproof floor yourself in a single weekend. Luxury vinyl tile installation is genuinely one of the most DIY-friendly projects in home improvement, thanks to click-lock planks that snap together without glue or nails. Done right, the result rivals a professional job at a fraction of the cost. After installing thousands of square feet of LVT, I’ll walk you through every step, from prepping the subfloor to that satisfying last cut along the wall.
Tools and Materials You’ll Need
Gather everything before you start so you’re not stopping mid-project. The basic kit:
- LVT planks or tiles, plus 10 percent extra for cuts and waste
- Underlayment, if not pre-attached to the planks
- Utility knife and extra blades, plus a square for scoring cuts
- Tapping block and pull bar for tightening seams
- Spacers to maintain the expansion gap
- Tape measure, pencil, and chalk line
- Jigsaw or oscillating tool for curved and notch cuts
Most LVT is scored with a utility knife and snapped, no power saw required for straight cuts, which keeps the job quiet and dust-free.
Preparing the Subfloor
Skip prep and even the best planks will fail. The subfloor must be clean, dry, and flat within roughly 3/16 inch over a 10-foot span. Sweep and vacuum thoroughly, then check for high and low spots with a long level. Grind down high spots and fill low ones with a self-leveling compound.
You can install LVT over most existing hard surfaces, including concrete, plywood, and even old tile or vinyl, as long as they’re flat and sound. Avoid installing over carpet. On concrete, check for moisture, since excess vapor can compromise the floor over time. Let the planks acclimate in the room for 48 hours so they adjust to the temperature and humidity.
Planning Your Layout
A good layout makes the difference between a floor that looks professional and one that looks off. Measure the room and dry-lay a few rows to plan, ensuring the final row against the far wall won’t be a sliver less than a couple inches wide. If it would be, trim the first row to balance the widths on both sides.
Run planks parallel to the longest wall or toward the main light source for the most flattering look. Stagger the end joints by at least 6 inches from row to row so seams never line up, which both looks better and locks the floor together more securely. Mix planks from several boxes as you go to blend color and pattern variation.
Click-Lock Floating Installation
The most common method is the floating click-lock system. Here’s the core sequence:
- Lay underlayment if needed, then start in a left corner with spacers maintaining a 1/4-inch expansion gap at the walls
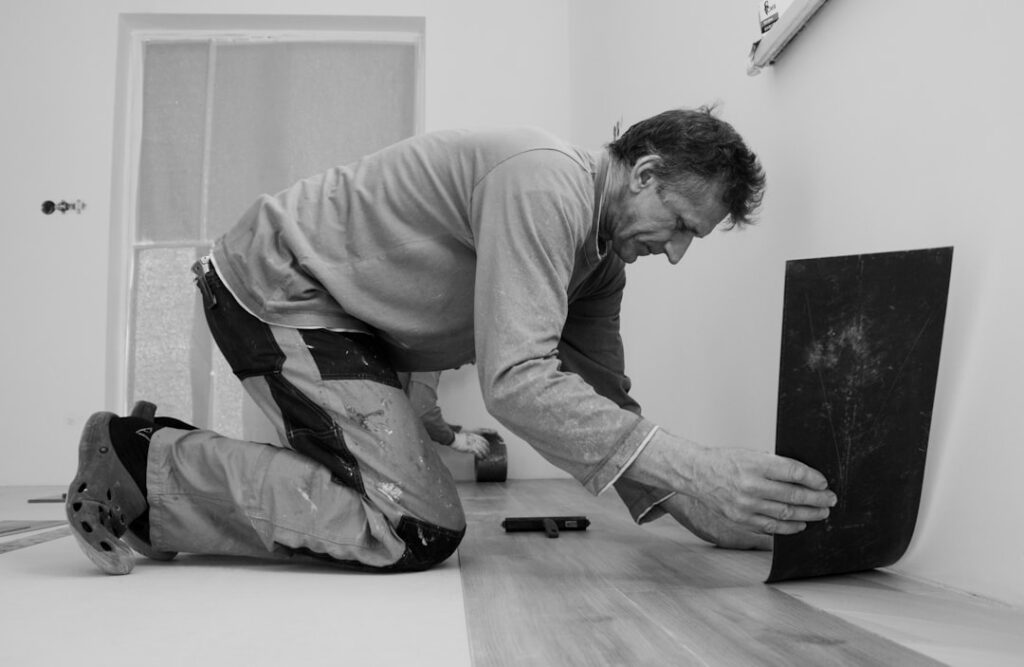
- Set the first plank, then angle the next plank’s end into it and press down until it clicks
- Complete the first row, cutting the last plank to length and using the offcut to start the next row for an instant stagger
- Angle each new row’s long edge into the previous row and snap it home, tapping gently with the block to close seams
- Use the pull bar for the final row and tight spots where the tapping block won’t fit
Keep checking that seams are tight and flush. A loose joint now becomes a visible gap or a trip point later.
Glue-Down Installation
Some LVT, especially thinner commercial-grade tile, installs with adhesive. Glue-down offers a rock-solid feel and works well in very large rooms and high-moisture commercial settings. Spread the recommended adhesive with a notched trowel, let it reach the proper tack, then set each tile firmly and roll the floor to ensure full bond.
Glue-down takes more skill and time, and mistakes are harder to fix once the adhesive grabs. For most homeowners, the floating click-lock method is faster, cleaner, and far more forgiving, which is why it dominates residential luxury vinyl tile installation today.
Cutting and Finishing Edges
Cuts happen at every wall, doorway, and obstacle. For straight cuts, score the plank face with a utility knife against a square and snap it. For curves around toilets or pipes, trace the shape and cut with a jigsaw or oscillating tool. Undercut door casings with a flush saw so planks slide neatly underneath rather than being cut around them.
Once the field is laid, remove the spacers and install baseboards or quarter-round to cover the expansion gap, nailing the trim to the wall, never through the floor, so the floating floor can still move. Add transition strips at doorways where the LVT meets other flooring.
Cost and Final Tips
Doing it yourself saves the $1.50 to $4 per square foot a pro charges for labor, often cutting the total bill in half. Materials run $3 to $7 per square foot for quality LVT, so a 200-square-foot room costs roughly $600 to $1,400 in materials for a DIY install.
A few closing tips: always buy extra boxes from the same lot to guarantee color match, keep a few spare planks for future repairs, and never rush the subfloor prep. Take your time with the first three rows, since they set the line for the entire floor.
Most failed installations trace back to a handful of repeat errors. Skipping acclimation is the big one; planks installed straight out of a cold truck can expand or contract afterward and buckle or gap. Forgetting the expansion gap at the walls is equally damaging, since the floating floor needs room to move with temperature and humidity, and a tight perimeter causes peaking down the road. Other frequent missteps include installing over an uneven subfloor, which telegraphs every bump and stresses the locking joints, and lining up end seams too closely, which weakens the floor and looks artificial. Pulling all your planks from a single box also creates obvious color blocks, so always work from several boxes at once.
Final Thoughts
Get the first rows right, and the rest of your luxury vinyl tile installation falls into place quickly and looks like the work of a seasoned pro. Prep a flat, clean, dry subfloor, acclimate the material, leave your expansion gap, and stagger the seams. With basic tools and a careful approach, a determined homeowner can finish a full room in a weekend and enjoy a waterproof, durable floor that holds up for decades.
Prefer to explore on your own?
See how new flooring looks in your actual room in seconds — free, no signup.
Try the free Floor Studio →