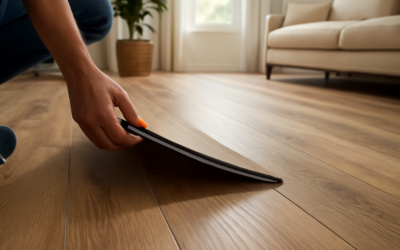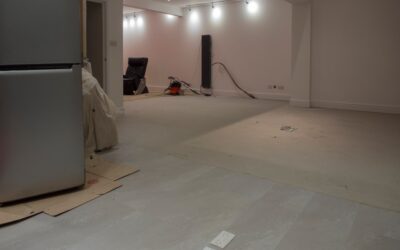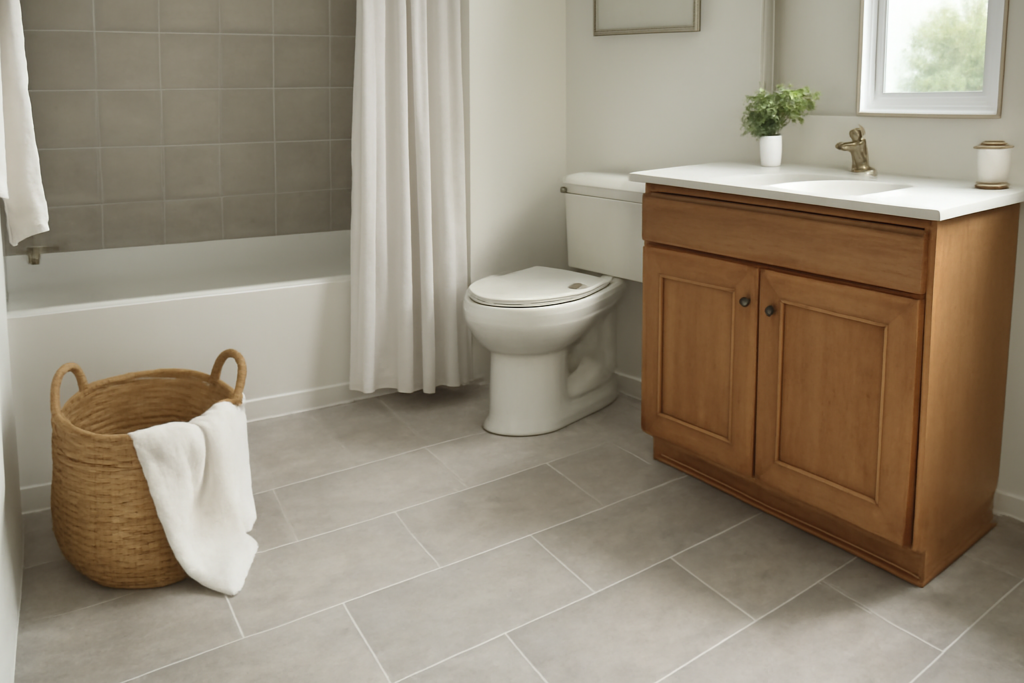
Bathroom floors face the toughest conditions in the house, standing water, humidity, temperature swings, and constant foot traffic, which is why so many homeowners are choosing luxury vinyl over ceramic. An LVP tile bathroom combines the waterproof performance you need in a wet room with a surface that is warmer underfoot, softer to stand on, and far easier to install than traditional tile. Modern luxury vinyl convincingly mimics stone, marble, and wood, so you rarely sacrifice looks for practicality. This guide covers whether LVP belongs in your bathroom, what it costs, and how to install it right.
What LVP Is and Why It Suits Bathrooms
Luxury vinyl plank is a multi-layer synthetic flooring built around a waterproof core, topped with a high-definition printed design layer and a tough clear wear layer. Rigid-core versions, known as SPC (stone plastic composite) and WPC (wood plastic composite), are the most popular for bathrooms because they are 100 percent waterproof and dimensionally stable in humid, temperature-swinging rooms. Water simply cannot penetrate or damage the core, which is exactly what a bathroom demands.
Compared with ceramic or porcelain tile, LVP has several bathroom-friendly advantages. It is warmer and softer underfoot, a real comfort on cold mornings and easier on the knees and on dropped glassware. It installs faster as a floating click-lock floor with no mortar or grout. And it costs less than tile both in material and labor. For many homeowners, an LVP tile bathroom delivers the waterproof, stone-look floor they want with far less hassle.
Cost of an LVP Bathroom Floor
LVP is one of the more budget-friendly waterproof options, especially once you factor in labor savings over tile. Here is what to expect.
- Budget LVP: $2 to $4 per square foot for the material.
- Mid-range rigid-core SPC/WPC: $4 to $7 per square foot with thicker wear layers and better realism.
- Premium designer LVP: $7 to $12 per square foot.
- Professional installation: $2 to $6 per square foot, notably less than tile’s $7 to $14.
For a typical 40 to 50 square foot bathroom, an installed LVP floor often runs $250 to $800, considerably less than a comparable tile job. DIY installation, which is realistic for click-lock LVP, cuts the cost further.
Choosing the Right LVP for a Bathroom
Not every luxury vinyl is equally suited to a bath. Focus on a few specs that matter most in a wet room.
- 100 percent waterproof rigid core: Choose SPC or WPC, not a flexible glue-down vinyl that can let water seep at seams.
- Thicker wear layer: Look for at least 12 mil, ideally 20 mil, for durability against grit and traffic.
- Realistic stone or wood look: Marble-look and slate-look planks and tiles give a high-end bathroom aesthetic.
- Attached underlayment: An attached pad adds warmth and quiet and simplifies install.
- Textured, slip-resistant surface: Important on a floor that will get wet.
Many LVP products now come in square tile shapes with grout-look edges, so you can get the classic tiled-bathroom appearance without any actual grout to scrub and seal. That is a compelling option for anyone who loves the look of tile but dreads its maintenance.
Installation Tips for a Waterproof Result
LVP is DIY-friendly, but a bathroom install has a few extra considerations to keep water out where it counts.
Prep the Subfloor
The subfloor must be clean, dry, and flat within about 3/16 inch over 10 feet. Fill low spots and sand down high ones. Over a concrete slab, confirm it is fully cured and use a moisture barrier if the product calls for one.
Leave the Expansion Gap
Rigid-core LVP expands and contracts with temperature, so leave a 1/4 to 3/8 inch gap around the entire perimeter, hidden later by baseboard or quarter-round. Skipping this causes buckling in a sun-warmed or humid bath.
Seal the Perimeter and Fixtures
While the planks themselves are waterproof, water can still reach the subfloor through gaps at the tub, shower, and toilet. Run a bead of 100 percent silicone caulk where the floor meets the tub, shower base, and any fixtures, and re-caulk the toilet flange area, to keep splashes from wicking underneath.
Undercut Door Casings
Undercut the door jambs and casings so planks slide beneath them for a clean, professional edge rather than an awkward cut around them.
Are There Downsides?
LVP is a strong bathroom choice, but be aware of a few limits. It is not quite as prestigious as genuine stone or porcelain and may add slightly less resale value in a high-end home. Heavy standing water left for long periods can eventually reach the subfloor through seams, so it is best for standard bathrooms rather than curbless roll-in showers where the shower area needs true tile. And very cheap, thin LVP can dent under heavy fixtures or look artificial, so it pays to buy a quality rigid-core product rather than the bottom of the range.
LVP vs. Ceramic Tile for a Bathroom
Homeowners weighing an LVP tile bathroom almost always compare it against traditional ceramic or porcelain, and each has a clear lane. Ceramic tile is the more premium, permanent surface: it is fully waterproof, handles standing water in showers, and can boost resale value in a higher-end home. But it is cold and hard underfoot, unforgiving on dropped items, more expensive to install because of the mortar and grout labor, and its grout lines demand ongoing sealing and scrubbing to fend off mildew.
LVP flips most of those tradeoffs. It is warmer, softer, quieter, cheaper, and DIY-friendly, with grout-look versions that skip real grout maintenance entirely. Where it gives ground is in prestige and in true wet zones like the inside of a shower, which still call for tile. For the average family bathroom floor, though, most people find the comfort, cost savings, and easy upkeep of LVP outweigh the marginal prestige of tile. A common compromise is running LVP across the main bathroom floor while tiling the shower itself, getting the best of both materials.
Final Recommendation
An LVP tile bathroom offers a genuinely practical mix of waterproof performance, comfort underfoot, easy installation, and a stone or wood look at a fraction of tile’s cost and hassle. Choose a rigid-core SPC or WPC product with a thick wear layer and a textured, slip-resistant surface, prep the subfloor carefully, and seal the perimeter and fixtures with silicone to keep water where it belongs. Reserve real tile for the inside of a curbless shower if you have one, and let LVP handle the main floor. For most bathrooms, it is one of the smartest, most cost-effective flooring upgrades you can make.
Prefer to explore on your own?
See how new flooring looks in your actual room in seconds — free, no signup.
Try the free Floor Studio →