Walk into any luxury kitchen photo spread and you will notice a pattern: soft, veined stone climbing the wall behind the range. A marble tile backsplash remains the benchmark for timeless elegance, prized for its natural movement and the way light plays across its polished or honed surface. But marble is also a soft, porous stone, which means it demands a bit more thought than ceramic or glass. Understanding what you are working with before installation saves you from etching, staining, and disappointment later.
Why Marble Still Tops the Wish List
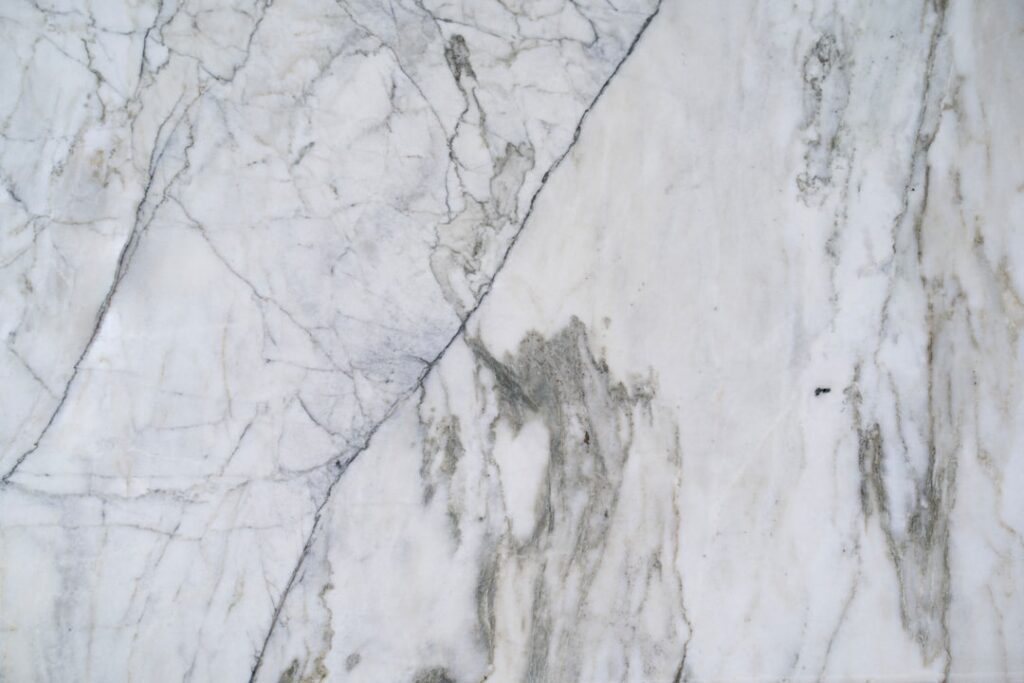
The appeal is purely natural. Each marble tile is cut from quarried stone, so the gray, gold, and green veins running through it are one of a kind. That organic variation is impossible to fake convincingly, which is why marble continues to signal quality even as printed porcelain look-alikes flood the market. On a backsplash, where the stone sits at eye level, those subtle veins become a focal point that ties cabinetry, counters, and hardware together.
Backsplashes also happen to be the ideal place to use marble. Unlike a countertop, the wall sees no knives, hot pans, or standing water, so the stone’s softness matters far less. You get the high-end look with a fraction of the wear concerns.
Popular Marble Types for Backsplashes
Not all marble looks or behaves the same. A few varieties dominate kitchen installs.
- Carrara: Soft white-gray background with fine, feathery gray veining. The most affordable and widely available option.
- Calacatta: Whiter base with bolder, more dramatic gold or gray veins. More expensive and more striking.
- Statuario: Bright white with crisp, defined veining, prized for a clean, luxurious look.
- Emperador: Rich brown tones with lighter veining, ideal for warm or traditional kitchens.
Beyond color, tile format shapes the design. Classic 3×6 subway, elongated brick, hexagons, and herringbone mosaics each create a distinct mood, from traditional to contemporary.
Honed vs. Polished Finish
Finish is one of the most important decisions you will make. A polished finish is glossy and reflective, showing off vein detail and bouncing light around the kitchen. The downside is that it shows etch marks and water spots more readily. A honed finish is matte and velvety, hiding minor etching and fingerprints far better, which is why many homeowners prefer it for a backsplash. For a busy kitchen, honed is usually the more forgiving choice.
The Critical Step: Sealing
Marble is porous and reactive, and this is the single most important thing to understand. Acidic kitchen splashes like lemon juice, tomato sauce, vinegar, and wine can etch the surface, leaving dull spots, while oils and colored liquids can stain unsealed stone. The defense is a quality penetrating stone sealer.
Seal the tiles before grouting and again after the grout cures, then plan to reseal once or twice a year. To check whether resealing is due, drop water on the tile; if it soaks in and darkens the stone, the sealer has worn thin. A few minutes of resealing protects an expensive surface for the long haul.
Installation Basics
While many homeowners hire a tile setter for marble, a careful DIYer can handle a backsplash with the right approach. Because marble is translucent, use white thinset mortar rather than gray, which can show through lighter stones and muddy the color.
- Clean and prime the wall, then mark a level reference line. Walls are rarely perfectly straight, so do not trust the countertop as your guide.
- Spread white thinset with a notched trowel and set tiles, using spacers for consistent grout lines.
- Cut tiles with a wet saw fitted with a diamond blade. Marble chips easily, so go slow and let the blade do the work.
- Seal the set tiles before grouting to keep grout pigment from staining the stone.
- Apply a non-sanded grout for tight joints, since sanded grout can scratch polished marble.
Choosing Grout Color
Grout color quietly transforms the finished look. A matching white or light gray grout makes the wall read as a seamless field of stone, calm and monolithic. A contrasting darker grout outlines each tile and emphasizes the pattern, which works beautifully with subway and hexagon layouts. Whatever you choose, a grout release or pre-sealing step keeps pigment from clinging to the porous marble.
Everyday Care and Cleaning
Maintaining a stone backsplash is simple as long as you avoid the wrong products. Acidic and abrasive cleaners are the enemy.
- Wipe regularly with a soft cloth and warm water or a pH-neutral stone cleaner
- Blot acidic splashes like citrus and tomato immediately
- Never use vinegar, lemon, bleach, or scouring powders
- Dry the surface to prevent water spotting
- Reseal on schedule to keep the protective barrier intact
Cost Considerations
Marble sits in the mid-to-upper range of backsplash materials, above ceramic and basic glass but below high-end custom stone slabs. The exact figure depends heavily on the variety you choose, with Carrara being the most budget-friendly and Calacatta and Statuario commanding a premium for their bolder veining. Mosaic sheets often cost more per square foot than plain field tile because of the labor to mesh-mount them, but they can be easier to install. Factor in the sealer, white thinset, non-sanded grout, and either your time or a tile setter’s labor when budgeting the full project.
Even at the higher end, a backsplash uses relatively little material compared to a floor or countertop, so it is one of the more affordable ways to bring real marble into a kitchen. That limited square footage is part of why splurging on a beautiful stone here makes sense.
Marble vs. Marble-Look Alternatives
If the maintenance gives you pause, consider the alternatives that mimic the look. Porcelain tiles printed with marble veining have become remarkably convincing and require no sealing, no acid worries, and far less upkeep. Marble-look quartz and even some peel-and-stick products chase the same aesthetic. The tradeoff is depth and authenticity. Real stone has a translucency and one-of-a-kind veining that printed surfaces approximate but never fully match. If you want the genuine article and will care for it, natural marble delivers a richness the look-alikes cannot. If low maintenance is the priority, a quality porcelain marble-look tile is a smart compromise.
Is It Right for Your Kitchen?
A marble backsplash rewards homeowners who appreciate natural materials and are willing to seal and clean thoughtfully. It costs more than ceramic and asks for a little ongoing care, but in return it delivers a depth of character and a sense of permanence that mass-produced tile cannot match. Choose a honed finish, seal it diligently, and clean it gently, and your backsplash will look as refined a decade from now as the day it went up.
Prefer to explore on your own?
See how new flooring looks in your actual room in seconds — free, no signup.
Try the free Floor Studio →