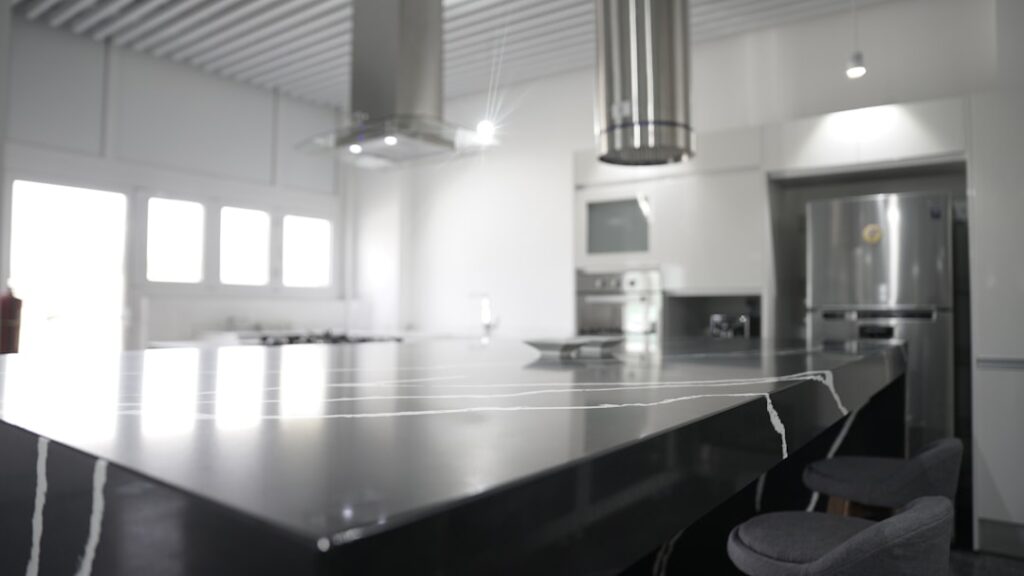
Putting the microwave in a kitchen island trades visual elegance for daily use hassle. Toddlers love the new button height, adults get sore backs from bending over, and hot soup now travels across the kitchen without a stop on the way. A microwave in island setup can be a huge win or a regret depending on household traffic, cook habits, and which appliance you spec. Get the placement right and you unlock counter space; get it wrong and you live with a bad decision for 15 years.
The Case for Island Microwave
Moving the microwave below the counter frees up the prime real estate above the range for a vented hood, open shelving, or tile backsplash. In small kitchens where wall cabinets are precious, the island is the logical place to put an appliance that does not need to be at eye level.
An island location also gets the microwave out of the main work triangle. The cook at the range is not dodging someone reheating coffee, and the microwave user does not block the fridge door.
The Case Against
A microwave at knee height means bending down to load and unload every meal. Pulling out a bowl of boiling hot soup from below waist level is genuinely dangerous, especially for older homeowners and anyone with knee or back issues.
Kids under 10 also gain easy access to a hot appliance. Some families see that as convenient, others see it as a burn risk. Lockout features help but are no substitute for good sightlines.
Drawer Microwave vs Built-In
Two product categories suit island installation. Each has tradeoffs.
- Microwave drawer: Opens like a cabinet drawer, controls on top edge. Sharp, Bosch, and KitchenAid all make 24 and 30 inch models. Price: $1,200 to $2,400
- Built-in countertop style: Standard microwave slid into an open cabinet cubby with trim kit. Price: $400 to $900
Drawer models are easier to access because the opening faces up and loading is intuitive. Built-in front-opening units save money but require even more bending to reach inside.
Clearance and Ventilation
Every microwave needs breathing room. Manufacturer specs typically require 1 to 2 inches of air space on top, sides, and back. Cramming a microwave into a tight cabinet cubby kills airflow, cooks the electronics, and shortens the life of the magnetron.
For drawer models, the installation manual spells out rough opening dimensions exactly. Build the cabinet opening to spec, not to the appliance outer dimensions. Undersizing by even a quarter inch means a return trip to the cabinet shop.
Electrical Requirements
Most drawer microwaves require a dedicated 20-amp 120V circuit. Running that circuit through an island requires feeding wire through the kitchen subfloor and up through the island base. If the island sits over a concrete slab, this becomes a concrete saw job and adds several thousand to the budget.
Plan the electrical during rough-in, not after cabinets arrive. An electrician surprised by a no-wire-path situation on install day will not be happy.
Ergonomic Height Rules
Drawer microwaves work best when the top edge sits between 28 and 36 inches above the finished floor. Below 28 inches puts too much bend in the user’s back. Above 36 inches and the drawer mechanism becomes awkward to pull out over the counter edge.
A typical 36-inch-tall island counter means the drawer is tucked just below the counter lip. That is the sweet spot for most adults between 5 foot 4 and 6 foot 2.
Spills and Cleaning
A drawer microwave catches every spill inside its well because the opening is horizontal. Stirring a bowl of pasta sauce and accidentally sloshing is a daily risk. The good news is that drawer interiors are smooth stainless and wipe out faster than a traditional front-loading cavity.
Drawers also slide out on rails that collect crumbs along the edges. Plan on wiping down the rail tracks weekly to prevent the mechanism from getting sticky.
Combined With Island Seating
If the island has counter-height seating on one side, put the microwave on the cook side, not the seating side. Someone reaching across the counter to pull out a hot dish while guests are eating is a spill and scald risk.
Place the microwave near the fridge end of the island rather than the range end. Most microwave use starts with grabbing something cold, heating it, and serving it. That path flows naturally from fridge to microwave to serving area.
Venting for Built-Ins
Standard countertop microwaves dropped into an island cubby vent forward through their front grille, which is fine. Over-the-range microwaves, the wide flat units designed to sit above a stove, should never be repurposed into an island. Their vent geometry assumes a cooktop below and mounting above.
Alternative Solutions
If the island placement feels risky, consider a microwave shelf built into the pantry, a microwave cubby in a hutch-style hutch or base cabinet alongside the fridge, or keeping it on the counter but behind an appliance garage door. Each preserves counter space without introducing the bend-down-to-hot-food problem.
A countertop microwave tucked into a cabinet with a retractable or tambour door gives the clean look without the ergonomic cost.
Cost Summary
- Drawer microwave hardware: $1,200 to $2,400
- Custom island cabinet modification: $400 to $900
- Dedicated electrical circuit run to island: $500 to $2,000
- Installation labor: $250 to $500
Total: $2,400 to $5,800 for a drawer install, significantly less for a simple built-in with trim kit. Weigh that against the five or six seconds saved per reheat and decide whether the aesthetic upgrade pays for itself.