If you love the timeless brick look but dread setting hundreds of individual pieces, mosaic subway tile gives you the best of both worlds. It bonds miniature subway-shaped tiles onto a mesh backing sheet, so you install a dozen “bricks” in a single motion instead of one at a time. The result is a clean, retro-modern surface that works on backsplashes, shower walls, accent strips, and even small floors.
This guide walks you through sizes, materials, pricing, layout patterns, and a realistic installation process so you can decide whether these mesh-mounted mini tiles belong in your next project.
What Exactly Is Mosaic Subway Tile?
A traditional subway tile is a rectangle, most commonly 3×6 inches, laid in a running-bond brick pattern. Mosaic subway tile shrinks that rectangle down, usually to 1×2, 1×3, or 2×4 inches, and mounts a grid of them face-up on a flexible mesh or paper sheet. Each sheet typically measures about 12×12 inches and covers roughly one square foot.
Because the small tiles arrive pre-spaced and pre-aligned, you skip the tedious work of setting tile spacers between every piece. You simply butt one sheet against the next, and the built-in gaps line up automatically. That convenience is why designers reach for mosaic sheets on detailed areas like niche interiors, curved shower benches, and tight backsplash runs around outlets.
Common Sizes and Materials
The “subway” label refers to the elongated brick proportion, not a single dimension. You will find mosaic subway sheets in several formats, each with a slightly different feel.
- 1×2 inch: The daintiest option, great for intricate accent bands and small niches.
- 1×3 inch: A popular middle ground that reads clearly as subway but stays fine-scaled.
- 2×4 inch: Bolder mini-brick that suits full walls without looking too busy.
- 1×4 inch: A long, skinny “skinny brick” look that feels contemporary.
Materials range widely. Glossy and matte ceramic are the budget-friendly staples. Glass mosaic subway tile adds depth and reflects light, which brightens a windowless bathroom. Natural stone versions in marble, travertine, or slate bring organic veining but demand sealing. Porcelain sheets, from makers like Daltile and MSI, offer the hardest, most water-resistant body, making them a smart pick for shower floors and heavy-use zones.
Where Mosaic Subway Tile Works Best
Kitchen backsplashes are the classic home for these sheets. The small format hugs the counter-to-cabinet gap and navigates around outlets, window trim, and range hoods with minimal cutting. In bathrooms, mosaic subway tile shines on shower walls, tub surrounds, and vertical accent columns.
Floors are possible too, but choose carefully. For a shower pan, the many grout lines between small tiles create excellent slip resistance and let the surface conform to the drain slope. On a regular bathroom or mudroom floor, stick with porcelain or a rated stone, and confirm the manufacturer lists the product as floor-rated with a suitable coefficient of friction (look for a DCOF of 0.42 or higher for wet areas).
Cost of Mosaic Subway Tile
Pricing spans a wide range based on material and brand. Use these figures for rough budgeting before you request quotes.
- Ceramic mosaic sheets: $8 to $15 per square foot.
- Glass mosaic: $15 to $30 per square foot.
- Natural stone (marble, travertine): $18 to $40 per square foot.
- Premium designer or handmade lines: $40 and up per square foot.
Installation labor typically adds $10 to $25 per square foot because mosaic work is more detailed than large-format tile. A pro spends extra time keeping sheet seams invisible and back-buttering pieces so no mesh telegraphs through. Budget another $2 to $4 per square foot for thin-set, grout, sealer, and trim pieces. For a typical 30-square-foot kitchen backsplash in mid-grade glass, expect a total installed cost in the $700 to $1,400 range.
Popular Patterns and Layout Ideas
Even though the sheets arrive pre-arranged, you control how the overall field reads by choosing your sheet orientation and grout color.
Running Bond (Offset Brick)
Most mosaic subway sheets come mounted in a 50 percent offset, mimicking a classic brick wall. This is the safe, universally flattering choice and hides minor wall irregularities.
Stacked (Grid)
Some sheets align the mini bricks in straight vertical or horizontal columns. Stacked layouts feel crisp and modern, but they demand a flat, plumb wall because any misalignment is obvious.
Herringbone and Chevron
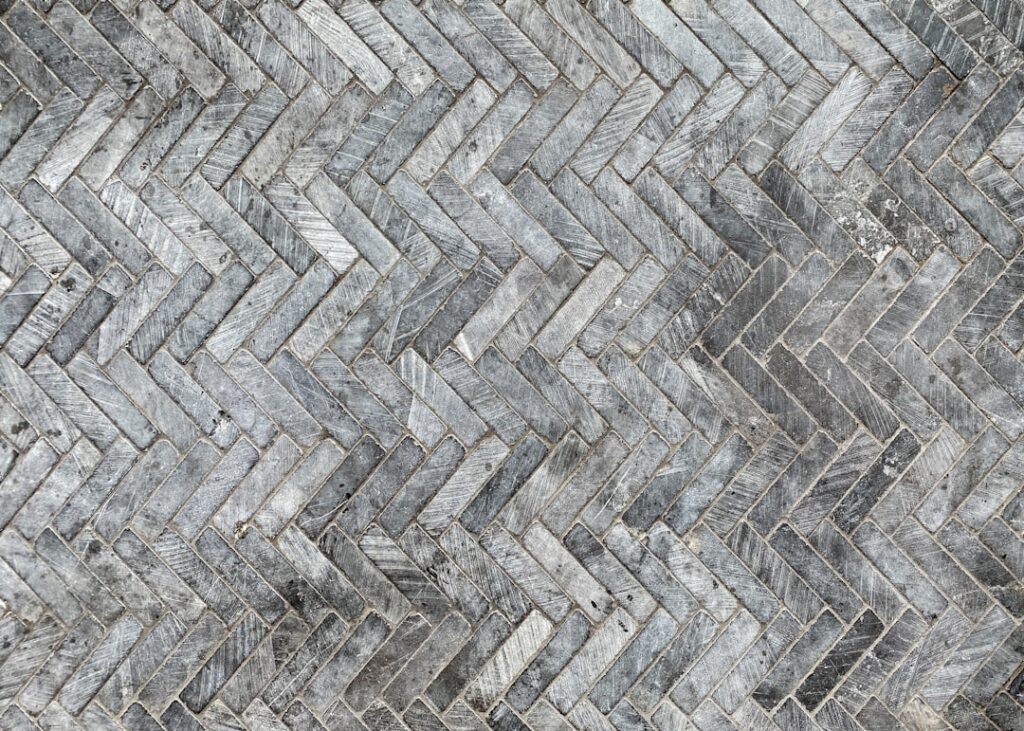
Manufacturers pre-assemble herringbone mosaic subway sheets so you get that intricate zigzag without cutting a single 45-degree angle yourself. It is a showstopper behind a range or on a feature wall.
Vertical Stack
Turning a running-bond sheet 90 degrees creates a vertical brick run that draws the eye upward and makes low ceilings feel taller.
Choosing Grout Color and Finish
Grout does more than fill gaps; it defines the entire look. A white tile with bright white grout reads seamless and airy, letting the tile shape recede. Pair the same white tile with charcoal grout and every mini brick pops into a graphic grid, emphasizing the pattern.
For wet areas, choose a high-quality grout and consider an epoxy or a polymer-modified sanded grout for durability and stain resistance. Products like MAPEI Ultracolor Plus FA and Custom Building Products Fusion Pro resist mildew and hold color well. Because mosaic sheets have so many grout lines, sealing cement-based grout after curing (usually 48 to 72 hours) is worth the extra hour of work.
How to Install Mosaic Subway Tile
DIY installation is realistic for a motivated homeowner, especially on a backsplash. Follow this sequence for clean results.
- Prep the surface: Clean, degrease, and ensure the wall is flat. For showers, install a waterproof backer board such as a Schluter-KERDI membrane or cement board.
- Dry-lay first: Set sheets along the counter or floor to plan cuts and stagger seams so repeating patterns do not line up awkwardly.
- Spread thin-set: Use a white polymer-modified mortar and a 3/16-inch V-notch trowel for small mosaics. Comb it flat, then knock down ridges so mortar does not squeeze through the joints.
- Press sheets in: Set each sheet, align the mini bricks with neighbors, and bed it with a grout float or a flat block. Keep sheet-to-sheet gaps identical to the internal gaps.
- Cut around obstacles: Score and snap individual tiles with nippers, or use a wet saw for glass and stone to avoid chipping.
- Grout and seal: After the mortar cures 24 hours, grout diagonally across the joints, wipe clean, and seal if using cement grout.
Care, Durability, and Common Mistakes
Once installed and sealed, mosaic subway tile is easy to live with. Wipe backsplashes with a pH-neutral cleaner and avoid abrasive pads on glass or polished stone. Reseal natural-stone grout lines annually in wet areas. The biggest long-term risk is grout discoloration, which regular sealing and prompt cleaning prevent.
The most common installation mistakes are using too much thin-set (it oozes into joints and ruins the crisp look), letting sheet seams create a visible “grid within a grid,” and skipping the flatness check on stacked patterns. Take your time aligning sheets, and the finished wall will look like hundreds of hand-set bricks rather than mesh-mounted squares.
Final Thoughts
Mosaic subway tile delivers the enduring charm of a brick-laid wall with far less labor, making it one of the most forgiving ways to add classic character to a kitchen or bath. Match the material to the location, pick a grout color that supports your design goal, and invest in careful sheet alignment. Do that, and you get a surface that looks custom, cleans easily, and stays in style for decades.
Prefer to explore on your own?
See how new flooring looks in your actual room in seconds — free, no signup.
Try the free Floor Studio →