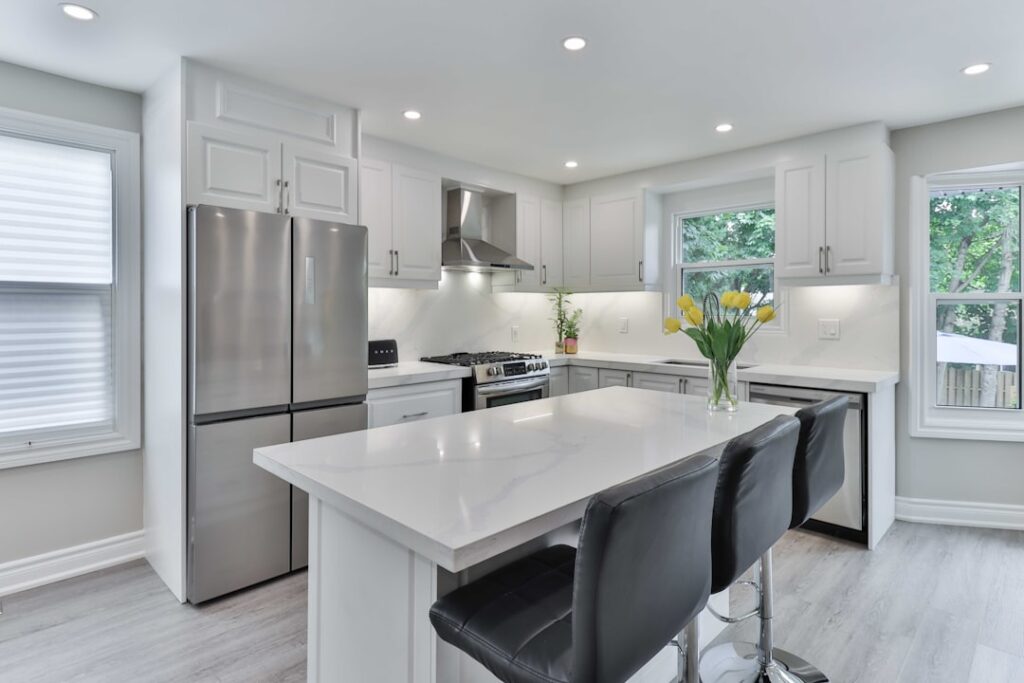
Most kitchens older than 20 years suffer from three predictable problems: cramped layouts designed for a single cook, storage that wastes vertical space, and finishes that look tired under modern LED lighting. If you are staring at an old kitchen with oak cabinets, laminate counters, and a cream-colored appliance or two, you have more options than a full $45,000 gut remodel. A strategic refresh can shave 15 to 20 years off the look for under $8,000 if you choose the right battles.
- Assessing What You Have Before You Swing a Hammer
- Refinishing Cabinets Instead of Replacing
- Counters: Where to Splurge and Where to Save
- Appliances: Upgrade in the Right Order
- Lighting Changes Everything
- Flooring Options That Do Not Blow the Budget
- Backsplash for Under $400
- Sequencing the Work to Avoid Chaos
This guide walks through the decisions that matter most, from what to keep to what to replace, and where your dollars return the highest visual payoff.
Assessing What You Have Before You Swing a Hammer
Walk the room with a notepad and evaluate five things: cabinet boxes, layout flow, lighting, counter condition, and flooring. Original solid-wood cabinet boxes from the 1970s and 1980s are almost always worth saving — particleboard boxes from the 1990s often are not. Open a door and look at the hinge side. If you see real wood end-grain, you can refinish. If you see crumbling pressed board with water damage, replacement makes more sense.
Measure the work triangle between your sink, range, and refrigerator. If the total exceeds 26 feet or any single leg is longer than 9 feet, the layout is fighting you every time you cook. That is a bigger problem than any dated finish.
Refinishing Cabinets Instead of Replacing
Cabinet replacement in a 10-by-12 kitchen runs $8,000 to $16,000 just for boxes and doors. Refinishing the same cabinets runs $1,200 to $3,500 if you hire out and closer to $400 in materials if you DIY with a system like General Finishes Milk Paint or Benjamin Moore Advance.
The DIY refinishing sequence
- Remove all doors, drawers, and hardware. Label each door with painter’s tape on the hinge side
- Clean with TSP substitute, then sand boxes and doors with 120-grit, finishing with 220-grit
- Prime with a bonding primer like INSL-X Stix or Zinsser BIN. One coat is usually enough
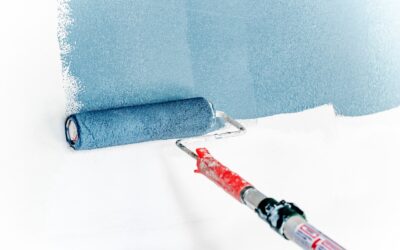
- Apply two thin coats of cabinet-grade paint with a foam roller and fine brush. Allow 6 to 8 hours between coats
- Let the final coat cure for 7 to 14 days before heavy use
Swap hinges for soft-close concealed hinges at around $4 each, and upgrade knobs and pulls. That $300 hardware refresh does more visual work than most people expect.
Counters: Where to Splurge and Where to Save
If your existing counters are tile, laminate from before 2000, or tired Formica with delaminated edges, this is your biggest visual win. Butcher block from IKEA runs $9 to $15 per square foot and looks premium once oiled. Laminate has come a long way — Wilsonart and Formica now make patterns that convincingly mimic marble for around $20 to $40 per square foot installed.
For a durable upgrade, quartz from Silestone, Cambria, or MSI runs $55 to $95 per square foot installed. In a typical 40 square foot kitchen, that is $2,200 to $3,800 — often the single largest line item in a refresh.
Appliances: Upgrade in the Right Order
If you are replacing appliances one at a time, start with the range. A modern slide-in range from GE, Samsung, or Bosch in the $900 to $1,600 range pairs with a decent over-the-range microwave and immediately modernizes the cooking wall. Dishwashers are next — older units waste water and run loud. A Bosch 300 series at around $850 runs at 44 decibels, quiet enough to hold a conversation.
Refrigerators last longest, so replace that one last unless it is failing. A counter-depth French-door model in the $1,800 to $2,600 range sits flush with surrounding cabinets and instantly makes the layout feel intentional.
Lighting Changes Everything
Old kitchens almost universally suffer from a single center-mounted fluorescent or incandescent fixture that throws harsh shadows onto your counters. Layered lighting is the fix. Install under-cabinet LED strips rated at 2700K to 3000K, add three to four recessed 4-inch LED cans for general lighting, and hang a pair of pendants over any peninsula or island.
Budget $150 to $250 per can including installation if you hire an electrician, and $80 to $200 per pendant. Under-cabinet strips run $30 to $60 per run and plug into a standard outlet.
Flooring Options That Do Not Blow the Budget
Sheet vinyl and peel-and-stick tile from the 1980s and 1990s tends to curl at the seams and show traffic patterns. Luxury vinyl plank in the 6mm to 8mm range costs $2.50 to $5 per square foot and installs directly over most existing floors with minimal prep. Brands like COREtec, Shaw Floorté, and LifeProof carry 20-year residential warranties.
For a 120 square foot kitchen, figure $300 to $600 in materials and another $400 to $700 if you hire out installation. Skip the floor replacement if your existing tile is sound and in a neutral color — your money is better spent on counters or cabinets.
Backsplash for Under $400
A 30 square foot backsplash is a weekend project that transforms the wall between counters and upper cabinets. Subway tile at $2 to $4 per square foot remains the safest long-term choice. Peel-and-stick options from Smart Tiles at around $8 per 10-by-10 inch sheet work surprisingly well in rentals or low-commitment refreshes.
Buy 10 to 15 percent extra for cuts and breakage, rent a wet saw for $45 a day from Home Depot, and plan on eight to ten hours for a first-timer with grouting.
Sequencing the Work to Avoid Chaos
Do messy demolition first — flooring removal, backsplash demo, any wall or soffit work. Paint walls and ceiling next, then install new flooring. Counters go in after the cabinets are refinished and before the backsplash. Appliances come last so they do not get scuffed during the rest of the work.
Expect a DIY refresh to take four to eight weekends if you are working evenings. Budget an extra $500 for takeout and restaurant meals because your kitchen will be unusable for stretches. An updated old kitchen feels less like a renovation and more like a reset — you keep the bones that work and shed the finishes that date the space.