Walk barefoot across a pool deck finished in smooth river rock and you understand the appeal instantly. Outdoor pebble stone flooring takes small, rounded stones and locks them into a clear resin binder, creating a seamless, porous surface that drains rain in seconds and stays cooler than poured concrete under a July sun. It has quietly become one of the most popular resurfacing choices for patios, walkways, and pool surrounds. Before you commit, though, you should know exactly how it goes down and where it can disappoint.
What Resin-Bound Pebble Flooring Actually Is
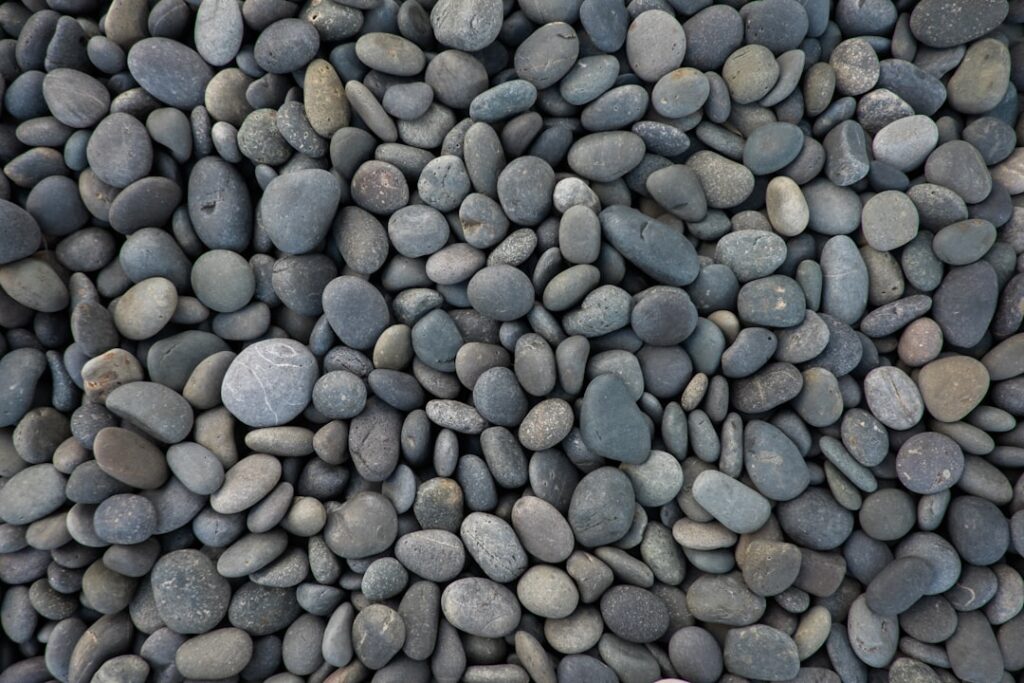
The system is deceptively simple. Kiln-dried natural pebbles, typically 1/8 inch to 3/8 inch in diameter, get mixed with a clear two-part polyurethane or epoxy resin in a forced-action mixer. That wet aggregate is then troweled over a prepared base at a thickness of about 3/8 inch to 3/4 inch and floated smooth. Once cured, the stones are permanently suspended in a hard, glassy matrix.
Do not confuse it with loose pea gravel or with resin-bonded surfaces, where pebbles are merely scattered onto a glue coat and left partly loose. A true bound system encapsulates every stone, so nothing migrates, tracks indoors, or clogs your pool skimmer. Colors range from warm honey and buff blends to cool gray and near-black basalt, and installers can mix batches to create borders or subtle patterns.
Once your patio flooring is in place, think about how you’ll use the space. A gazebo adds shade and structure, while a good outdoor furniture set turns it into a spot you’ll actually want to hang out in. A deck box is also worth considering if you need somewhere to stash cushions and outdoor gear.
We may earn a commission when you purchase through our links.
Installing Over an Existing Concrete Slab
Most homeowners lay pebble flooring directly over sound concrete, which is the ideal substrate. The slab must be clean, structurally solid, and fully cured, at least 28 days for new pours. Any oil stains, flaking, or old sealer has to go first, usually through diamond grinding or shot blasting to open the pores.
The typical sequence runs like this:
- Grind and vacuum the slab, then repair cracks with a flexible polyurethane filler.
- Roll on a moisture-tolerant epoxy primer and let it tack up.
- Mix pebbles and resin in small batches; you have roughly 20 to 40 minutes of working time per batch before it stiffens.
- Trowel to a consistent depth, checking with a depth gauge, and burnish the surface flat.
- Keep foot traffic off for 24 hours and heavy furniture off for a full 3 to 5 days.
Ambient temperature matters more than people expect. Resin cures poorly below 50°F and can flash-cure too fast above 90°F, so schedule work for a mild, dry stretch.
Why Drainage Is the Standout Feature
The signature benefit is permeability. Because the resin coats the stones without filling the voids between them, water passes straight through the surface and into the base below. A properly built system can drain roughly 50 gallons per square yard per minute, which effectively eliminates puddles and reduces the slippery sheet-flow you get on smooth concrete.
That said, the substrate underneath still has to send water somewhere. Over a solid slab, you rely on the slab’s existing slope, ideally 1/4 inch per foot away from the house. On open ground, installers build a permeable base of open-graded aggregate so the water has a path down. Skip that planning and you trade surface puddles for saturated soil.
Sealing and Ongoing Maintenance
UV-stable systems come with the binder built in, but many installers add a clear topcoat sealer to boost stain resistance and lock loose grit. Reapply that sealer every 2 to 4 years depending on sun exposure and traffic. In shaded, damp spots, an anti-slip additive broadcast into the sealer keeps the surface grippy when wet.
Day-to-day care is genuinely light. Sweep or leaf-blow debris, and pressure wash a few times a year on a fan tip held 12 inches back to flush dirt from the pores. Avoid harsh solvents and deicing salts, which can degrade the resin over time.
The Honest Pros and Cons
Every surface has trade-offs, and pebble flooring is no exception. Weigh these before you sign a contract.
- Pros: seamless and joint-free, excellent drainage, cooler underfoot than dark pavers, slip-resistant when specified, and it hides minor slab imperfections.
- Cons: the textured surface can feel rough on bare feet and knees, it is harder to clean spilled food from than smooth tile, cheaper epoxy binders yellow under UV, and a failed installation can delaminate in sheets.
Longevity tracks closely with installer skill. A quality resin-bound job lasts 15 to 25 years, while a rushed one over a dirty slab may lift within a couple of seasons.
What It Costs
Expect professional installation to run roughly $8 to $18 per square foot depending on stone type, thickness, and site prep. Reputable installers often set a minimum project charge because mixing and mobilization eat the same time on a small patio as a large one. DIY kits exist and can cut material costs to $4 to $7 per square foot, but the mixing ratios and working-time pressure trip up first-timers, so budget for practice.
Common Applications Around the Home
Because it drains fast and shrugs off standing water, resin-bound pebble flooring shows up most often in wet, high-traffic outdoor zones. Homeowners choose it for surfaces where a smooth, puddle-free finish genuinely improves safety and looks.
- Pool decks and surrounds: the porous surface sheds splash-out instantly and stays cooler than dark pavers underfoot.
- Patios and courtyards: a seamless, joint-free look that resists the weeds and shifting that plague paver joints.
- Walkways and garden paths: a firm, stable surface that meets accessibility needs better than loose gravel.
- Driveways: possible with a thicker build and heavier-duty resin, though it demands a very solid base.
- Tree pits and permeable zones: water passes through to the roots below rather than running off.
One thing to plan for is edging. Because the surface is poured, it needs a clean restraint at its perimeter, whether a metal edge strip, a paver border, or a trench drain, so the resin has a defined stopping point and the edge does not chip over time.
How It Compares to Alternatives
Set pebble flooring beside its rivals and the trade-offs come into focus. Poured concrete is cheaper but cracks, stains, and puddles. Pavers offer a classic look but develop uneven joints and weed growth. Stamped concrete mimics stone but gets slick when wet. Resin-bound pebbles split the difference, delivering a natural, permeable, low-maintenance surface, at a higher price than plain concrete but often less than high-end natural stone once you factor in the lack of joint maintenance.
Is It Right for Your Project?
If you want a clean, contemporary surface for a pool deck, courtyard, or path that drains fast and stays comfortable in heat, outdoor pebble stone flooring is a strong contender. If your priority is a plush barefoot lounging area or a surface you can mop food off easily, a smooth composite deck or large-format porcelain paver may serve you better. Get at least two quotes, ask to see completed jobs at least three years old, and confirm the installer uses a UV-stable binder before you commit.
Prefer to explore on your own?
See how new flooring looks in your actual room in seconds — free, no signup.
Try the free Floor Studio →