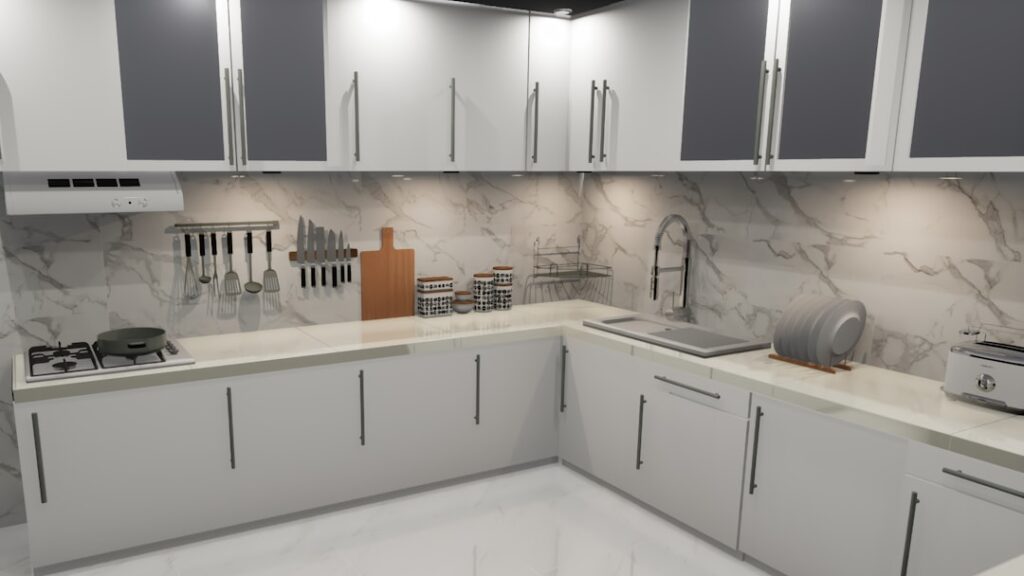
If you love the idea of an island but your floor plan can’t spare the space, a peninsula bar in kitchen designs gives you most of the same benefits for far less square footage. A peninsula is essentially a counter that connects to a wall or existing cabinet run on one end, leaving three sides open. It adds seating, prep space, and a natural divider between the kitchen and the next room, all without the wide clearances a freestanding island demands. For galley and L-shaped kitchens especially, it’s often the smartest layout move you can make.
Peninsula vs. Island: What’s the Real Difference?
An island stands alone with walkways on all four sides, which means you need at least 36 to 42 inches of clearance around the entire perimeter. That’s a lot of room. A peninsula attaches to your cabinetry or a wall on one side, so it only needs clearance on three sides.
That single connection point is the whole advantage. It lets you add counter and seating to a tighter kitchen where an island simply wouldn’t fit. The tradeoff is that traffic flows around the open end rather than straight through, so you lose one path. For most homes under about 200 square feet of kitchen, the peninsula wins on practicality.
Sizing Your Peninsula Bar
Getting the dimensions right is what separates a comfortable peninsula from a cramped one. Standard base cabinets are 24 inches deep, and a typical peninsula countertop runs 25 to 26 inches deep before you add a seating overhang.
- Counter height: 36 inches, matching standard kitchen counters
- Bar height: 42 inches, for a raised second tier and taller stools
- Seating overhang: 12 to 15 inches for knee room
- Per-stool width: plan 24 inches of counter per seat
- Walkway clearance: keep at least 36 inches behind seated stools, 42 to 44 inches if it’s a main traffic path
If you want a two-level peninsula with a raised bar, the upper counter sits at 42 inches and the lower work counter at 36. A single-level design keeps everything at 36 inches, which looks cleaner and gives you more usable surface, though stools and standers share the same height.
How Many Seats Can You Fit?
Count on roughly 24 inches of linear counter per stool for comfortable elbow room. A 4-foot overhang seats two, while a 6-foot run handles three. Wrapping seating around a corner adds capacity, though the corner spot tends to be the least comfortable because of leg overlap.
Counter overhang is non-negotiable for real seating. Without at least 12 inches of overhang, there’s nowhere to tuck your knees, and anyone sitting there feels perched rather than seated. For overhangs beyond 12 inches, especially with stone countertops, you’ll need steel supports or corbels to keep the slab from cracking under weight.
Smart Uses for the Peninsula
The beauty of a peninsula is how many jobs it does at once. It can serve as a breakfast bar, a buffet line for entertaining, a homework station, and extra prep counter all in the same week.
Plenty of homeowners build function into the structure itself. A peninsula can house a second sink for prep, a dishwasher, a wine fridge, or a microwave drawer. The back side, the part facing the living area, is prime real estate for open shelving, a bookcase, or extra cabinets that you access from the dining side. Adding outlets along the side or under the overhang turns it into a working charging and small-appliance zone too.
Defining Space Without Walls
In open-concept homes, a peninsula does something a plain wall can’t. It creates a clear boundary between the kitchen and the adjacent living or dining area while keeping sightlines open. You can cook and still talk to guests or keep an eye on kids in the next room.
Material choices reinforce that divide. A waterfall edge, where the countertop material runs down the open end to the floor, gives the peninsula a furniture-like finish that reads well from the living side. A contrasting cabinet color on the peninsula, say navy against white perimeter cabinets, turns it into an intentional design feature rather than an afterthought.
Common Mistakes to Avoid
The most frequent error is shorting the walkway. Cramming a peninsula into a galley kitchen feels great on paper until two people can’t pass behind the stools. Always test your clearances with painter’s tape on the floor before committing.
Another misstep is forgetting about the open end becoming a dead-end. Because a peninsula blocks one path, it can force a longer walk to the fridge or pantry. Map your typical cooking route first. Finally, don’t overload the overhang depth without proper support, and don’t place the cooktop on a peninsula seating area, since splatter and heat make that a poor pairing for anyone sitting across from it.
Countertop Material Choices
Because a peninsula gets used hard, both for cooking and for casual dining, the countertop material deserves thought. The open end is highly visible from the living area, so looks matter as much as durability here.
- Quartz: nonporous, stain-resistant, and low-maintenance, running roughly $50 to $120 per square foot installed
- Granite: heat-resistant natural stone with unique veining, about $40 to $100 per square foot installed, needs periodic sealing
- Butcher block: warm and budget-friendly at $30 to $70 per square foot, ideal if you want a softer look on the seating side
- Laminate: the most affordable at $10 to $40 per square foot, with modern patterns that mimic stone
A waterfall edge in quartz or granite, where the slab pours down the open end to the floor, gives the peninsula a high-end, furniture-like presence. If the overhang extends past 12 inches for seating, confirm your material and support can handle the unsupported span, since stone is heavy and can crack without proper bracketing.
Lighting the Peninsula
Good lighting turns a peninsula into a genuine gathering spot. Because it doubles as a casual dining and homework surface, you want both task light for cooking and a warmer glow for eating.
Pendant lights are the classic solution. Hang two or three pendants over a standard peninsula, spacing them evenly and centering them over the counter, typically 30 to 36 inches above the surface so they light the work zone without blocking sightlines. Odd numbers usually look best. For a single-level peninsula used heavily for prep, add under-cabinet lighting on any upper cabinets and consider recessed cans overhead. Put the pendants on a dimmer so you can brighten them for chopping and soften them for dinner or entertaining.
Cost Expectations
A peninsula’s price tracks with its size and finishes. Basic stock cabinets plus a laminate top might land around $1,000 to $2,500. Move up to semi-custom cabinets and a quartz or granite countertop and you’re looking at $3,000 to $6,000 or more, especially once you add a sink, electrical, or a second-tier bar. Adding plumbing or appliances drives the cost up fastest because of the rough-in work involved.
Even at the higher end, a peninsula usually costs less than a comparable island because it requires fewer finished sides and less cabinetry. For the space and function it returns, a well-planned peninsula bar in kitchen layouts is one of the better value upgrades you can make.