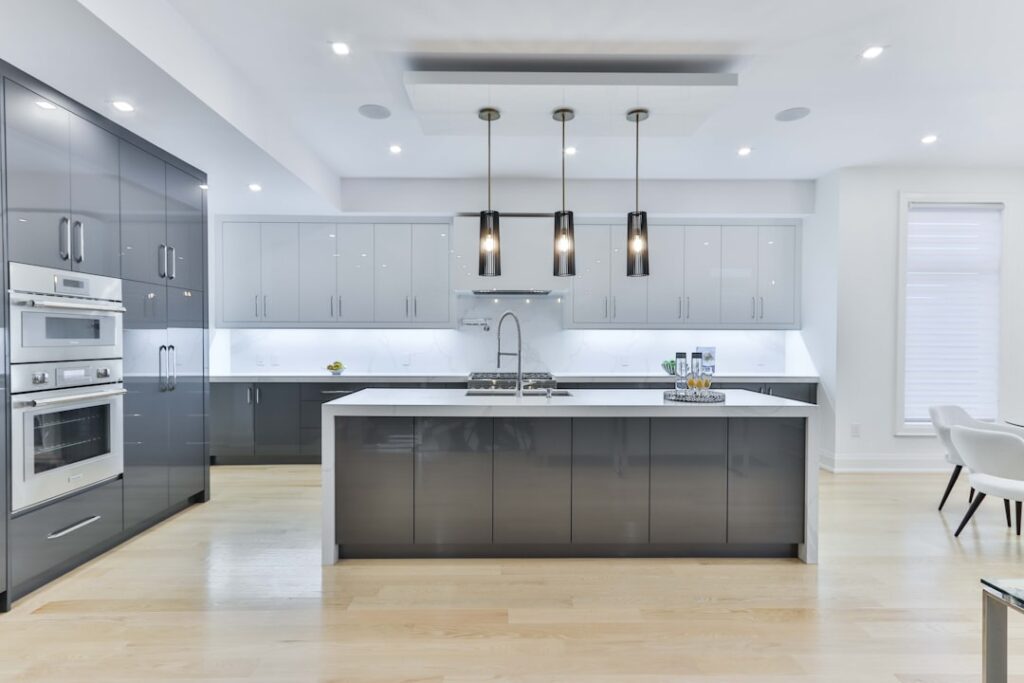
The single fastest upgrade you can make to a kitchen is plug in under cabinet lighting, and it does not require an electrician, a permit, or a single wire in the wall. These fixtures draw power from a standard outlet, mount with adhesive or a couple of screws, and brighten the countertop workspace that overhead lights always leave in shadow. For under $100 and an afternoon, you get better task lighting and a warmer, more finished-looking kitchen. Here is how to choose and install it well.
- Why Under-Cabinet Lighting Matters
- The Main Fixture Types
- Color Temperature: Get This Right
- How Bright Do You Need?
- Dimming and Controls
- Installation Without an Electrician
- Plug-In vs. Hardwired vs. Battery
- Measuring and Planning Your Layout
- Care and Longevity
- Hiding the Cord Cleanly
- Beyond the Kitchen: Other Uses
- The Bottom Line
Why Under-Cabinet Lighting Matters
Overhead fixtures sit behind you when you stand at the counter, which means your own body casts a shadow onto the work surface. That is why chopping vegetables or reading a recipe often feels dim even in a well-lit room. Under-cabinet fixtures put light exactly where the work happens, eliminating shadows and reducing eye strain.
Beyond function, plug in under cabinet lighting adds a layer of ambient glow that makes a kitchen feel custom. Leave it on at night as a soft nightlight and skip the harsh ceiling fixtures entirely. It is the kind of small change that people notice the moment they walk in.
The Main Fixture Types
Plug-in options fall into a few clear categories, each with a best-use case:
- LED light bars: Linkable strips a few inches to a couple feet long. The most popular choice for even, continuous light along a counter run.
- Puck lights: Round fixtures that cast focused pools of light. Good for accenting a glass cabinet or a specific spot, less ideal for uniform task lighting.
- LED tape and strip light: Flexible adhesive strips that hug the underside of a cabinet lip, great for a hidden, seamless glow.
- Motion-sensor rechargeable bars: Battery units that stick anywhere and need no cord at all, useful in a pantry or a rental where cords are tricky.
For a typical kitchen, linkable LED bars deliver the best mix of brightness, even coverage, and easy installation.
Color Temperature: Get This Right
Color temperature, measured in Kelvin, determines the mood and usability of your lighting more than any other spec. Match it to the rest of your kitchen so the counters do not glow a different color than the room.
- 2700K to 3000K (warm white): Cozy, yellow-toned light that flatters wood cabinets and warm countertops. The most popular residential choice.
- 3500K to 4000K (neutral white): Cleaner and brighter, good for detailed cooking prep and modern white kitchens.
- 5000K+ (daylight): Crisp and blue-white. Excellent for task accuracy but can feel clinical in a home kitchen.
Many current bars offer selectable color temperature, letting you flip between warm and cool with a switch. If you are unsure, that flexibility is worth paying a few dollars more for.
How Bright Do You Need?
Brightness is measured in lumens, not watts, on LED fixtures. Aim for roughly 200 to 300 lumens per linear foot of counter for solid task lighting. A 12-inch bar producing 250 lumens works for accent duty, while serious cooks prepping at the counter will appreciate 300 or more. Look for a CRI rating of 90 or higher so food and finishes show their true colors under the light.
Dimming and Controls
Not every plug-in fixture dims, so check before buying if that matters to you. Options range from a simple inline rocker switch on the cord to touch-dimmable bars and app-controlled smart strips. A common setup uses a plug-in module with a wireless remote, letting you set the whole run to a low evening glow or full brightness for cooking. Smart versions integrate with Alexa or Google Home if you want voice control, though a basic remote covers most needs.
Installation Without an Electrician
The whole appeal of plug-in fixtures is the tool-light install. Here is the proven approach:
- Clean the underside of the cabinet with rubbing alcohol so adhesive bonds properly.
- Mount the bars toward the front lip of the cabinet, not the back wall, so light falls on the counter rather than the backsplash.
- Link multiple bars together with the included connectors, then run a single cord to the nearest outlet.
- Hide the cord by routing it up the back corner of the cabinet, through a small drilled hole, or behind trim.
Mounting near the front edge is the pro move most people miss; it is the difference between a bright counter and a bright backsplash.
Plug-In vs. Hardwired vs. Battery
It helps to know where plug-in fixtures sit among the alternatives, because each solves a different problem. Plug-in units are the middle ground: more permanent and brighter than battery lights, far easier to install than hardwired.
- Plug-in: No electrician, corded to an outlet, bright and consistent. The best all-around choice for most kitchens.
- Hardwired: Cleanest look with no visible cord, but requires running cable inside the wall and often a permit. Best during a remodel when walls are open.
- Battery/rechargeable: Zero wiring and stick anywhere, but you recharge or replace batteries and the output is dimmer. Great for a rental, pantry, or closet.
If you are not remodeling and want real, always-on task light without electrical work, plug-in is almost always the right answer.
Measuring and Planning Your Layout
A little planning prevents dark gaps and mismatched runs. Measure the length of each cabinet run and plan to light roughly two-thirds of that span, since the fixtures cast light wider than their own length. Position bars end-to-end with the small gaps between them centered over less-used areas rather than a prime prep zone.
Sketch which cabinet sits nearest an outlet, because that becomes your power feed. From there you link bars in series back toward the plug, keeping the single cord run as short as possible. For an L-shaped kitchen, plan each leg separately and pick the closest outlet on each wall. Buy one extra connector cable; runs almost always need a jumper across the gap above a stove or sink.
Care and Longevity
LED under-cabinet fixtures are close to maintenance-free, but a few habits keep them performing. Wipe the lenses occasionally, since a film of cooking grease dims the output over time, especially near the range. Quality LED bars are rated for tens of thousands of hours, so the diodes themselves rarely fail; when a bar goes dark, the culprit is usually a loose connector or the power adapter, both cheap to replace. Buy a known brand with available replacement cords so a single failed component does not force you to redo the whole run.
Hiding the Cord Cleanly
The one downside of plug-in fixtures is the visible cord, but it is easy to tame. Use adhesive cord channels painted to match the cabinet, drill a discreet hole through the back of an upper cabinet to reach an outlet inside, or route the wire behind a decorative valance. On a run of cabinets, plan the fixture nearest an existing outlet as the power feed and link the rest back to it, minimizing exposed wire.
Beyond the Kitchen: Other Uses
Under-cabinet fixtures earn their keep well beyond the kitchen counter. The same plug-in bars solve dim spots all over the house, and because they need no wiring, you can experiment freely.
- Home office: Mount a bar under a hutch or floating shelf to light the desk surface without a bulky lamp.
- Closets: A motion-sensor rechargeable bar turns a dark closet usable instantly, no outlet required.
- Bathroom vanity: A warm bar under a wall cabinet adds flattering task light for the mirror.
- Display shelves and bookcases: Puck lights or short bars highlight collectibles and art.
- Workbench: A bright neutral-white bar under a garage shelf lights detailed work.
Because plug-in fixtures install in minutes and leave no permanent marks beyond a little adhesive, they are ideal for renters and anyone who likes to rearrange. Once you see how much a small strip of light improves one dim spot, you will find yourself adding them room by room throughout the house.
The Bottom Line
For a modest budget and zero electrical work, plug in under cabinet lighting transforms how a kitchen looks and works. Choose linkable LED bars in a warm-to-neutral color temperature, target 200 to 300 lumens per foot, mount toward the front lip, and tuck the cord out of sight. Add a remote or smart control if you want dimming. It is the rare upgrade that pays off the moment you flip the switch and keeps paying off every time you cook after dark.
If you are new to the project, start with a single run over your main prep counter, live with it for a week, and you will quickly see where else a strip of light would help. Because the fixtures are inexpensive and install without tools or wiring, expanding is easy and low-risk. Few improvements deliver this much everyday usefulness for so little money and effort.