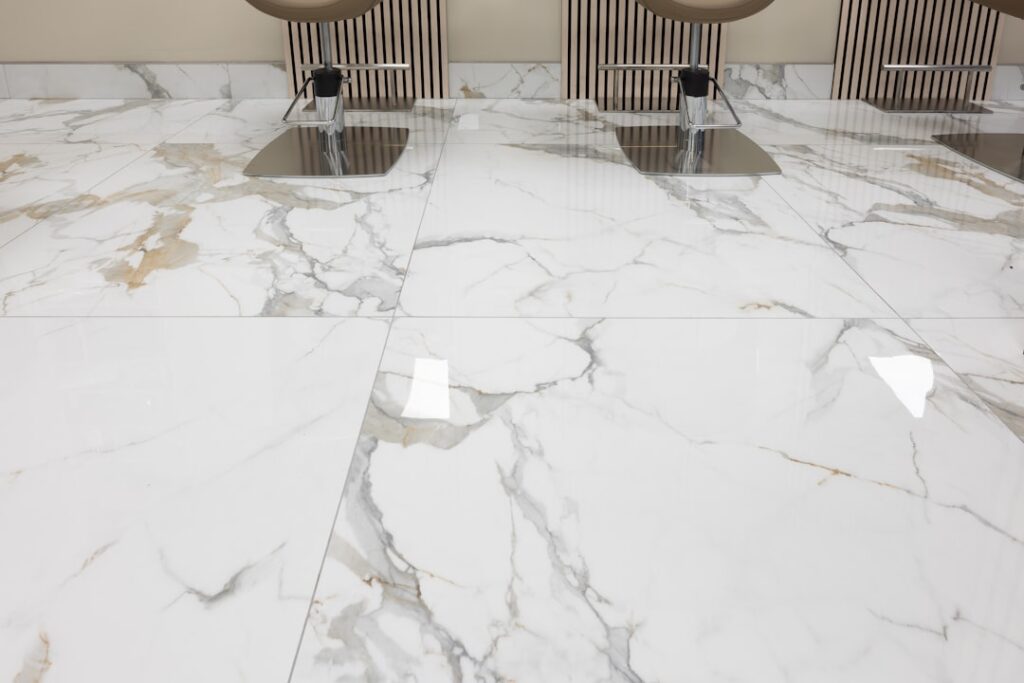
A chipped bathtub, a stained sink, or dated tile can make an entire bathroom feel worn out, and replacing those fixtures is expensive and disruptive. That is where porcelain epoxy comes in. This durable, two-part coating bonds to porcelain, ceramic, and enamel surfaces, restoring a smooth, glossy, like-new finish for a fraction of the cost of replacement. Whether you want to refresh a tub, revive a countertop, or update tile color, understanding how porcelain epoxy works, where it shines, and how to apply it will help you decide if it is the right project for your home.
- What Is Porcelain Epoxy?
- Where Porcelain Epoxy Works Best
- Benefits of Porcelain Epoxy
- How to Apply Porcelain Epoxy
- Durability and What to Expect
- Costs of Porcelain Epoxy Refinishing
- Caring for a Porcelain Epoxy Finish
- DIY Versus Professional Application
- Common Mistakes to Avoid
- Final Thoughts on Porcelain Epoxy
What Is Porcelain Epoxy?
Porcelain epoxy is a specialized coating made of two components, a resin and a hardener, that are mixed together and applied to porcelain or enamel fixtures. Once cured, the chemical reaction creates a hard, glossy, water-resistant shell that mimics the original factory finish. It is commonly sold as a refinishing or reglazing kit and is designed to adhere to the slick, nonporous surfaces that ordinary paint cannot grip. The result is a renewed surface that resists moisture, cleaning chemicals, and everyday wear, giving old fixtures a second life without the mess and expense of tearing them out.
Where Porcelain Epoxy Works Best
This coating is versatile, but it performs best on specific surfaces:
- Bathtubs: The most common use, covering chips, stains, and dated colors on porcelain and enameled steel tubs.
- Sinks: Both bathroom and kitchen sinks can be refinished to erase scratches and discoloration.
- Ceramic tile: Wall and floor tile in bathrooms can be recoated to change color, though high-wear floors demand a durable formula.
- Countertops: Cultured marble and tile counters take epoxy well for a color refresh.
- Toilets and fixtures: Exterior porcelain surfaces can be recoated to match a new scheme.
The common thread is a hard, nonporous surface that has been properly cleaned and etched so the epoxy can bond tightly.
Benefits of Porcelain Epoxy
The appeal of porcelain epoxy comes down to cost, speed, and results. Refinishing a tub typically costs a fraction of replacement, and the work is done in a day or two rather than the week a full remodel might take. There is no demolition, no plumbing rework, and no disposal of a heavy old fixture. The finished surface looks fresh and glossy, resists water and mild cleaners, and can be color-matched to modern schemes. For landlords, house flippers, and budget-conscious homeowners, it is one of the most cost-effective ways to modernize a dated bathroom or kitchen without a major renovation.
How to Apply Porcelain Epoxy
Application demands careful prep, because the bond is only as good as the surface underneath. A typical process looks like this:
- Clean thoroughly. Scrub away all soap scum, grease, and residue, since any film ruins adhesion.
- Repair damage. Fill chips and cracks with the kit’s filler and sand smooth once cured.
- Etch or sand the surface. Abrade the glossy finish so the epoxy can grip, using the etching solution or fine sandpaper provided.
- Mask and ventilate. Tape off surrounding areas and open windows or run a fan, as the fumes are strong.
- Mix the two parts. Combine resin and hardener in the exact ratio and only mix what you can use within the working time.
- Apply thin, even coats. Brush, roll, or spray on multiple light coats rather than one heavy one to avoid drips and runs.
- Cure fully. Allow the surface to cure for the full time on the label, often 24 to 72 hours, before use.
Durability and What to Expect
A properly applied porcelain epoxy finish can last 10 to 15 years on a bathtub with good care, though results depend heavily on surface prep and product quality. The coating resists water, moderate scrubbing, and daily use, but it is not indestructible. Dropping heavy objects can chip it, and harsh abrasive cleaners or scouring pads will dull and scratch the surface over time. Standing water and leaks around the drain can eventually cause peeling if the underlying surface was not sealed properly. Set realistic expectations: this is a refinishing coating, durable and attractive, but requiring gentler care than the original factory porcelain.
Costs of Porcelain Epoxy Refinishing
Cost depends on whether you do it yourself or hire a pro. A do-it-yourself tub refinishing kit runs about $30 to $100 and covers a single tub or sink. Professional refinishing of a bathtub typically costs $300 to $650, while sinks run less and full tile surrounds cost more. Compared with the $1,500 to $5,000 or more of replacing a tub and retiling, the savings are substantial. Hiring a professional adds cost but usually delivers a smoother, longer-lasting finish thanks to spray application and experience, which is worth considering for a highly visible fixture.
Caring for a Porcelain Epoxy Finish
To protect your investment, treat the refinished surface gently. Wait the full curing period before running water or bathing. Clean with soft cloths and non-abrasive, non-bleach cleaners rather than scouring powders or scrub pads. Avoid leaving wet bath mats, shampoo bottles, or standing water sitting on the surface for long periods, since trapped moisture can undermine the bond. Fix any dripping faucets promptly, as constant water flow wears the finish. Address small chips quickly with a touch-up kit before moisture creeps underneath. With this care, a porcelain epoxy finish stays glossy and intact for many years.
DIY Versus Professional Application
One of the biggest decisions is whether to refinish a fixture yourself or hire a professional, and the right answer depends on the project and your comfort level. A do-it-yourself kit is inexpensive and perfectly workable for a sink, a small tile area, or a tub in a rental where a modest result is fine. The trade-offs are a steeper learning curve, strong fumes, and a brush or roller finish that may show texture. Professional refinishers spray the coating for a smooth, factory-like result, and they have the experience to prep tricky surfaces and repair chips properly, which leads to a longer-lasting finish. For a highly visible main bathroom tub you plan to keep for years, the professional route usually justifies its higher cost. For a quick, budget refresh or a hidden fixture, a careful DIY job delivers real value. Either way, surface preparation is the single factor that most determines how long the finish lasts.
Common Mistakes to Avoid
Most porcelain epoxy failures trace back to a handful of avoidable errors. Rushing or skipping the cleaning and etching steps leaves a slick surface the coating cannot grip, so it peels within months. Mixing more of the two-part product than you can apply before it starts to set wastes material and leaves a lumpy finish. Applying one thick coat instead of several thin ones causes drips, runs, and slow curing. Using the fixture before the full cure time is up, sometimes several days, marks and damages the soft coating. Cleaning the new finish with abrasive powders or bleach quickly dulls and scratches it. And ignoring a dripping faucet lets constant water flow wear a channel through the coating. Respecting the prep, the coats, the cure time, and gentle aftercare avoids nearly all of these problems and rewards you with a finish that looks great for years.
Final Thoughts on Porcelain Epoxy
For anyone facing a worn tub, dull sink, or dated tile, porcelain epoxy offers an affordable, fast way to restore a like-new surface without a full renovation. Success hinges on meticulous surface prep, thin and even coats, and full curing before use. Pair a careful application with gentle, non-abrasive cleaning afterward, and this two-part coating can transform tired fixtures into fresh focal points that hold up for a decade or more, saving you the cost and hassle of ripping everything out and starting over.