
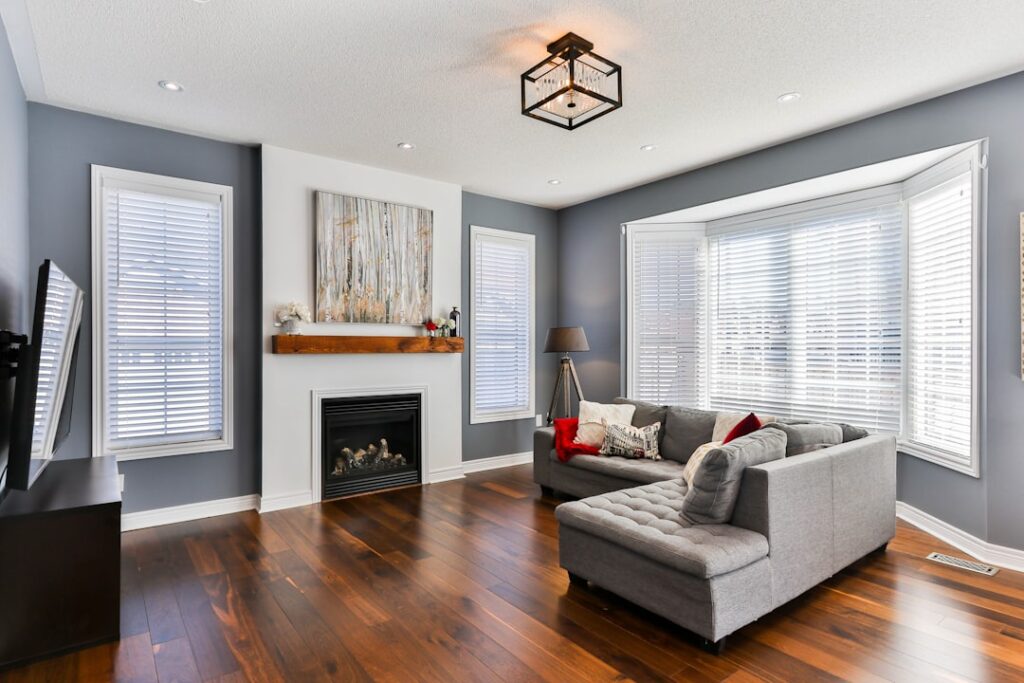
Wood floors lose their gloss long before they need refinishing, and that fading drives more sanding jobs than actual damage ever does. Quick Shine Hardwood Floor Luster sits in that gap between dull and worn out, restoring sheen in about 45 minutes for the cost of one good steak dinner. I have used it on real-estate prep jobs, on holiday rush touch-ups, and on my own oak floors between professional recoats. Used correctly it is a small miracle. Used wrong it leaves a hazy film you will be stripping off for hours. Here is how to get it right.
What Quick Shine Luster Actually Is
Holloway House Quick Shine Luster is a water-based acrylic and urethane polish blend. It dries to a thin protective layer that fills micro-scratches in your existing finish and reflects light evenly, giving the appearance of a freshly polyurethaned floor without the sanding. It is not a sealer, not a stain, and not a substitute for true hardwood refinishing.
The product is sold in 27 ounce and 64 ounce squeeze bottles for $7 to $14. A 27 ounce bottle covers roughly 250 square feet, which works out to about 4 cents per square foot per application. Compare that to $3 to $5 per square foot for a professional recoat.
When To Use It and When To Skip It
Reach for the product when your floor looks foggy in raking light, has fine surface scratches that catch only when you squint, and when you have a kitchen with a few traffic-worn spots. It buys time on a finish that is otherwise intact.
Skip it if the wood underneath shows through, if the finish is flaking, or if you can feel rough texture with a bare foot. At that point you need a screen-and-recoat or full sanding. Polish over damaged finish only delays the inevitable and adds a step to the refinishing prep.
Surface Prep That Determines the Outcome
Quick Shine fails when applied over residue. Before any liquid hits the wood, vacuum thoroughly with a hardwood-safe attachment, then damp-mop with a 50-50 mix of warm water and white vinegar. Let it dry completely, which takes about 30 minutes at 70 degrees F.
Pull rugs and felt-pad furniture out of the room. Tape off baseboards if you tend to be sloppy with applicators. Open windows for ventilation; the product is low-VOC but still smells faintly of acrylic for an hour.
Step-by-Step Application
- Shake the bottle for 15 seconds.
- Pour a small S-pattern about 12 inches wide across the wood grain.
- Spread immediately with a clean microfiber flat mop, working in 4 by 4 foot sections.
- Move with the grain and feather each edge into the next section before the polish flashes.
- Avoid pooling, especially at baseboards and corners. Thin and even is the goal.
- Let the floor cure 45 minutes before sock traffic, 24 hours before furniture, 72 hours before rugs.
One coat handles most light fading. Severely dull floors take a second coat after the first dries. Wait at least an hour between coats.
Common Mistakes To Avoid
The number one error is over-application. Homeowners squeeze the bottle like they are dressing a salad. That creates puddles, streaks, and a sticky white haze that takes hours to remove with a Holloway House stripper or ammonia and water. Less product, more passes.
The number two error is applying over a steam-mopped floor. Steam softens existing finish and traps moisture that prevents the acrylic from bonding. Wait a full day after any steam cleaning before polishing.
Third, never apply over wax-finished floors. Quick Shine bonds to polyurethane and aluminum-oxide finishes; on wax it beads up and looks worse than before.
How Long the Shine Lasts
In a low-traffic dining room or living room, expect six to nine months of glossy results. High-traffic kitchens and entryways need a refresh every two to four months. The polish wears thin under foot rather than peeling, so reapplication is just another light coat over a cleaned floor.
Plan to strip and reset the product about once every two years. Build-up in low-traffic corners eventually yellows and reads as dingy even after fresh coats. The Quick Shine Floor Finish Remover handles the strip in 15 minutes per 100 square feet.
Pros and Cons at a Glance
- Pros: Cheap, fast, low-odor, dramatically restores gloss, hides micro-scratches, safe on most polyurethane finishes
- Cons: Cosmetic only, can streak in inexperienced hands, must be stripped every couple years, not compatible with waxed floors
For around $10 and an hour of labor, you get a result that looks like a $400 recoat from across the room. It will not stand up to that comparison up close, and it will not stop deeper wear, but in the right scenario the value is hard to beat.
Pro Tips From the Field
Use a fresh microfiber pad. A dirty pad streaks the polish across the floor and locks in grit. Buy two and rotate them between rooms. Work toward the exit door so you do not paint yourself into a corner. In humid summer weather, run the AC or a dehumidifier; high humidity stretches dry time past an hour and increases the chance of footprints.
If you are prepping a house for listing photos, apply two coats the day before the shoot. Floors photograph 30 percent brighter on camera with fresh Quick Shine Hardwood Floor Luster than with even a freshly cleaned but unpolished finish.
Verdict for the Average Homeowner
Used as a maintenance product on intact finish, this polish punches well above its price. Used as a band-aid on damaged floors, it disappoints and creates more prep work for the eventual refinishing crew. Know which situation you are in before you twist the cap.
Prefer to explore on your own?
See how new flooring looks in your actual room in seconds — free, no signup.
Try the free Floor Studio →

