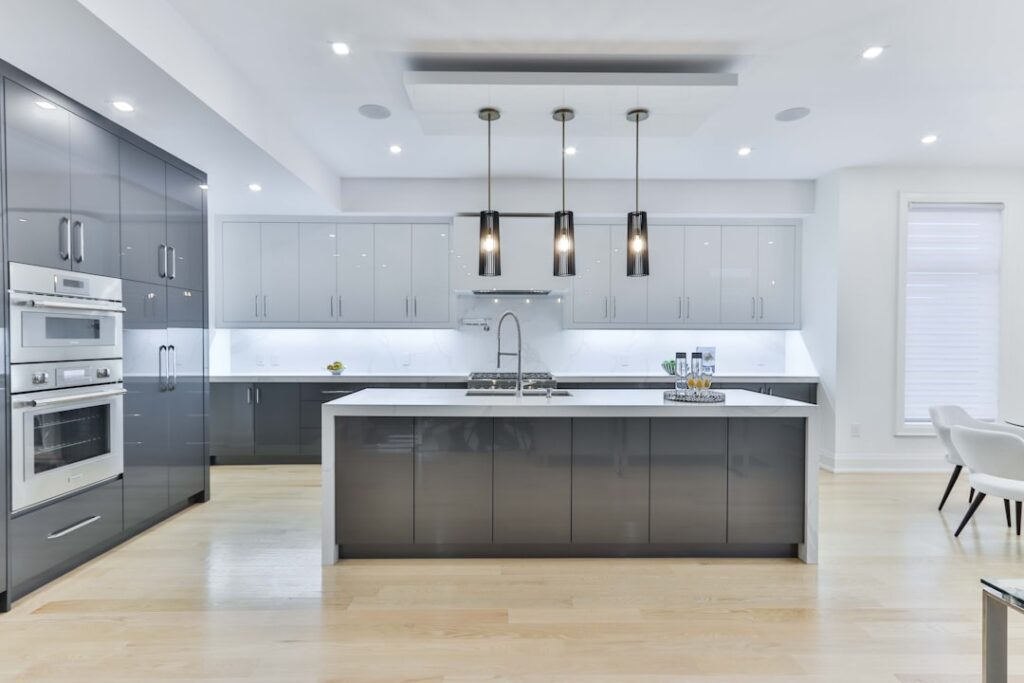
Rechargeable under cabinet lights have quietly become one of the most popular weekend upgrades in American kitchens, and the reason is simple: a single modern lithium bar can run for 6 to 10 hours on a charge and recharge over a USB-C cable in about 2 to 3 hours. That means you can add bright, even task lighting to a countertop without hiring an electrician, drilling into a wall, or fishing wires through a cabinet. At D and G Flooring we field a lot of questions about kitchen upgrades that pair with new floors, and under cabinet lighting is near the top of the list because it changes how a room feels almost instantly.
- How Rechargeable Under Cabinet Lights Work
- Battery Life and Charging Realities
- Brightness, Measured in Lumens
- Color Temperature Changes Everything
- Choosing the Right Length and Quantity
- Installation Step by Step
- Rechargeable Versus Hardwired and Plug-In Options
- Common Problems and How to Avoid Them
- Maintenance and Lifespan
- Final Thoughts
How Rechargeable Under Cabinet Lights Work
These fixtures combine three things in one slim housing: an array of LEDs, a rechargeable lithium-ion battery, and a small control board. When the battery is charged, you mount the bar to the underside of your upper cabinets and switch it on. Most units use one of three activation methods. Tap or touch controls let you press the fixture itself to cycle on, off, and through brightness levels. Motion sensors turn the light on when your hand passes underneath, which is handy at night. Remote controls let you operate several bars at once from across the room.
Because there is no wiring, the entire installation lives or dies on the mounting method. Manufacturers typically include strong adhesive strips, magnetic mounting plates, or small screws. Magnetic plates are the favorite among homeowners who like to pull a bar down for charging and snap it back into place in seconds.
Battery Life and Charging Realities
Battery life is the number that matters most, and it is also the one most often exaggerated on packaging. A typical bar holds a battery rated between 1,000 and 2,500 milliamp-hours. At full brightness you should expect roughly 4 to 6 hours of runtime, while a dimmed setting can stretch that to 10 hours or more. If you run a light several hours every evening, plan to recharge once or twice a week.
Charging time depends on the port. Older micro-USB models can take 4 to 5 hours, while newer USB-C units often finish in 2 to 3 hours. A few premium systems ship with a magnetic charging cradle so you never fumble with a tiny port. Keep these points in mind:
- Lithium batteries last longest when you avoid draining them to zero repeatedly. Topping off at around 20 percent is ideal.
- Cold temperatures reduce runtime, so a bar in an unheated garage will not perform like one in a warm kitchen.
- After a few hundred charge cycles, expect total capacity to drop. Most quality bars hold up well for 2 to 4 years of regular use.
Brightness, Measured in Lumens
Brightness is measured in lumens, not watts. For accent lighting that simply adds a soft glow, 50 to 100 lumens per bar is plenty. For genuine task lighting where you chop vegetables or read a recipe, look for 200 to 400 lumens per fixture, and plan to install several bars so the light overlaps and eliminates shadows. A common mistake is buying one long bar and expecting it to light an entire 10-foot run. Two or three shorter bars spaced evenly produce far more even coverage.
Color Temperature Changes Everything
Color temperature, measured in Kelvin, determines whether your light looks warm and yellow or cool and blue. Here is a quick reference:
- 2,700K to 3,000K produces a warm, cozy white that flatters wood tones and warm paint colors.
- 3,500K to 4,000K is a neutral white that many people find ideal for food prep because it renders colors accurately.
- 5,000K and above is a crisp daylight white that feels clinical but maximizes visibility.
Many newer rechargeable bars are tunable, meaning you can switch between warm and cool with a button press. If your kitchen has warm-toned cabinets or a wood-look floor, a tunable light lets you match the mood of the room at dinner and switch to a brighter neutral white for cleaning.
Choosing the Right Length and Quantity
Measure the underside of each upper cabinet before you buy. Bars commonly come in 8-inch, 12-inch, and 16-inch lengths. As a rule of thumb, cover about 60 to 70 percent of the cabinet length with light to avoid dark gaps. For a standard 30-inch cabinet, a single 16-inch bar or two 8-inch bars works well. Buying a multi-pack is usually cheaper per bar and ensures the color temperature matches across every fixture, which matters more than people expect. Mixing bars from different production runs can leave you with one slightly bluer light next to a warmer one.
Installation Step by Step
Installing rechargeable bars is genuinely a 20-minute job. Follow these steps for a clean result:
- Clean the underside of the cabinet with rubbing alcohol and let it dry completely so adhesive bonds properly.
- Dry-fit each bar with painter’s tape first to confirm spacing and that the light points where you want it.
- Position bars toward the front edge of the cabinet, not the back, so light falls on the countertop rather than the backsplash.
- Peel and press adhesive firmly for 30 seconds, or screw magnetic plates into the cabinet bottom for a removable setup.
- Charge each bar fully before first use to calibrate the battery indicator.
Rechargeable Versus Hardwired and Plug-In Options
Hardwired LED strips give you a permanent, always-on solution with no batteries to manage, but they require running wire and often a licensed electrician, which can push a project into the several-hundred-dollar range. Plug-in light bars solve the wiring problem but leave a visible cord running to an outlet. Rechargeable bars win on convenience and renter-friendliness because they leave no permanent marks when you use magnetic or removable adhesive. The trade-off is the recurring chore of recharging and the eventual battery replacement. For most homeowners who want a fast, reversible upgrade, rechargeable is the practical middle ground.
Common Problems and How to Avoid Them
The most frequent complaint is a bar falling off after a few weeks. This almost always traces back to a dirty surface or skipping the 30-second press during installation. Heat from a nearby range or steam from a kettle can also weaken adhesive over time, so consider magnetic mounting near cooking zones. The second complaint is disappointing runtime, which usually means the buyer chose a high-lumen bar and runs it at full brightness all evening. Dimming even one level dramatically extends battery life. Finally, flicker or uneven dimming often signals a low battery rather than a defect, so charge fully before assuming the unit is faulty.
Maintenance and Lifespan
These lights need very little care. Wipe the lens occasionally with a dry microfiber cloth, since a film of cooking grease will dim the output more than you would guess. Recharge before the battery hits empty, store spare bars away from extreme heat, and keep the charging port free of dust. With reasonable habits, a quality rechargeable bar delivers a few years of reliable service before the battery noticeably weakens. At that point many models accept replacement batteries, though plenty of homeowners simply buy a new multi-pack given how affordable they have become.
Final Thoughts
For anyone who wants brighter, more functional counters without opening a wall, rechargeable bars are hard to beat. Focus on lumens for the brightness you actually need, pick a color temperature that complements your cabinets and flooring, and buy bars in matched sets so the light stays consistent. Do that, and you will have a polished, professional-looking kitchen upgrade finished before lunch. As you plan your kitchen refresh, the team at D and G Flooring encourages you to think about how lighting, cabinetry, and flooring tones work together as one cohesive design rather than a series of separate purchases.