When hard floors start to look dull, scratched, and lifeless, refinishing feels like the only fix, but it is expensive and disruptive. Rejuvenate Floor Restorer offers a far simpler alternative: a wipe-on polymer coating that fills in micro-scratches and lays down a fresh protective layer to bring back shine without sanding or refinishing. It is one of the most popular consumer floor-care products for renewing tired floors quickly. This guide explains what it does, where to use it, and how to apply it for the best results.
- What Rejuvenate Floor Restorer Does
- Which Floors It Works On
- What Results to Expect
- What You Need Before You Start
- How to Apply It
- Drying and Cure Time
- Maintaining the New Finish
- Removing It If You Need To
- When to Skip It and Refinish Instead
- Pros, Cons, and Cost
- Tips for the Best Possible Result
- Final Thoughts
What Rejuvenate Floor Restorer Does
Rejuvenate Floor Restorer is a liquid coating made by the Rejuvenate brand that you apply over a clean floor. As it dries, it forms a clear, durable layer that fills fine surface scratches and restores gloss. The idea is to renew the look of a worn finish without the dust, cost, and downtime of full refinishing. It is designed as a surface treatment, not a deep structural repair, so it revives the top layer rather than rebuilding the floor.
Which Floors It Works On
The restorer is formulated for a range of hard floor surfaces. According to the brand, it is suitable for finished hardwood, laminate, vinyl and luxury vinyl, tile, and other sealed hard floors. It is not meant for unsealed or waxed wood, unfinished surfaces, or floors treated with oil-based products. Always check your specific flooring manufacturer’s guidance, and test the product in an inconspicuous corner first to confirm compatibility and the look you want.
- Sealed and finished hardwood
- Laminate flooring
- Vinyl and luxury vinyl plank or tile
- Sealed tile and stone
What Results to Expect
Used correctly, the restorer hides fine scratches and dull spots and adds a noticeable shine, available in high-gloss or satin finishes depending on the version you buy. It will not remove deep gouges, repair water damage, or change the floor’s actual color. Think of it as cosmetic renewal: it makes a worn but intact floor look dramatically better. For floors with serious damage, refinishing or replacement is still the right call.
What You Need Before You Start
Successful application depends on a thoroughly clean, dry floor. Gather these items first:
- A broom or vacuum and a microfiber mop
- A pH-neutral floor cleaner to remove all dirt, grease, and residue
- The restorer applicator or a clean microfiber applicator pad
- Painter’s tape if you want to protect baseboards
Any leftover wax, polish, or cleaning residue will keep the coating from bonding, so clean meticulously before you begin.
How to Apply It
Work in sections and keep a wet edge so coats blend smoothly.
- Clear the room and clean the floor thoroughly, then let it dry completely.
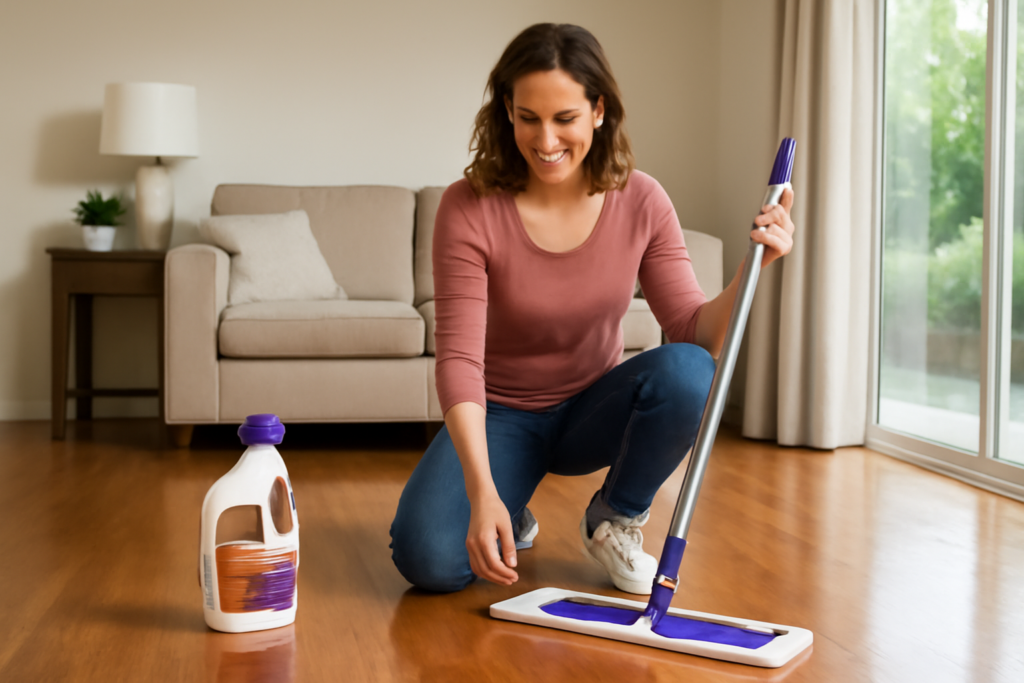
- Shake the bottle and pour or apply a thin line of restorer onto the floor.
- Spread it in thin, even strokes with the applicator, following the direction of the planks.
- Work from the far corner toward the exit so you do not trap yourself.
- Let the first coat dry per the label, then apply a second coat if recommended.
Thin, even coats are the key. Pooling and thick spots dry cloudy and take much longer to cure.
Drying and Cure Time
Most coats are dry to the touch within an hour, but stay off the floor for the time noted on the label before walking on it, and longer before replacing furniture. Allow a full cure, often a day or more, before putting rugs down or moving heavy items back. Rushing this step is the most common reason a freshly restored floor gets marked up or peels in spots.
Maintaining the New Finish
To protect the restored coating, clean with a pH-neutral cleaner and a microfiber mop, and avoid harsh or abrasive cleaners that strip the layer. Use felt pads under furniture legs and rugs in high-traffic areas to reduce new scratches. When the shine eventually wears, you can clean the floor and apply a fresh coat to renew it again, which is part of the appeal of a wipe-on restorer.
Removing It If You Need To
Because the restorer leaves a film on the surface, there may come a time when you want to strip it, such as before refinishing or if the coating clouds or peels in spots. The Rejuvenate brand sells a companion floor cleaner and restorer remover designed for this, and following those directions is the safest route. Stripping involves applying the remover, letting it dwell, and working the old coating loose, then cleaning thoroughly. Always confirm the remover is compatible with your specific flooring and test a hidden area before treating the whole room.
When to Skip It and Refinish Instead
A restorer is the right call for floors that are dull, lightly scratched, and otherwise sound. It is the wrong call for floors with deep gouges, water damage, cupped or buckled boards, or worn-through finish that exposes bare wood. In those cases, the cosmetic coating will not hide the damage and may even highlight it. Sand-and-refinish or board replacement is the durable fix for serious wear. Matching the right solution to the floor’s actual condition saves money and avoids disappointment.
Pros, Cons, and Cost
The biggest advantages are the low cost, typically $15 to $30 a bottle, and the ability to refresh a floor in an afternoon with no sanding. The trade-offs are that results are cosmetic, the coating wears over time, and proper prep is essential. For homeowners who want a quick, affordable lift for a dull but sound floor, it is a sensible option to try before committing to professional refinishing.
Tips for the Best Possible Result
A few habits separate a great outcome from a disappointing one. Clear the room completely so you never have to reach over wet coating, and work with good ventilation and bright light so you can spot thin or missed spots. Apply thin coats and resist the urge to go thick, since heavy application is the main cause of cloudiness. Keep pets and kids out until the floor has cured fully, and test the product in a closet or under a piece of furniture first so you know exactly how the sheen and color turn out before committing to the whole room.
Final Thoughts
Rejuvenate Floor Restorer is a practical way to breathe life back into worn hard floors without the expense of refinishing. Clean thoroughly, apply thin even coats, and give it time to cure, and you can restore a noticeable shine and hide fine scratches in a single afternoon. Just set expectations correctly: it renews the surface beautifully, but deep damage still calls for a more permanent fix.
Prefer to explore on your own?
See how new flooring looks in your actual room in seconds — free, no signup.
Try the free Floor Studio →