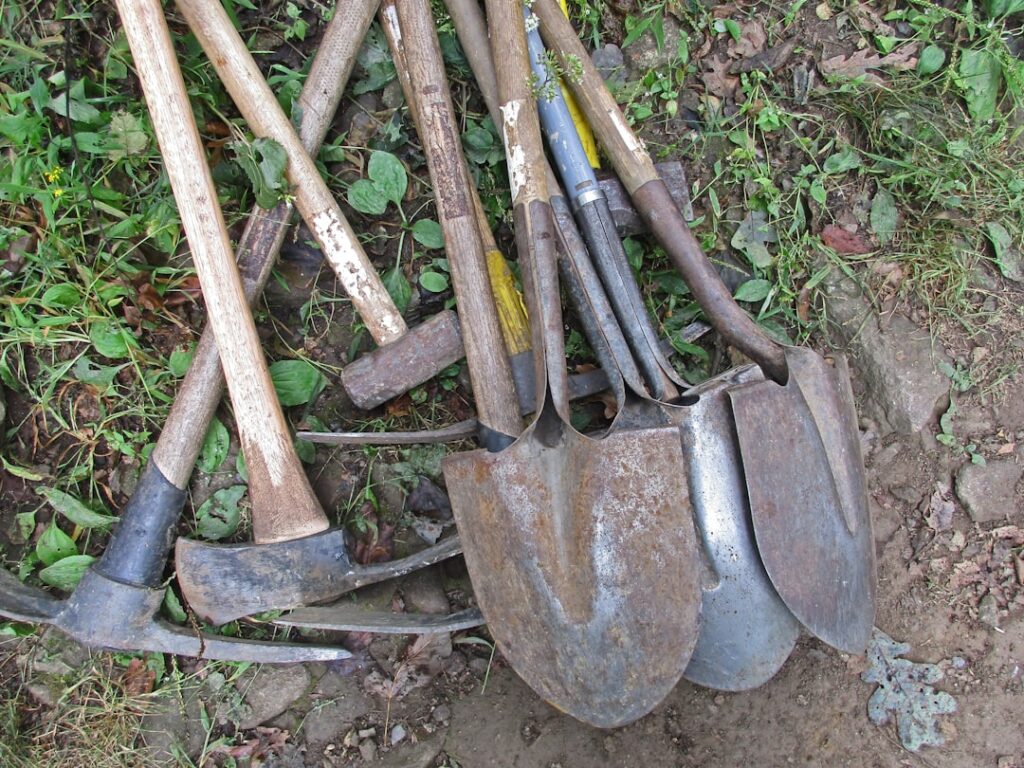
Stripping a roof with a flat garden spade is how first-timers turn a one-day tear-off into a three-day ordeal. A roofing shovel — also sold as a shingle remover, shingle ripper, or tear-off spade — is purpose-built for the job: a serrated steel blade slides under shingle courses, notched teeth hook nail shanks, and a welded fulcrum plate on the back lets you pop nails with a short pry instead of brute force. One good tear-off shovel costs $25 to $90 and will strip an entire roof faster than three borrowed garden tools. Here is how the tool works, which models earn their keep, and the technique that protects your decking.
How a Roofing Shovel Works
Three features separate a shingle shovel from an ordinary spade. The blade edge carries V-shaped serrations, typically five to nine notches, sized to capture the shank of a roofing nail. Behind the blade sits a fulcrum — a bent steel plate or welded ridge — that contacts the deck and converts your downward handle push into upward prying force at the blade tip. And the blade meets the handle at a shallow angle so the tool rides flat along the deck plane instead of digging in.
In use, you slide the blade under a shingle course until the teeth catch nails, then lever the handle down. The fulcrum multiplies your force, nails pop, and two or three courses lift at once along with the felt beneath them. Compared with a flat pry bar, which pulls one nail at a time, a tear-off shovel removes material in sheets — the difference between clearing 2 squares an hour and clearing 6 or more.
Forged vs Stamped Blades
Construction quality is the real dividing line in this tool category. Stamped-steel shovels are cut and bent from sheet stock, weigh less, and cost $25 to $45. They work fine for a single roof, but teeth on thin stamped blades can bend or round over when they meet ring-shank nails or hidden staples. Forged or thick-plate heads — the Malco SHOVEL series, Roofmaster products, and similar pro-grade tools at $50 to $90 — hold their tooth profile through repeated jobs and shrug off the abuse of prying against decking edges.
Handle material matters nearly as much. Wood handles (usually ash or hickory) absorb shock but can snap under hard prying; fiberglass handles tolerate the levering forces better and survive being left in the weather. Steel-handled models are nearly indestructible but transmit every impact to your wrists over an eight-hour day.
Models Worth Considering
- Bully Tools 91109 (about $45-$60): 11-gauge steel blade, fiberglass handle, limited lifetime warranty. A workhorse for DIY tear-offs and small crews.
- Malco SHOVEL2 (about $60-$80): pro-grade head with aggressive teeth and a tall fulcrum; a favorite among production tear-off crews.
- Estwing Roofing Shovel (about $50-$70): one-piece forged steel with a shock-reduction grip; heavy but effectively unbreakable.
- AJC 137-RTB Big Boy (about $55-$75): wide 13-inch blade moves a lot of shingle per stroke; best on straightforward gable roofs.
- Qualcraft/generic stamped shovels (about $25-$40): perfectly acceptable for one small roof or shed if you accept softer teeth.
If you strip only occasionally, note that a shingle “tear-off fork” — tined rather than bladed — slides under brittle or multiple-layer roofs with less resistance. Many pros carry both: fork for lifting, shovel for cleanup and stubborn nails.
Tear-Off Technique That Saves the Deck
Good technique starts at the top. Strip from the ridge down so gravity works with you and torn material slides toward the eaves rather than piling at your feet.
- Remove ridge caps first with the shovel tip or a flat bar.
- Work the blade under the top course at a shallow angle, push until teeth seat against nails, then lever down on the handle in short strokes. Long, violent pries are what gouge decking and snap handles.
- Peel courses in horizontal bands about 2 to 3 feet tall, rolling debris downslope ahead of you.
- Stop and hand-pull around vents, valleys, and flashing — shoveling blind through penetrations tears up metal you may be reusing and can crack vent boots you have not bought replacements for.
- After stripping, walk the deck and pull or drive flush every remaining nail. A magnetic sweeper and a flat bar finish what the shovel started; leftover nail stubs telegraph through new shingles within a year.
On two-layer roofs, resist the urge to take both layers in one bite. Splitting the layers works the tool less and keeps debris manageable — a square of two-layer asphalt weighs 400 to 500 pounds, and controlling where it goes matters on a sloped surface.
Safety and Site Management
Tear-off is the most dangerous phase of any roofing project. Loose granules on stripped underlayment are like ball bearings underfoot, so strip only as much as you can dry-in the same day and keep footing zones clear as you go. Wear a fall arrest harness anchored at the ridge on anything above a single-story low pitch, plus gloves, safety glasses, and boots with intact soles — you will step on nails, and the shovel occasionally launches them. Position a dumpster or tarp-lined trailer below the eave and feed debris to it directly; a 20-square tear-off produces 2.5 to 3 tons of waste, and every armload carried down a ladder is an extra fall risk. Finally, protect what is below: OSB or plywood sheets leaned over windows, tarps over shrubs and AC condensers, and plywood paths across lawns you care about.
Cost and Rental Math
Tool rental shops carry tear-off shovels for $10 to $20 per day, which sounds sensible until the job stretches to a second or third day. Buying a mid-grade shovel for $50 usually wins, and you keep a tool that also strips deck boards, pries siding, and demos tile floors. If you are deciding between DIY tear-off and paying a crew, contractors charge roughly $1 to $2 per square foot for removal and disposal — $2,000 to $4,000 on an average house. Supplying your own labor with a $60 roofing shovel and a $450 dumpster saves most of that, provided you respect the fall hazard and have the dry-in materials ready. For a garage or shed, the DIY math is even more lopsided: half a day, one tool, one dump run.
Supporting Tools That Speed the Job
A tear-off shovel does the heavy lifting, but four cheap companions cut hours off the day. A flat pry bar ($10 to $20) handles the finish work the shovel is too blunt for — flashing removal, stubborn nails at valleys, and the last course at the eaves. A magnetic sweeper on wheels or a rolling magnet bar ($30 to $60) recovers the hundreds of nails that end up in the lawn and driveway; skipping this step is how tear-offs are remembered every time a car tire goes flat that summer. Heavy tarps ($20 to $40 each) staged below the eaves catch debris and drag to the dumpster in one motion, protecting grass and cutting cleanup time roughly in half.
On the roof itself, a garbage-can-sized debris bucket or wheelbarrow parked at the eave edge collects the loose granule sweepings, and a stiff push broom clears the deck for inspection between stripping and dry-in. If the forecast is uncertain, have synthetic underlayment, cap nails, and a few tarps on the roof before you open more than one section — the ability to dry-in within thirty minutes of a sky change is what separates a controlled tear-off from an insurance claim. None of these items costs real money, and together they turn a chaotic demolition into an assembly line.
Care and Sharpening
A tear-off shovel needs almost no maintenance, but two habits extend its life. Knock dried asphalt off the blade with a wire brush before it builds into a sticky lump that adds friction on every stroke, and touch up rounded teeth with a flat file so they keep grabbing nail shanks instead of skating over them. Store it dry; a rusty fulcrum drags on decking. Do that much and one good roofing shovel will outlast several roofs — which is more than can be said for the garden spade it replaced.