A dated pink or avocado-green tub is one of the fastest ways to make a bathroom feel stuck in 1978, and professional reglazing runs $350 to $600 per tub. The Rustoleum tub and tile refinishing kit promises a similar makeover for roughly $25 to $30 a box, and used correctly it genuinely delivers a hard, glossy white surface. Used carelessly, it peels within months. After refinishing dozens of tubs and shower surrounds over the years, I can tell you the product works — but the outcome lives or dies on your prep. Here is exactly how to get a professional-looking result.
What Comes in the Box and How It Works
The kit is a two-part epoxy acrylic. You get Part A (the base resin) and Part B (the activator/hardener) in separate cans, which you mix together right before application. Once combined, the two-part system cures into a hard, chemical-resistant coating that bonds to porcelain, ceramic tile, cast iron, and fiberglass. One 32 oz kit covers a standard tub and surround in two coats — roughly 100 sq ft of coverage claimed, though realistically expect enough for one tub plus a small backsplash.
Rustoleum sells this coating in white and almond. It is not a spray; it goes on with a brush and a foam roller. Understand upfront that this is a coating, not a re-porcelainizing. It sits on top of the original surface, so its longevity depends entirely on adhesion. Do the prep right and you can expect three to five years of good service before touch-ups.
Prep Is 80 Percent of the Job
Every failed refinishing job I have seen traces back to skipped prep. Follow these steps in order and do not rush them.
- Deep clean. Scrub the tub with an abrasive cleaner to strip soap scum, body oils, and any silicone residue. Rustoleum recommends its own Krud Kutter or a strong TSP solution. Oils are the enemy of adhesion.
- Remove old caulk. Cut out all silicone with a razor and caulk-removal tool. New coating will not stick over old caulk.
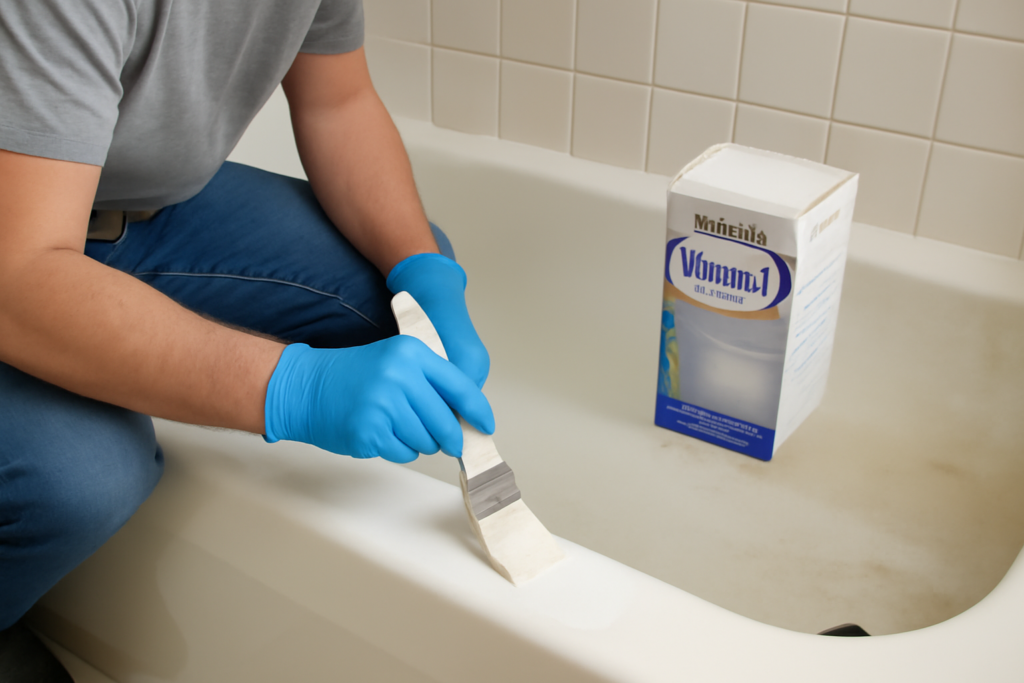
- Etch or sand. Wet-sand the entire surface with 400 to 600 grit sandpaper until the gloss is completely dull. This mechanical tooth is what the epoxy grips. On glossy tile, do not skip this.
- Rinse and dry fully. Wipe with a tack cloth. The surface must be bone dry and dust-free before you open the cans.
Ventilation matters here too. This product has a strong solvent smell, and the fumes are significant. Open windows, run a fan, and wear a respirator rated for organic vapors — a dust mask does nothing against these fumes.
Mixing and Applying the Coating
Pour Part B into Part A and stir thoroughly for two full minutes. Once mixed, you have a working window — typically around six hours of pot life, but the coating levels best in the first couple of hours. Apply thin, even coats. The classic beginner mistake is loading on a thick coat to get instant coverage; thick epoxy sags, runs, and traps solvent, which leads to soft spots and fisheyes.
Use a quality foam roller for flat surfaces and a fine brush for corners and around fixtures. Roll in one direction, then lightly back-roll to knock down bubbles. Let the first coat set for the time listed on the can — usually about an hour to be tacky — before the second coat. Two thin coats always beat one heavy coat.
Cure Time and When You Can Use the Tub
Patience at the end saves you from re-doing the whole job. The coating feels dry to the touch within a few hours, but it is nowhere near cured. Rustoleum specifies a full cure before water exposure, and here is the realistic timeline:
- Dry to touch: 3 to 5 hours
- Re-caulk: after 24 hours
- Light use / no water: 24 to 48 hours
- Full water exposure (showering, bathing): a full 3 days minimum, and I push clients to wait longer in humid climates
If you run water over an under-cured surface, you will get a milky, soft film that never hardens properly. When it doubt, wait an extra day.
Realistic Expectations and Durability
Let me be straight about results. The finish is glossy, uniform, and genuinely attractive when applied well — from a few feet away it reads like a new tub. Up close you may see minor brush texture or a slight orange-peel from the roller. That is normal for a DIY coating and not a defect.
Durability depends on care. Avoid abrasive scrubbers, bleach-heavy cleaners, and bath mats with suction cups, which trap moisture and lift the coating. Use a gentle non-abrasive cleaner. With reasonable care, expect three to five years before you see wear at the drain or high-contact areas. It will not match the 10-to-15-year life of a professional two-part urethane job, but for $30 versus $500, the value is obvious.
When to Choose This Kit vs. a Pro
Reach for the DIY kit when your tub is structurally sound, the finish is simply dated or lightly stained, and you are comfortable with careful prep and ventilation. It is ideal for rental refreshes, tile backsplashes, and budget bathroom updates.
Call a professional reglazer instead when the tub has deep chips, rust-through on cast iron, or a large crack, or when you want a factory-smooth spray finish with no brush marks. Pros spray a catalyzed coating in a controlled environment and can address substrate damage the kit cannot.
Pro Tips to Get It Right the First Time
- Buy two kits if you are doing a full surround — running out mid-coat and mixing a fresh batch causes visible lap lines.
- Tape off fixtures and floors with painter’s tape; the epoxy does not wipe off easily once tacky.
- Warm the room to 70°F to 75°F. Cold slows curing and thickens the coating.
- Re-caulk with 100 percent silicone only after the coating has cured, never before.
- Keep a small amount of mixed coating for touch-ups over the first week.
Handled with patience, the rustoleum tub and tile refinishing kit is one of the highest-value upgrades in home improvement. Spend your effort on the sanding and cleaning, apply thin coats, respect the cure time, and you will get a crisp white tub for the cost of a takeout dinner.
Prefer to explore on your own?
See how new flooring looks in your actual room in seconds — free, no signup.
Try the free Floor Studio →