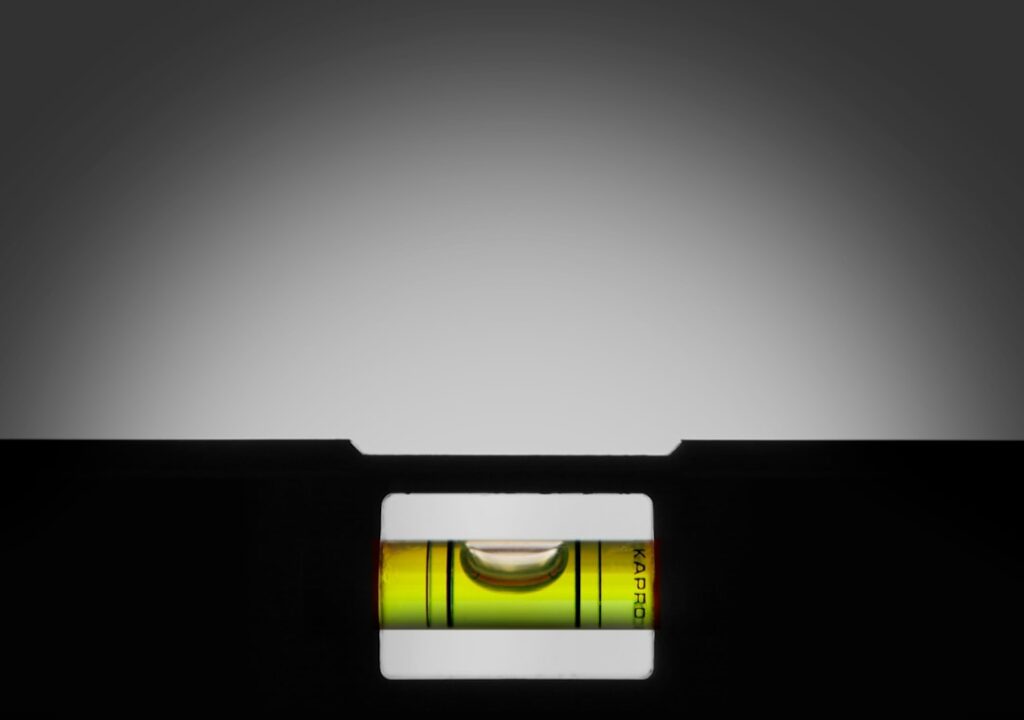
Most failed flooring jobs do not start with the flooring at all. They start with a subfloor that dips a quarter inch across a doorway or crowns in the middle of a room. A self leveling floor leveler is the cementitious pour that solves that problem, flowing into low spots and setting into a flat, hard base you can tile, glue vinyl to, or float laminate over. Used correctly, it turns a wavy floor into one that reads dead flat under a straightedge. Used carelessly, it cracks, curls at the edges, or never bonds at all.
This guide walks through what the product actually does, when you need it, how to mix and pour it without panicking, and what it costs. If you have ever watched a bag of leveler go off in the bucket before you could spread it, the details here will save you the second wasted bag.
What a Self Leveling Compound Actually Does
Despite the name, these products do not level themselves in the sense of finding a perfectly horizontal plane like water in a glass. They are high-flow, polymer-modified cement blends that spread easily and seek their own level within a limited window, filling depressions and smoothing minor ridges. The result is a flat surface relative to the surrounding pour, not necessarily a laser-level plane across an entire out-of-square house. If one corner of your room is a full inch lower than another, you still need to guide the material and set your pour height with screeds or leveling pins.
The realistic use case is correcting variations of roughly 1/8 inch up to about 1 to 1 1/2 inches in a single pour, depending on the product. Feather-finish patch products handle the shallow end; true pourable levelers handle the deeper fills. Knowing which one your floor needs is the first real decision.
When You Actually Need One
Flooring manufacturers publish flatness tolerances, and they are stricter than most homeowners expect. Large-format tile often calls for no more than 1/8 inch of deviation over 10 feet. Luxury vinyl plank telegraphs every hump and hollow underneath it because the material is thin and rigid. Laminate clicks together over a foam pad, and a low spot lets the joints flex until they gap or peck.
Lay a 6-foot or 8-foot straightedge across the floor in several directions and slide a tape measure or shims under the gaps. If you find dips deeper than the tolerance for your finished floor, a leveler is the fix. Common triggers include old plank subfloors with sagging joists, a slab that was poured out of flat, tile removal that left an uneven thinset bed, and additions where two floor systems meet at slightly different heights.
Choosing the Right Product
There are two broad families, and buying the wrong one wastes money. Cement-based self-leveling underlayments like Henry 555 LevelPro, Mapei Novoplan 2, LevelQuik RS, and Ardex K 15 are designed to be poured across whole rooms and left as a wearable underlayment. Skim or patch compounds are meant for filling small holes and feathering transitions, not flooding a floor.
- Set speed: Rapid-set products are walkable in 2 to 4 hours, which is great for pros but brutal for a first-timer working alone.
- Depth range: Check the bag for minimum and maximum thickness. Pouring below the minimum invites cracking; exceeding the maximum means pouring in lifts.
- Substrate: Some formulas bond to plywood, some only to concrete, and some need a specific primer over gypsum or old adhesive.
Expect to pay roughly $30 to $50 for a 50-pound bag of quality leveler, plus $20 to $40 for the matching primer. One 50-pound bag typically covers about 50 square feet at 1/8 inch thick, so a small bathroom might take one bag while a kitchen could take four or five.
Prep Is 80 Percent of the Job
Nothing about a pour forgives bad prep. The surface must be clean, structurally sound, and primed. Sweep and vacuum every speck of dust, because leveler will not bond through grit. Scrape off paint, drywall mud, and any loose material. On a wood subfloor, screw down every squeak and loose panel until the deck does not flex, since a flexing base cracks a rigid topping.
Priming is non-negotiable. Primer does two jobs: it seals porous substrates so they do not suck water out of the mix and cause a weak, dusty surface, and it gives the leveler something to grip. Roll it on evenly, let it turn tacky or clear per the label, and prime porous surfaces twice if the first coat soaks in fast. Skipping primer is the single most common reason a pour delaminates weeks later.
Mixing and Pouring Without Losing the Batch
This is where speed matters. A rapid-set self leveling floor leveler can go from pourable to unworkable in ten minutes, so have everything staged before you open a bag. You want a clean bucket, a heavy 1/2-inch drill with a mixing paddle, measured water, and a helper if the room is bigger than a bathroom.
- Measure the exact water called for on the bag. Too much water weakens the compound and causes cracking; too little leaves it lumpy and slow to flow.
- Add powder to water, not the reverse, and mix for the full time listed, usually 2 to 3 minutes, until it looks like thick pancake batter with no lumps.
- Pour immediately in a steady ribbon, starting at the far corner and working toward your exit.
- Spread and guide it with a gauge rake set to your target depth, then break surface tension with a spiked roller to release trapped air.
Wear spiked shoes so you can walk into the wet material without leaving deep footprints. If your room needs more than one batch, keep pours moving into each other while the previous batch is still wet so they merge into one continuous surface rather than a visible cold joint.
Cure Time and Common Mistakes
Most levelers are foot-traffic ready in a few hours but need longer before you install finished flooring on top. Follow the label, but a common window is 24 hours before tile and glue-down vinyl, and sometimes longer in cold or humid conditions. Do not rush it. Installing over a green, damp pour traps moisture and can wreck an adhesive bond.
The failures I see most often are avoidable: no primer, too much mix water, pouring thinner than the minimum depth so the edges feather to nothing and crack, and dam leaks where the material runs under a wall or down a stair. Seal every gap, threshold, and penetration with caulk or expanding foam before you mix, and build a wood or foam dam at any open edge. A self leveling floor leveler is unforgiving of a leak because it flows exactly where you did not want it to.
Is It a DIY Job or a Call to the Pro?
A single bathroom or a shallow correction in one room is well within reach of a careful DIYer working with a helper and rapid staging. Where people get in over their heads is large open floor plans, deep fills that require multiple lifts, and any pour on a tight schedule with a fast-setting product. If you are leveling more than a few hundred square feet or dealing with an inch of variation, hiring an installer who pours daily is money well spent, since a botched pour has to be ground out and redone.
Handled with real prep, the right product, and a respect for how quickly the mix sets, a self leveling floor leveler is one of the highest-payoff steps in any flooring project. Flat now means quiet, gap-free, long-lasting floors later, and that is the whole point of doing it.
Prefer to explore on your own?
See how new flooring looks in your actual room in seconds — free, no signup.
Try the free Floor Studio →