
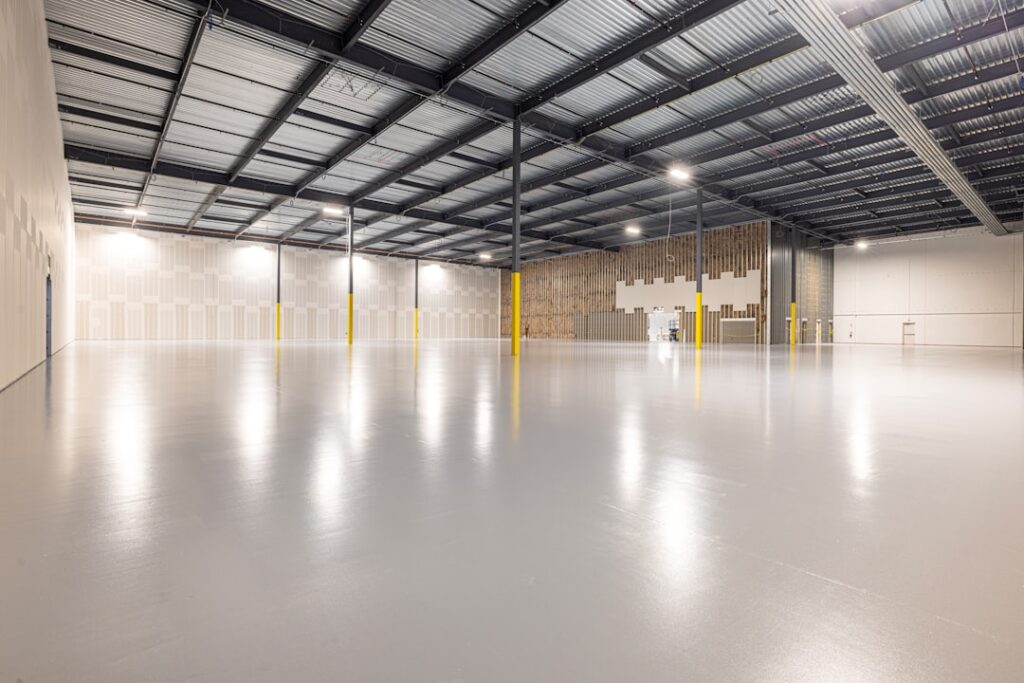
Trying to lay laminate, tile, or luxury vinyl over a wavy concrete slab is a losing battle: the finished floor telegraphs every dip and high spot, and the joints eventually crack. A self leveling floor resurfacer solves that problem in a single afternoon. It is a cement-based, pourable compound that you mix with water and spread across the floor, where it flows out under its own weight and settles into a smooth, flat plane ready for almost any finish flooring. Understanding how it works, and where it does not, saves you from a rippled surface and a lot of wasted material. Here is the full picture.
- What a Self-Leveling Resurfacer Actually Does
- Resurfacer vs. Leveler: Know the Difference
- Where and When to Use It
- Prep: The Step That Makes or Breaks the Pour
- Step-by-Step: How to Apply a Self-Leveling Resurfacer
- Coverage, Thickness, and Cure Times
- What It Costs
- Using It Over Different Subfloors
- Encapsulating Radiant Heat and Cables
- Pro Tips and Common Mistakes
What a Self-Leveling Resurfacer Actually Does
Despite the name, a self-leveling compound does not perfectly level itself on a sloped floor. It flows out to a smooth, even surface and seeks a consistent thickness, filling low spots and erasing minor ridges, trowel marks, and pitting. What it produces is a flat, uniform substrate, which is exactly what rigid finish floors need to perform.
The material is a polymer-modified cement that stays workable for only 10 to 20 minutes after mixing. During that window it levels itself, then begins to set. Within a few hours it is walkable, and within 16 to 24 hours it is usually ready to receive flooring. That speed is the whole appeal compared with hand-troweling a floor flat.
Resurfacer vs. Leveler: Know the Difference
The terms get used interchangeably, but there is a meaningful distinction worth understanding:
- Self-leveling underlayment: designed to be covered by finish flooring, poured 1/8 inch to 1 inch or more thick to flatten a subfloor.
- Concrete resurfacer: a thinner, wear-rated overlay meant to renew a worn concrete surface that will stay exposed, often just 1/16 to 1/4 inch thick.
Some products do both jobs, but check the label. If you are prepping for tile or LVP, buy an underlayment rated to be covered. If you want a fresh, walkable concrete surface in a garage or patio, buy a resurfacer rated for direct wear and traffic.
Where and When to Use It
Self-leveling compound is the go-to fix for a range of subfloor problems. Reach for it when you have:
- An uneven concrete slab that exceeds your flooring’s flatness spec (often 3/16 inch over 10 feet)
- Low spots, divots, or trowel ridges left from an old adhesive or tile removal
- A plywood subfloor that needs flattening (with a primer rated for wood)
- Radiant heat tubing to encapsulate before tiling
It is not a structural repair. If your slab is cracking from settlement or heaving from moisture, a resurfacer only hides the symptom. Fix the underlying cause first, because the compound will crack right along with the slab beneath it.
Prep: The Step That Makes or Breaks the Pour
Adhesion failures almost always trace back to poor prep. The surface must be clean, sound, and primed. Start by removing all old adhesive, paint, curing compounds, dust, and grease; grind or shot-blast stubborn residue. Vacuum until the floor is spotless.
Then apply the manufacturer’s primer, which seals porous concrete so the water is not sucked out of the compound too fast and bonds the leveler to the substrate. On concrete, primer also stops pinhole bubbles from rising through the pour. Let the primer dry to the specified tack, usually 1 to 3 hours. Skipping primer is the number one rookie mistake; the pour looks fine, then delaminates months later.
Step-by-Step: How to Apply a Self-Leveling Resurfacer
Timing is everything because the material sets fast. Have every tool ready before you mix:
- Dam the perimeter: seal doorways and gaps with foam backer rod or tape so the liquid cannot escape.
- Mix in batches: add powder to water at the exact ratio, blend with a paddle mixer on a drill for 2 to 3 minutes until lump-free and pourable.
- Pour promptly: pour the batch onto the floor within a couple of minutes, starting at the far corner and working toward the exit.
- Spread and guide: use a gauge rake set to your target depth, then a smoothing trowel to feather edges and merge batches.
- Pop bubbles: roll the wet surface with a spiked roller to release trapped air.
- Blend fast: mix and pour successive batches quickly so each merges into the last before it skins over.
Keep the room between 65 and 75°F, and do not walk on the surface until it firms up. Work with a helper if the area is larger than a small bathroom; one person mixes while the other spreads.
Coverage, Thickness, and Cure Times
A typical 50-pound bag of self-leveling compound covers about 40 to 50 square feet at 1/8 inch thick, or roughly 25 square feet at 1/4 inch. Double the thickness and you halve the coverage, so measure your low spots and estimate an average depth to buy the right number of bags. Most products pour from a feather edge up to 1 inch in a single lift; deeper fills require multiple lifts or an aggregate additive.
Cure times vary by brand and thickness. Expect foot traffic in 2 to 4 hours, and readiness for most finish flooring in 16 to 24 hours. Tile can often go down sooner than moisture-sensitive floors like vinyl, which may need a longer dry-down and a moisture test. Always follow the specific product’s timeline.
What It Costs
Self-leveling compound runs about $30 to $50 per 50-pound bag, plus $25 to $40 for primer that covers 200 to 300 square feet. For a 200-square-foot room averaging 1/4 inch of fill, budget roughly 8 bags plus primer, landing near $300 to $450 in materials. Add a paddle mixer, gauge rake, and spiked roller if you do not own them. Hiring a pro typically costs $1.50 to $5 per square foot depending on depth and prep.
Using It Over Different Subfloors
Self-leveling compound behaves differently depending on what it is poured over, and matching the primer to the substrate is critical. Over concrete, a standard acrylic primer seals the porous slab and prevents pinholing. Over a plywood or OSB subfloor, you need a primer rated for wood plus, in many cases, a reinforcing fiberglass mesh or lath to control the flex that wood naturally has, since a rigid leveler can crack over a bouncy wood floor.
Over old ceramic tile, scuff the glaze and use a bonding primer designed for non-porous surfaces so the compound grips. Never pour self-leveler directly over a vinyl or laminate floor; those must come up first. When in doubt, read the product data sheet, which lists approved substrates and the exact primer system for each. Getting this match right is the difference between a permanent bond and a floor that lifts in sheets.
Encapsulating Radiant Heat and Cables
One of the most popular uses for self-leveling compound is embedding electric radiant floor heating cables or mats before tiling. The compound flows around the wires and locks them into a flat, uniform bed that spreads heat evenly and protects the elements from the tile setting above.
Pour a lift thick enough to fully cover the cables, usually 1/4 to 3/8 inch over the top of the wire, and confirm the heating element is secured to the subfloor so it does not float up in the wet compound. Never energize the heat until the compound has fully cured, and follow the heating manufacturer’s compatibility notes. Done correctly, this creates a comfortable, warm floor with a dead-flat surface ready for tile or LVP.
Pro Tips and Common Mistakes
Do not overwater the mix to make it flow easier; excess water weakens the compound and causes cracking and dusting. Mix each batch to the same consistency so seams blend. Work fast and never try to rework material that has started to set, because dragging a trowel through a skinning surface leaves permanent ridges.
Finally, respect the moisture question. If the slab is damp, a self-leveling compound will not cure properly and vinyl laid over it can fail. Test the slab first. Done right, a self leveling floor resurfacer turns a frustrating, wavy subfloor into a dead-flat canvas in a single day, setting up every floor you lay on top of it to look and perform its best.
Prefer to explore on your own?
See how new flooring looks in your actual room in seconds — free, no signup.
Try the free Floor Studio →

