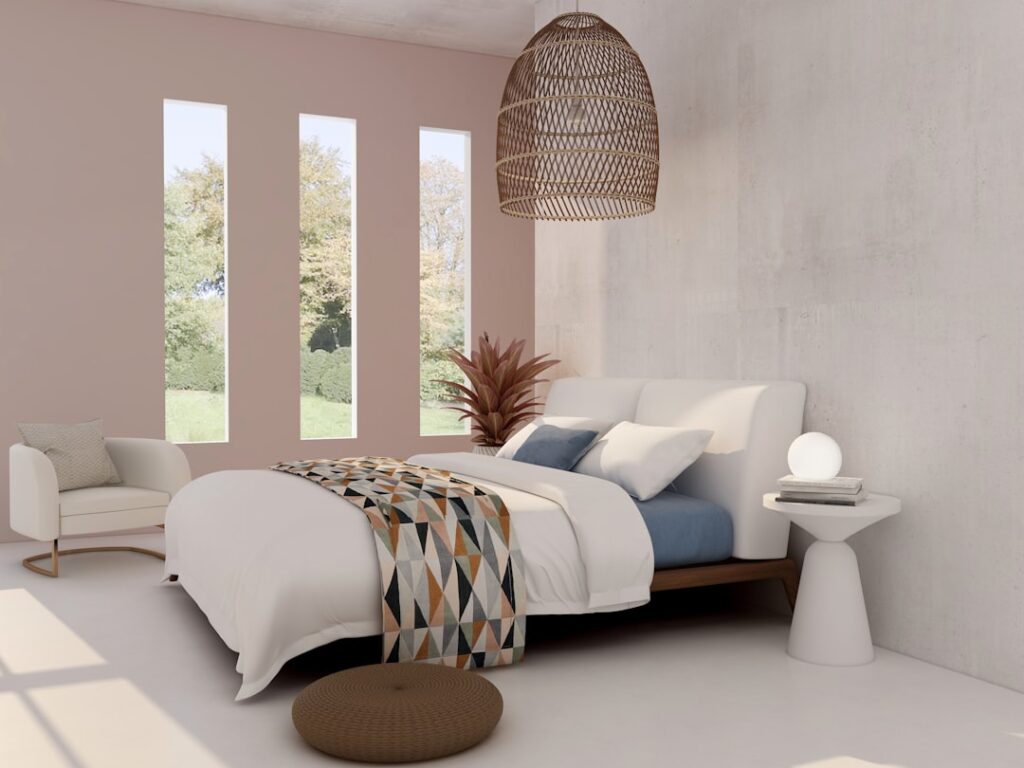
Shiplap exploded from coastal cottages into mainstream design, and the bedroom is where it pays off best, adding texture and warmth to a space that flat drywall leaves cold. Done well, a shiplap bedroom reads as custom and intentional; done poorly, it looks like leftover paneling. This guide covers board choices, costs, layout decisions, and the installation details that separate a designer-grade wall from a weekend project gone wrong.
Accent Wall vs. Full-Room Shiplap
The first decision is scope. An accent wall, usually the wall behind the headboard, delivers most of the visual impact for a fraction of the cost and effort. Expect to spend $150 to $500 in materials for a single 12-foot wall, depending on board type.
Wrapping the entire room creates an enveloping, cabin-like feel but can overwhelm a small bedroom and runs $800 to $2,500 in materials alone. A middle path is shiplap on two adjacent walls or from chair-rail height down, which adds character without darkening the room. In bedrooms under 120 square feet, stick to one wall so the space still breathes.
Real Shiplap vs. Faux Boards and MDF
True shiplap uses boards milled with an overlapping rabbet joint that creates the signature consistent gap. Pine shiplap boards cost $2.50 to $5 per square foot and give an authentic, dimensional look. For most bedrooms, though, the faux options are easier and cheaper.
- Plywood strips: Rip a 4-by-8 birch plywood sheet into 6-inch planks for about $1.50 per square foot. Smooth, paintable, and budget-friendly.
- MDF shiplap panels: Pre-grooved boards or 4-by-8 sheets that mimic the look for $1 to $3 per square foot. Easy to cut, but avoid in humid rooms since MDF swells when wet.
- Peel-and-stick shiplap: Renter-friendly foam or vinyl panels at $2 to $4 per square foot. No nails, but the look is flatter and less convincing up close.
For a paint-grade finish, primed MDF or smooth plywood works beautifully. If you want to stain and show wood grain, spend the extra for pine or a hardwood-faced product, MDF will never take stain convincingly.
Choosing the Right Color and Finish
Classic crisp white remains the default for good reason, it brightens the room and keeps the look timeless. But shiplap takes color well, and a moody charcoal, sage green, or warm greige can make a primary bedroom feel like a boutique hotel. Behind a bed, deeper tones add coziness without making the whole room dark.
Use a satin or eggshell sheen rather than flat. The slight sheen catches light along the board edges, emphasizing the texture that makes shiplap worth installing. Flat paint flattens the effect and shows scuffs. Prime first, especially over MDF and bare wood, or the boards will drink up two extra coats of color.
Horizontal vs. Vertical Orientation
Horizontal shiplap is traditional and visually widens a wall, ideal for making a narrow bedroom feel broader. Vertical orientation draws the eye upward and heightens rooms with standard 8-foot ceilings, lending a fresh, modern twist on the trend.
Vertical installs require horizontal furring strips or a solid backer so you have something to nail into, adding a step. Horizontal boards can often nail straight into studs found with a stud finder. Whichever you choose, dry-fit a few boards and step back before committing, the orientation changes the room’s proportions more than people expect.
Step-by-Step Installation Basics
A shiplap accent wall is a realistic weekend DIY with basic tools. Here is the proven sequence:
- Find and mark every stud with a stud finder, snapping vertical chalk lines.
- Acclimate boards in the room for 48 hours so they adjust to humidity and stop shrinking after install.
- Start at the bottom with a level reference line, since floors are rarely true.
- Use 1/8-inch spacers (or nickels) between boards for a consistent reveal.
- Nail each board into studs with a brad nailer using 2-inch 18-gauge brads.
- Fill nail holes, caulk the perimeter, and apply two finish coats.
Plan your cuts around outlets and switches, and buy outlet box extenders since the added board thickness recesses your electrical boxes by 1/2 inch or more. Skipping extenders leaves recessed outlets that violate code and look unfinished.
Styling and Pitfalls to Avoid
Once the wall is up, lighting makes or breaks it. Wall sconces flanking the bed or an LED strip washing down the boards highlight the texture beautifully at night. Keep décor minimal so the shiplap stays the star, an oversized piece of art or a single mirror reads better than a cluttered gallery wall.
The biggest mistakes are uneven gaps, visible seams where boards meet end-to-end, and forgetting to plan around windows. Stagger your end joints like brickwork so seams do not line up, and frame windows and doors with trim boards to give the shiplap a clean stopping point. Get those details right and your shiplap bedroom will look professionally finished rather than DIY.
Tools, Materials, and Cost to Budget
A shiplap accent wall needs a modest tool kit: a brad nailer with an air compressor (or a cordless brad nailer), a circular or miter saw, a stud finder, a level, a tape measure, and a caulk gun. If you do not own a nailer, big-box stores rent them for about $30 to $50 a day, far cheaper than buying for a one-time project.
Tally up the full materials list so there are no surprises. For a typical 12-foot accent wall around 100 square feet, plan on $150 to $400 in boards, plus $40 to $80 for primer, paint, caulk, wood filler, and outlet extenders. Renting tools and doing the labor yourself keeps a single-wall project under $500 in most cases, a fraction of what a contractor would charge for the same look.
Maintenance and Longevity
One reason shiplap endures is how little upkeep it demands. Painted boards wipe clean with a damp cloth, and the slight gaps that collect dust clear easily with a vacuum brush attachment or a quick pass with a microfiber duster every few weeks. Because a bedroom is a low-moisture, low-traffic space, the finish holds up for many years without needing repainting.
If a board ever gets dinged, touch-up is simple: fill, sand, and dab on matching paint. Keep a small jar of your wall color labeled with the brand and sheen so future touch-ups blend seamlessly. Treated well, a shiplap bedroom wall stays crisp and characterful for a decade or more, making it one of the highest-impact, lowest-maintenance upgrades you can make to a bedroom.