
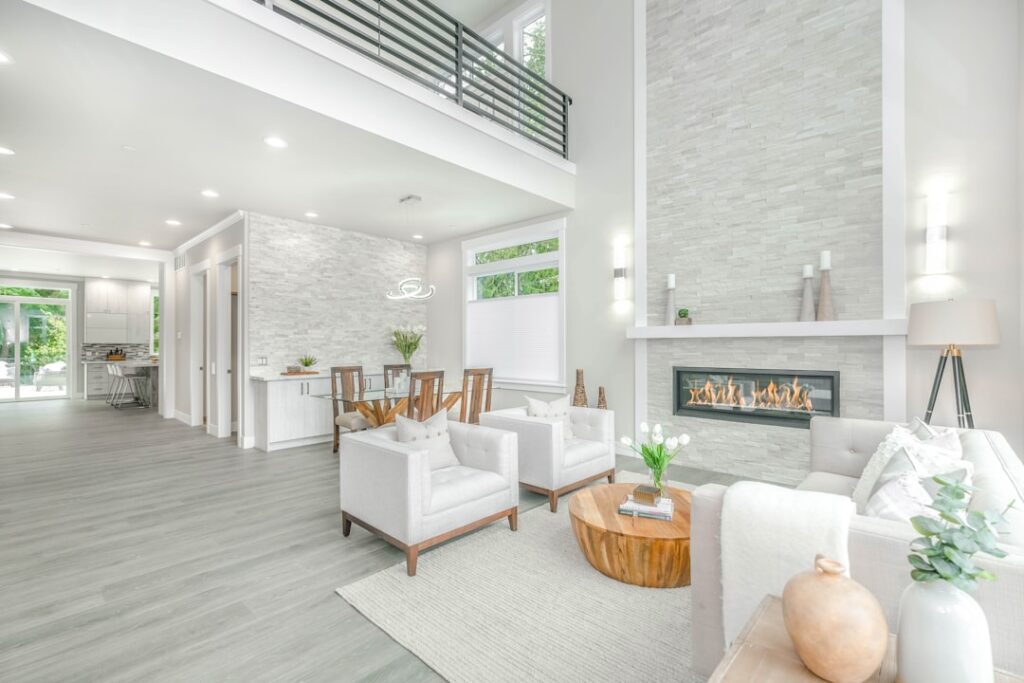
Of all the trends that came out of the Joanna Gaines years, shiplap around a fireplace has the most staying power because the look pre-dates Magnolia by about a hundred years. A well-built shiplap fireplace mantel still reads as fresh in 2026, especially when the proportions, fire clearances, and finish details are handled correctly. Done wrong, the shiplap warps, the mantel sags, or worse, the entire installation violates building codes near a working fireplace. After framing and finishing more than 40 of these, here is what separates a clean installation from a Pinterest fail.
Why the Look Works
Shiplap planks create horizontal lines that visually widen a wall, drawing the eye across rather than up. Around a fireplace, that horizontal rhythm balances the strong vertical of the chimney chase, which is the most common visual problem with builder-grade fireplace walls. A chunky wood mantel layered over the shiplap gives the wall a third design element: smooth wall plane, planked texture, then heavy structural shelf. The combination reads as intentional in almost any room style from farmhouse to coastal to modern transitional.
This stack of three elements also hides a lot of construction sins. Crooked drywall corners, ugly metal heat shields, and outdated brick all disappear behind a properly built shiplap surround.
Fire Clearance Rules That Apply
Before anything else, check the manufacturer specs for your firebox or insert. Every gas, wood, and electric unit has a published combustible clearance distance, usually 6 to 12 inches above the firebox opening and 3 to 8 inches to either side. Combustible means wood, including shiplap planks and any wood mantel.
Above and around the firebox, that combustible-free zone must remain clear. The standard approach is to install a non-combustible surround such as tile, stone, or fiber cement panel from the firebox out to the safe zone, then transition to shiplap and wood mantel beyond. For a typical gas insert with 8-inch top clearance, plan a tile band 8 to 12 inches tall above the firebox opening and at least 4 inches on each side, then shiplap starts.
This rule is non-negotiable. House fires start every winter when a homeowner ignores it and tucks a wood mantel directly above an active firebox.
Real Shiplap Versus Faux Shiplap
True shiplap planks have a rabbeted joint on each long edge that creates a tight overlap and a small reveal between boards. Authentic shiplap from a lumberyard runs $2 to $4 per linear foot in pine and $4 to $8 per linear foot in cedar or cypress. Each plank covers about 5.5 to 7 inches of wall surface depending on width.
Faux shiplap is just plywood underlayment or MDF panel ripped into strips, with no overlap joint. The gap between strips simulates the shiplap reveal. This costs about $1 per linear foot and looks indistinguishable from real shiplap once painted, but it is more vulnerable to humidity changes and tends to crack at corners over time. For a fireplace wall that gets dry winter heat, real shiplap holds up better.
Wood Species and Plank Width
For painted installations, primed pine shiplap works perfectly and is cheapest. For natural or stained finishes, choose tight-grain wood like cedar, cypress, or white oak. Avoid SPF studs ripped into planks because the knots will bleed through any paint or stain within a year.
Plank width affects the visual rhythm. Six-inch wide planks read as traditional farmhouse and work in most rooms. Wider 8 to 10-inch planks read as more contemporary and look good in larger rooms with higher ceilings. Avoid narrow 4-inch planks, which look fussy and read more like beadboard than shiplap.
Installation Step by Step
Plan a half day to a full day depending on wall size. The basic sequence:
- Locate all studs and mark them on a strip of painters tape running floor to ceiling. Every plank gets at least one nail per stud.
- Install the non-combustible tile or stone surround first, allowing it to fully cure before moving to wood.
- Cut your first shiplap plank to length and dry-fit it against the floor or top of the surround. Check that the wall is straight; shim behind any low spots.
- Nail the bottom plank with 18-gauge brads into studs, working from one side to the other. Use the rabbet to keep edges flush.
- Set spacers between each course. A 16-penny nail laid flat gives about a 1/8 inch gap that reads as authentic shiplap reveal. Some installers prefer 1/16 or 1/4 inch depending on the look.
- Continue stacking planks. Stagger any vertical seams at least one stud apart to prevent visible alignment.
- Cap with a finished baseboard or trim piece where the shiplap meets the floor, and a similar trim at the ceiling.
Building the Mantel
The mantel sits on top of the shiplap surface, typically at 54 to 60 inches above the floor depending on firebox size and ceiling height. Two main construction approaches:
Solid wood beam mantel: a single chunky timber of 6×8 or 8×10 dimension, often rough-sawn cedar or reclaimed oak. Cut to length, sand or wire-brush the surface, then mount with two heavy lag bolts driven into studs through the back of the beam. Material cost runs $80 to $250 depending on size and species.
Hollow box mantel: four pieces of finished wood joined into a hollow rectangular shell that fits over a wood cleat mounted to the wall. Easier to handle solo and lighter to install. Build from 1×10 cedar or pre-primed pine, mitering the corners or using simple butt joints with returns. Material cost runs $40 to $100.
The hollow box approach also works better with cleaner modern styling because you can paint or stain it as a uniform surface without the irregular grain of a solid beam.
Paint and Stain Choices
For painted finishes, prime first with an oil-based primer like Zinsser Cover Stain to lock down any knots. Top with two coats of Benjamin Moore Advance or Sherwin Williams Emerald Urethane Trim Enamel in satin or semi-gloss. White is the safe default, but soft greige and deep charcoal both read as designed rather than dated.
For natural wood finishes, sand to 180 grit, then apply a penetrating oil like Rubio Monocoat or a hardwax oil for low maintenance. Skip glossy polyurethane on shiplap because the texture amplifies any drips or brush marks. The mantel beam can take a slightly higher sheen than the surrounding planks for visual interest.
Cost and Timeline
Total material cost for a typical 8-foot wide by 9-foot tall fireplace surround in real shiplap with a solid mantel beam runs $400 to $900. Add $100 to $300 for paint or stain depending on finish complexity. DIY labor runs a weekend including curing time on paint. Pro installation by a finish carpenter runs $1,200 to $2,500.
If the wall currently has dated tile or brick that needs removing, add $300 to $800 in demo and disposal. Salvaging the brick and shiplapping over it is sometimes possible but adds depth that crowds adjacent furniture.
Styling the Finished Wall
Once the wall is built, keep the mantel decor restrained. Two or three objects of different heights, one piece of art leaning rather than hung, and a single greenery element read as designed rather than cluttered. Resist the urge to fill every inch of the shelf, which dates the room quickly and makes the construction effort look like a backdrop for tchotchkes rather than the architectural feature it should be.


