
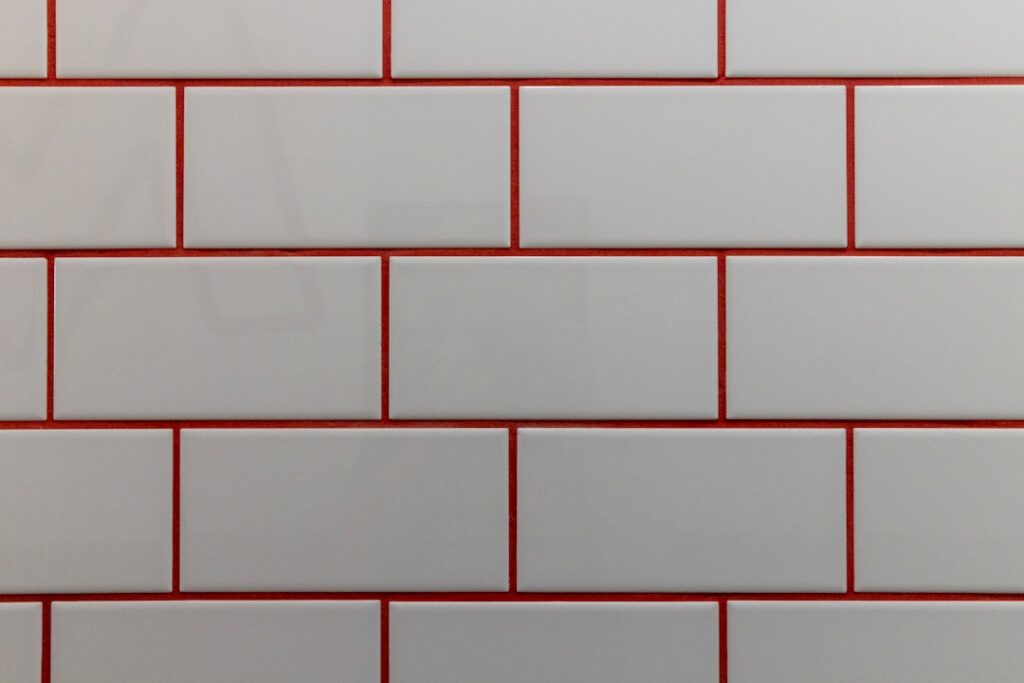
Grouting intimidates a lot of first-time tilers, but it’s honestly one of the more forgiving steps in the whole process. A simple grout job comes down to mixing to the right consistency, working it into the joints, and cleaning up before it hardens. Get those three moves right and even a beginner can produce clean, uniform lines that look professional. The mistakes people make, watery mixes, sloppy timing, over-washing, are all easy to avoid once you understand what the grout is actually doing. Here’s the straightforward approach I teach homeowners.
Understand What Grout Does
Grout fills the joints between tiles, locking them in place, keeping out water and debris, and giving the installation a finished look. It’s not glue; the thinset mortar underneath holds the tile down. Grout’s job is to seal and beautify the gaps. Knowing this takes the pressure off, because you’re filling lines, not structurally bonding anything.
There are two main types you’ll choose from: sanded grout for joints wider than 1/8 inch, and unsanded grout for narrow joints and polished tiles that sand might scratch. Pick the right one for your joint width and half the battle is won before you open the bag.
Gather the Right Tools
Simple grouting needs only a handful of basic tools, most of which cost a few dollars:
- Rubber grout float: The angled trowel that packs grout into joints
- Grout sponge: A large, rounded-edge sponge for cleanup
- Two buckets: One for mixing, one for clean rinse water
- Margin trowel or drill with paddle: For mixing the grout
- Microfiber cloth: For buffing off the final haze
Wear gloves; grout is caustic and dries out your skin fast. Have everything within reach before you mix, because once the grout is combined, the clock starts and you can’t stop to hunt for a tool.
Mixing to the Right Consistency
The number-one beginner mistake is adding too much water. Runny grout is weak, shrinks, and cracks. You want a consistency like thick peanut butter or smooth mashed potatoes, stiff enough to hold a peak but spreadable.
Follow this process:
- Add most of the recommended water to the bucket first, then the powder.
- Mix slowly with a margin trowel or a drill on low speed to avoid whipping in air.
- Add small amounts of water only if needed to reach the paste consistency.
- Let it slake, or rest, for 5-10 minutes, then stir once more before using.
That slaking step lets the chemicals fully activate and is the secret to strong, consistent grout. Mix only as much as you can use in about 30 minutes so it doesn’t harden in the bucket.
Applying the Grout
Now the satisfying part. Scoop grout onto the tile and spread it with the float held at a 45-degree angle, working diagonally across the joints. That diagonal motion packs grout into the lines without dragging it back out. Press firmly to fill each joint completely with no air pockets.
Work in small sections, about 3 to 4 square feet at a time, so you can clean up before the grout sets. Once a section is packed, hold the float on edge and scrape diagonally across the tiles to remove the excess. Diagonal scraping keeps the edge of the float from digging grout out of the joints you just filled.
Cleaning Up Without Overdoing It
Timing the cleanup is where good jobs are won or lost. Wait 10-15 minutes after grouting a section until the grout firms up slightly and looks hazy. Then wring a damp sponge until it’s barely wet, and wipe the tile surface in gentle circular motions, rinsing the sponge frequently in clean water.
The critical rule is don’t over-wash. A soaking sponge pulls grout right back out of the joints and leaves them uneven and pitted. Use as little water as possible and let the sponge do light work. Shape the joints with a final light pass, aiming for a smooth, slightly concave line. Change your rinse water often so you’re not smearing grout haze around.
Removing the Grout Haze
After the surface dries, you’ll notice a thin cloudy film across the tiles. This grout haze is normal and easy to remove. Once the grout has cured for the time on the bag, usually 24 hours, buff the tiles with a dry microfiber cloth to lift most of the film.
For stubborn haze, a dedicated grout haze remover handles it, though plain buffing clears the vast majority. Never use acidic cleaners on fresh grout, which can etch it. Patience here rewards you; the haze wipes off far more easily once the grout has fully set.
Sealing to Finish
Cement grout is porous, so sealing protects it from stains and moisture, especially in kitchens and bathrooms. Wait the full cure time, typically 48-72 hours, then apply a penetrating grout sealer with a small applicator brush or bottle tip along the joints. Wipe any sealer off the tile face before it dries.
Epoxy grout is the exception and needs no sealing, though it’s trickier to apply. For a first-timer wanting the truly simple route, cement grout plus a sealer is the most forgiving combination.
Fixing Common Beginner Mistakes
Even a careful first-timer runs into a few predictable snags, and most are easy to correct if you catch them early. Low or shrunken joints usually mean the mix was too wet or you over-washed the surface; you can simply mix a small fresh batch and pack those lines again once the first pass has cured. Uneven color from joint to joint comes from inconsistent water ratios between batches, so keep your measurements identical every time you mix.
Here are the fixes for the problems I hear about most:
- Grout on the tile face after it dried: Buff with a dry microfiber cloth, then use a haze remover if needed.
- Cracked joints within weeks: The mix was too watery or the tile is flexing; rake out and regrout the affected lines.
- Sticky, slow-setting grout: Too much water was added; there’s no rescue, so remove and redo it.
- Pinholes in the joints: The grout wasn’t packed firmly enough; press fresh grout into the voids.
The reassuring truth is that grout is repairable. Unlike a botched tile-setting job, a grouting mistake can almost always be raked out with a grout saw and redone without disturbing the tile. That forgiveness is exactly why grouting is a good project to build confidence on.
Putting It All Together
Grouting really is achievable for any patient homeowner. A simple grout project succeeds when you mix to a peanut-butter consistency, pack the joints diagonally with a rubber float, clean with a barely-damp sponge without over-washing, and buff off the haze the next day. Add a coat of sealer on cement grout and you’re done. Take it section by section, don’t rush the cleanup timing, and you’ll finish with tight, even joints that look like a pro laid them.
Prefer to explore on your own?
See how new flooring looks in your actual room in seconds — free, no signup.
Try the free Floor Studio →

