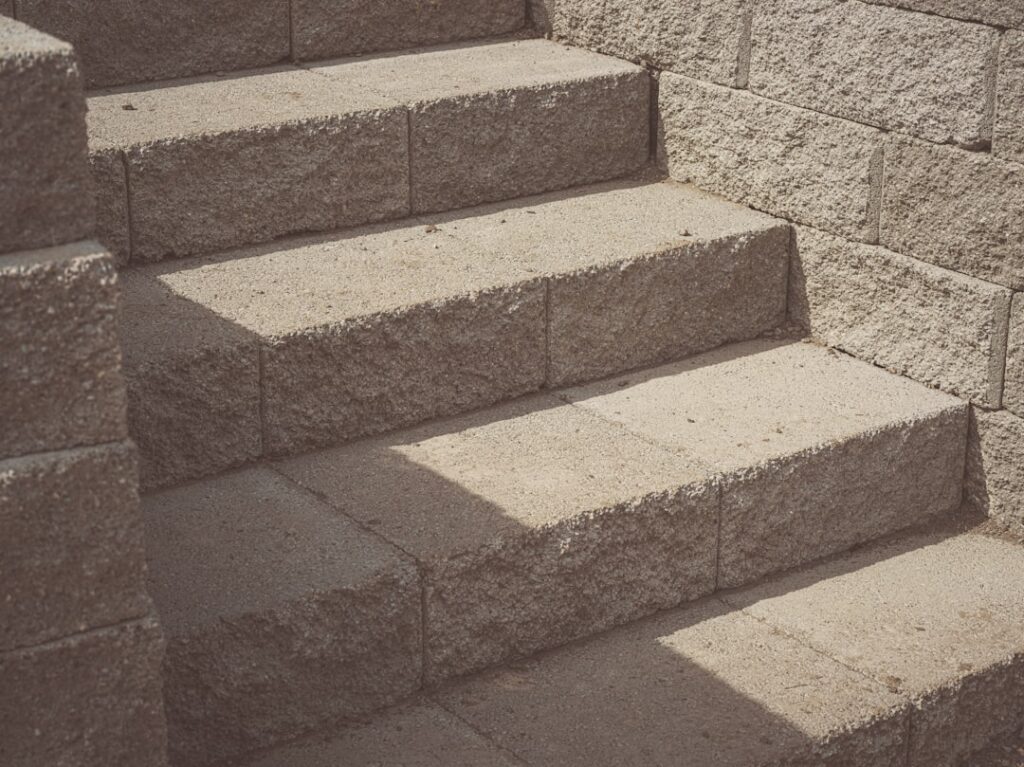
A sloped backyard is usable space waiting to happen, and the most elegant way to reclaim it is a small retaining wall with steps that terraces the grade while giving you a safe path up and down. Done right, this single project levels a planting bed, stops soil erosion, and turns an awkward hill into a designed feature. Done wrong, it bulges, leans, and heaves after the first hard winter. The difference comes down to base preparation, drainage, and how you tie the stairs into the wall. Here is how to build one that holds for decades.
Planning Your Wall and Step Layout
Start by measuring the total rise of your slope and deciding where the steps will sit. Steps usually run perpendicular to the wall, cutting through it to connect the upper and lower levels, or they can climb alongside the wall as a switchback. Sketch the layout on paper with real dimensions before you buy a single block.
For a low wall under three feet, most homeowners can build without an engineer or permit, but always check local codes, since many jurisdictions require permits and engineering above three or four feet. Keeping your wall short and terracing taller slopes into two low walls is both safer and often permit-exempt.
Choosing Your Materials
Material choice drives cost, longevity, and how much muscle the project demands. Each option has a sweet spot for small residential walls with integrated stairs.
- Interlocking concrete blocks — the DIY favorite; molded lips lock courses together with no mortar, $3 to $6 per block
- Natural stone — beautiful and durable but heavy and slower to fit, best for a rustic look
- Pressure-treated timbers — fast to build and budget-friendly, though they last only 15 to 20 years
- Poured concrete — the strongest option but requires forms and finishing skill
For a first-timer, interlocking blocks are hard to beat. They stack without mortar, self-align with a built-in setback, and most manufacturers sell matching step units and caps that integrate directly into the wall system.
Excavation and Base Preparation
The base is where a wall lives or dies, and it is the step most eager builders shortchange. Dig a trench along the wall line at least twice as wide as your block and deep enough to bury the first course entirely, typically 6 inches plus a few inches for the base material. Burying the bottom row anchors the wall against the outward push of the soil behind it.
Fill the trench with 4 to 6 inches of compacted crushed gravel, not sand, and level it obsessively. Every block sits on this foundation, so a base that is off by half an inch multiplies into a leaning wall ten courses up. Compact the gravel with a hand tamper or plate compactor and check it with a long level in both directions before laying the first block.
Drainage: The Invisible Essential
Water is the enemy of every retaining wall. When soil behind the wall saturates, it swells and exerts enormous pressure, called hydrostatic load, that can topple even a well-built structure. Managing that water is non-negotiable.
- Backfill the space behind the wall with clean crushed stone, not the excavated dirt
- Lay a perforated drain pipe at the base, sloped to daylight or a drain, to carry water away
- Separate the gravel from the native soil with landscape fabric so silt does not clog it
- Leave weep gaps or rely on the block’s natural voids for water to escape the face
Skipping drainage is the single most common reason small walls fail. Spend the extra afternoon and a few bags of gravel here; it is far cheaper than rebuilding a collapsed wall in two years.
Building the Wall Courses
With a level base, laying block becomes methodical. Set the first course, checking each block front-to-back and side-to-side for level, tapping high spots down with a rubber mallet. This bottom row consumes the most time and matters the most; everything above simply follows it.
Stack subsequent courses in a running-bond pattern, staggering the vertical seams like brickwork so no joint lines up with the one below. Most interlocking systems create a slight backward lean, called setback, automatically as you stack, which leans the wall into the hill for added stability. Sweep debris off each course before adding the next, and backfill with gravel as you climb rather than all at the end.
Integrating the Steps
Steps are where planning pays off. The cleanest approach uses manufactured step units or solid blocks set on their own compacted gravel base, built up in tandem with the wall so the two structures knit together. Each step tread should be deep enough to stand on comfortably, around 11 to 12 inches, with a consistent riser height of 6 to 7 inches.
Uniform riser height is a safety must; even a half-inch variation between steps becomes a trip hazard in the dark. Build each step on its own solid, compacted foundation rather than resting it on loose backfill, and pin or glue the treads with a masonry adhesive so they cannot shift underfoot. Cap the steps and the wall with finished cap blocks to shed water and give a clean, comfortable edge.
Finishing Touches and Caps
Cap blocks are the crowning course that hides the hollow cores and protects the wall from water intrusion. Secure them with a bead of flexible masonry adhesive, which holds them fast while allowing minor seasonal movement without cracking. Overhang the caps slightly past the wall face for a shadow line that reads as a professional detail.
Once the structure is complete, dress the surroundings. Plant the terraced bed above the wall, mulch the base, and consider low-voltage step lights recessed into the risers for safety and ambiance. These finishing details transform a raw retaining structure into a polished landscape feature.
Getting the Step Proportions Right
Comfortable, safe stairs follow proportions that builders have refined over centuries, and ignoring them produces steps that feel awkward or dangerous. The relationship between tread depth and riser height is the key. A widely used guideline holds that twice the riser plus the tread should land between 24 and 25 inches, which for a 6-inch riser suggests roughly a 12-inch tread. Outdoor steps trend toward slightly lower risers and deeper treads than indoor stairs because people descend them while looking ahead, not down.
Consistency trumps everything. Every riser in the flight must be the same height within a small fraction of an inch, because the human gait locks into a rhythm and a single odd step causes stumbles. Measure carefully as you build, and if the total rise does not divide evenly into your chosen riser height, adjust the riser slightly across all steps rather than making one step taller. A gentle, even flight invites people up the slope; an irregular one becomes a hazard everyone learns to avoid.
Landscaping the Finished Terrace
A retaining wall with steps creates fresh planting opportunities that a bare slope never offered. The leveled bed above the wall is ideal for shrubs, perennials, or a small tree, and cascading plants like creeping juniper or trailing rosemary can spill over the wall face to soften the hard edges of the block. Choose plants whose mature root systems will not undermine the wall or clog the drainage stone behind it.
Mulch the beds to retain moisture and suppress weeds, and keep aggressive, water-hungry plantings away from the wall’s base where they might interfere with the drain outlet. Low-voltage path lighting tucked into the step risers or along the wall cap extends the usable hours into the evening and dramatically improves safety on the stairs after dark. With thoughtful planting and lighting, the raw structure disappears into a landscape feature that looks like it was always part of the yard.
Budget and Timeline
A small retaining wall with steps spanning 10 to 15 feet and standing two to three feet tall typically costs $600 to $1,500 in materials using interlocking block, and a determined homeowner can finish it over a long weekend. The heaviest lifting, literally, is moving block and gravel, so recruit a helper and rent a plate compactor for around $70 a day. Take your time on the base and drainage, keep your courses level, and hold your riser heights consistent. Nail those fundamentals and your terraced slope will look intentional and stand solid for the next twenty-plus years.