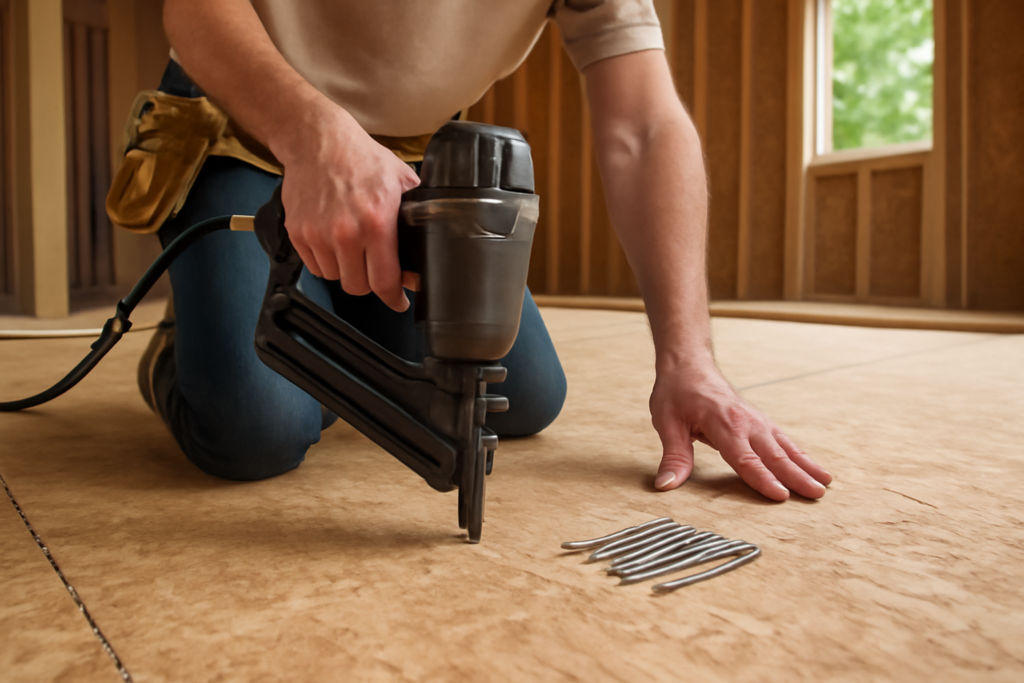
Almost every squeak in a house traces back to the same culprit: fasteners that let the subfloor move against the joists. Subfloor nails are the humble hardware holding your entire floor system together, and choosing the wrong ones, or driving them wrong, is why so many floors creak, pop, and flex years after they were built. Whether you are fixing a noisy hallway or laying a new subfloor before tile or hardwood, understanding which fasteners to use and how to install them is one of those small details that separates a solid floor from an annoying one. This guide breaks down the types, sizes, and techniques that keep a subfloor tight for the life of the house.
Get the fastening right and you rarely think about your subfloor again. Get it wrong and you will hear about it every time someone crosses the room.
Why Fastener Choice Matters So Much
A subfloor is a large sheet of plywood or OSB spanning across the floor joists. As the wood expands, contracts, and bears weight, the panels want to lift and shift. Smooth-shank nails, the kind you might grab for framing, hold poorly against this pull-out force. Over a season or two they back out slightly, opening a tiny gap between the panel and the joist. When you step on that spot, the panel rubs the nail shank or the joist and you hear the classic squeak.
The fix is fasteners engineered to resist withdrawal. That is why subfloor nails are not just any nails, and why many pros skip nails entirely in favor of screws or a glue-and-screw approach for the quietest possible result.
Ring-Shank Nails: The Standard Choice
The workhorse subfloor nail is the ring-shank, sometimes called an annular-ring nail. Instead of a smooth shaft, it has rings pressed along its length. As the nail drives, the wood fibers settle into those rings and grip like tiny barbs, dramatically increasing holding power against pull-out compared with a smooth nail. This is the minimum you should use for a subfloor.
- 8d ring-shank (about 2 1/2 inches): common for 3/4-inch subfloor panels.
- Galvanized or coated: resists corrosion, important in areas that may see moisture.
- Collated coil or strip nails: speed up the job when using a framing or coil nailer.
Ring-shank subfloor nails install fast with a nail gun, which is why builders use them by the box on new construction. They hold far better than smooth nails, though they still cannot be re-tightened later the way a screw can.
Screws Versus Nails
For a floor that stays dead quiet, many experienced installers prefer screws. A subfloor or deck screw with coarse threads pulls the panel down tight and resists withdrawal even better than a ring-shank nail, and if a spot ever loosens you can simply drive it a little deeper. The tradeoff is speed and cost: screws are slower to install and more expensive than a coil of nails.
The best-practice combination is glue and screws. You lay a bead of construction adhesive on the joists, set the panel, and fasten with screws. The adhesive bonds the panel to the joist so the two move as one, eliminating the rubbing that causes squeaks, while the screws clamp everything tight while the glue cures. For a repair or a floor you never want to hear again, this method is hard to beat. For fast new construction, ring-shank nails plus glue is the common production standard.
Correct Sizing and Spacing
The rule of thumb is that a subfloor fastener should penetrate the joist by at least an inch, and often more. For a standard 3/4-inch subfloor, that points to a fastener around 2 to 2 1/2 inches long, whether nail or screw. Going too short leaves inadequate grip; going excessively long risks hitting wires or pipes and adds no benefit.
Spacing is just as important as size. The typical schedule is fasteners every 6 inches along the panel edges and every 8 to 12 inches through the field, into every joist the panel crosses. Skimping on fastener count is a frequent cause of flex and squeaks, so follow the panel manufacturer’s nailing pattern rather than eyeballing it. Keep fasteners back about 3/8 inch from panel edges so they do not blow out the plywood.
How to Silence a Squeaky Existing Floor
If your subfloor already squeaks, you often do not need to tear anything up. The goal is to re-secure the loose panel to the joist beneath it. From above, locate the joist and drive a screw through the finished floor into the joist, or use a specialty squeak-repair kit that snaps the screw head off below the surface. From below, if the joists are exposed in a basement, you can drive screws up through a block or shim to draw the subfloor and joist tight, or use hardwood shims and adhesive to fill any gap.
The key is fastening into solid framing, not just the subfloor itself. A screw that only grabs the plywood does little; one that pulls the plywood down onto the joist stops the movement that causes the noise.
Common Mistakes to Avoid
A few errors show up again and again. Using smooth-shank nails for a subfloor almost guarantees future squeaks. Skipping the construction adhesive gives up the single biggest anti-squeak advantage you have. Under-fastening, or missing the joist entirely so the nail sinks into empty space between framing, leaves panels free to move. And overdriving fasteners so they crush through the panel surface reduces their grip.
Also watch moisture. A subfloor installed wet, or one that gets rained on before the roof is dry, will shrink as it dries and loosen even well-placed fasteners. Let panels acclimate, keep them dry, and gap them slightly as the manufacturer specifies so they do not buckle.
OSB Versus Plywood and Fastener Grip
The panel material under your feet affects how fasteners hold, and it is worth understanding. Plywood is built from cross-laminated veneers and generally offers excellent fastener grip and screw retention, while oriented strand board, or OSB, is made of compressed wood strands and is a bit more prone to fastener pull-through if you overdrive. Both are common and code-approved subfloor materials, but OSB in particular rewards using coated or ring-shank fasteners and not sinking the heads too deep.
Moisture behavior differs too. OSB tends to swell more at cut edges if it gets wet and is slower to dry, which is one more reason to keep panels dry during construction and to gap them per the manufacturer’s instructions. Whatever the panel, the principles hold: fasten into every joist, use withdrawal-resistant fasteners, glue the panels down, and follow the spacing schedule. Matching the fastener to the panel and keeping everything dry is what gives you a floor that stays flat and quiet for decades.
The Bottom Line
Subfloor nails seem like a trivial detail until you live over a squeaky floor. Choose ring-shank nails at minimum, strongly consider screws with construction adhesive for the quietest result, size them to bite at least an inch into the joists, and follow the recommended spacing into every joist. Whether you are building new or chasing down an old creak, the right fasteners installed the right way are the cheapest insurance you can buy for a solid, silent floor.
Prefer to explore on your own?
See how new flooring looks in your actual room in seconds — free, no signup.
Try the free Floor Studio →