Finishing a tile job feels like a triumph right up until the grout dries and you notice the whole surface has gone cloudy, as if someone wiped it with a dirty sponge. That milky film is grout haze, and it is one of the most common frustrations for anyone who has ever grouted a floor or backsplash. The tile doctor grout haze remover is a product built specifically for this problem, and used correctly it clears that residue quickly where scrubbing with water alone just moves it around. This guide explains what haze is, why it happens, how the remover works, and the exact steps I use to get tile back to a clean, sharp finish.
I will also cover the general principles of removing grout haze, because the technique matters as much as the product, and the same rules apply whether you reach for this remover or another acidic one. Most importantly, I will flag the safety issues up front, because the acids that make these products effective are also what make them risky on the wrong surface. Get the method and the timing right and haze removal is a straightforward afternoon task rather than a permanent regret.
What Grout Haze Actually Is
Grout is essentially a cement-based paste, and when you spread it across tile and wipe off the excess, a thin layer of fine cementitious particles stays behind on the tile face. As that moisture evaporates, those particles dry into a dull, chalky or slightly waxy-looking film that clings to the surface. That film is grout haze. On glossy tile it shows up as a cloudy veil that kills the shine; on textured or matte tile it can look like a permanent gray fog settled into the surface.
It is worth understanding that haze is not dirt sitting loosely on top, which is why plain water and a rag do not remove it well. It is bonded mineral residue, and dissolving it requires either mechanical effort that risks scratching, or a mild chemical action that breaks the cement down so it wipes away easily. That is exactly the gap an acidic haze remover fills. Knowing haze is a chemistry problem, not a scrubbing problem, changes how you approach it.
Why Haze Forms in the First Place
The most common cause is simply not wiping enough during the initial grout cleanup, or wiping with a sponge that is too wet and too dirty, which smears a thin slurry of grout across the tile rather than removing it. Using too much water during cleanup actually makes it worse, because it pulls cement fines up out of the joints and spreads them over the surface where they dry into haze. Overly aggressive early wiping can also weaken the joints while still leaving film on the tile, the worst of both worlds.
Textured, porous, or unglazed tile is especially prone to holding haze because the film settles into the surface texture and grabs on. Timing plays a role too. If you catch the tile at the right moment during cleanup, much of the haze wipes off with a barely damp sponge and clean water. Miss that window and the residue cures hard, at which point a dedicated remover becomes the sensible tool rather than hours of dry buffing.
How the Tile Doctor Remover Works
This remover is an acid-based liquid formulated to dissolve cementitious grout haze without you having to grind at it. The acid reacts with the cement residue, breaking down the mineral bond that holds the film to the tile so it lifts off with light agitation and rinses away. Because it works chemically, the labor is minimal compared with trying to buff cured haze off dry, and it does not require the harsh scrubbing that can scratch a glazed surface.
Most products in this category, including this one, are meant to be diluted with water for general haze and used at stronger concentration for heavier buildup, so always read the specific dilution guidance on the bottle rather than guessing. The reaction is quick, which is a double-edged sword: it clears haze fast, but it also means you should not leave it sitting on the tile indefinitely, and you must keep it well away from surfaces the acid can damage. Think of it as a fast, controlled process rather than a soak-and-forget treatment.
Step-by-Step: Removing Grout Haze
First, wet the tile with clean water before you apply anything. This is the step people skip, and it matters. Pre-wetting saturates the grout joints so the acid cannot soak in and attack the fresh grout, and it keeps the reaction confined to the haze on the tile face. Never apply an acidic remover to bone-dry, freshly grouted tile, because the acid can pull into the joints and weaken them.
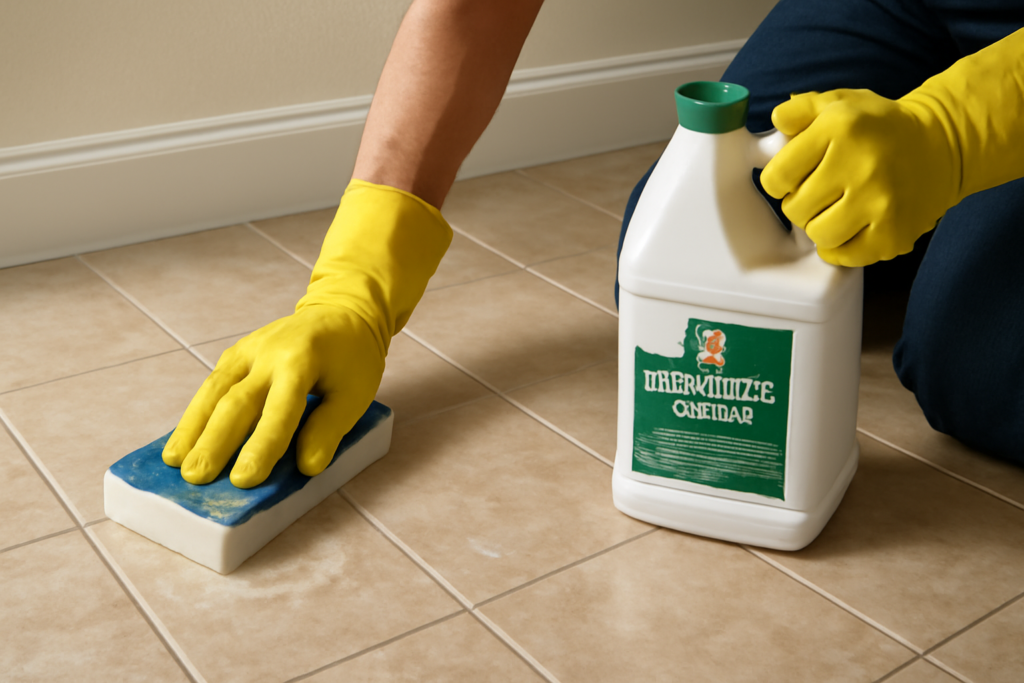
Next, mix the remover to the recommended dilution, apply it to a manageable section of the tile, and let it dwell briefly. Agitate the haze with a white nylon pad or a soft brush; you should feel the film release and see the cloudiness break up. Work in sections so no area dries out before you rinse it. Then rinse thoroughly with clean water, changing the rinse water often so you are not just redepositing dissolved residue elsewhere. A final wipe with clean water and a fresh cloth, followed by a buff with a dry towel, brings the shine back. If a stubborn patch remains, a second targeted application usually finishes it.
Safety and Surface Cautions
Ventilation and protection come first. Work with airflow, wear chemical-resistant gloves and eye protection, and keep the acid off your skin. As with any acidic cleaner, never mix it with bleach or other products. The reaction fumes are manageable in a ventilated room but unpleasant in a closed space, so open windows and run a fan.
The critical surface warning is natural stone. Marble, travertine, limestone, and other calcium-based stones will etch on contact with acid, leaving permanent dull marks, so an acidic haze remover is the wrong tool for stone tile; those installations call for a stone-safe, non-acidic haze product instead. Be cautious too with polished porcelain, metallic or colored grout, and anything with a delicate finish, and always test a small hidden area first with your intended dilution and dwell time. Confirm the tile is acid-tolerant before you commit to the whole floor.
Timing: Why Sooner Is Better
Grout haze is far easier to remove while it is still relatively fresh. In the first day or two after grouting, the residue has not fully cured and it releases with less effort and weaker dilution. As the weeks pass, the cement fines harden and bond more tightly, and while the remover still works, you may need a stronger concentration, more dwell time, and more agitation to shift it. If you notice haze after a job, deal with it within a few days rather than living with it and hoping it fades, because it will not fade on its own.
That said, do not rush in before the grout itself has set. You want the joints cured enough to withstand cleaning, which typically means waiting the manufacturer-recommended time after grouting before applying any acidic remover, then not waiting so long that the haze petrifies. There is a comfortable window in there, and hitting it makes the whole job easier. When in doubt, follow the grout manufacturer’s cure guidance for the minimum wait, and plan your haze removal for shortly after that point.
Pros, Cons, and Alternatives
The strengths of a dedicated remover like this are real: it dissolves cured haze that water cannot touch, it saves you from scratchy mechanical buffing, it works fast, and it is straightforward to use once you understand dilution and rinsing. For a whole floor of hazed tile, it turns a dreaded chore into a manageable one. The tradeoffs are the acid-handling requirements, the hard no on natural stone, and the need to pre-wet and rinse carefully so you protect the joints and do not redeposit residue.
If an acidic remover is off the table because you have stone, the alternatives are a pH-neutral or specialty stone-safe haze remover, or careful mechanical removal with a haze-removal pad and plenty of clean water. Some people try diluted vinegar as a mild acid on ceramic and porcelain, and it can help with very light haze, but it is weaker and slower than a purpose-made product and carries the same etching risk on stone. For anything beyond a faint film on acid-tolerant tile, a dedicated grout haze remover, used with the pre-wet and rinse discipline above, is the tool that reliably gets tile back to looking freshly laid.
Prefer to explore on your own?
See how new flooring looks in your actual room in seconds — free, no signup.
Try the free Floor Studio →