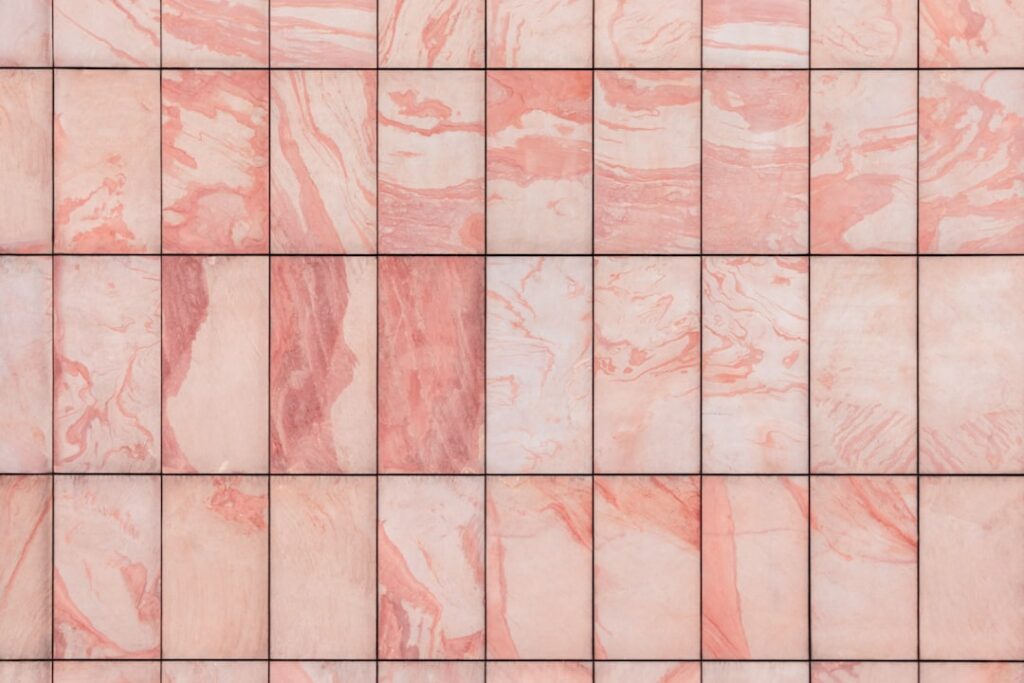
Painted wainscoting looks great until the first splash of water swells the trim and peels the paint. Tile wainscoting gives you the same architectural wall detail with a surface that shrugs off moisture, scuffs, and daily wear. Whether you are protecting a bathroom, a mudroom, or a busy hallway, tile wainscoting combines the look of traditional millwork with the durability tile is known for. This guide covers heights, materials, layouts, costs, and the installation details that make the finished wall look built-in rather than bolted on.
What Tile Wainscoting Is and Where It Shines
Wainscoting traditionally refers to a decorative treatment on the lower portion of a wall, capped by a rail. Instead of wood panels or beadboard, tile wainscoting uses ceramic, porcelain, or stone tile to cover that lower band, usually topped with a bullnose, a chair-rail tile, or a wood cap. The result is a hardworking surface exactly where walls take the most abuse.
It excels in bathrooms, where steam and splashes destroy painted trim, and in mudrooms and entryways, where wet boots and backpacks scuff paint within a season. Kitchens, laundry rooms, and even pet-heavy hallways benefit too. Anywhere the bottom three feet of wall takes a beating is a candidate.
Choosing the Right Height
Height is the design decision that most affects the finished look. The traditional rule places the cap at roughly one-third of the wall height, which lands around 32 to 36 inches on a standard 8-foot wall. That proportion feels balanced in most rooms and conveniently aligns the cap near a bathroom vanity or a chair back.
Taller treatments have their place. A 48-inch band reads more formal and dramatic in a dining room or powder room, while a shorter 30-inch run keeps a small space from feeling closed in. In a shower or tub surround, the tile often continues higher for waterproofing, and the wainscoting on adjacent walls is set to match the cap line for continuity. Snap a level line before you start and dry-lay a few courses so the cap lands on a full or nearly full tile rather than an awkward sliver.
Materials and Tile Choices
Porcelain is the workhorse for wet and high-traffic areas because it absorbs almost no water and resists chipping. Ceramic costs a little less and offers the widest range of decorative looks, which is why classic 3-by-6-inch subway tile remains the go-to for wainscoting. Natural stone such as marble or slate brings a high-end feel but needs sealing and more careful cleaning.
- Subway tile, 3 by 6 inches, for a timeless, budget-friendly band
- Large-format porcelain for fewer grout lines and a modern look
- Handmade or zellige tile for texture and old-world character
- Picket, hexagon, or penny-round shapes for a distinctive base
- Bullnose or pencil-trim pieces to finish the top edge cleanly
Whatever you choose, buy the matching trim pieces at the same time. Bullnose and pencil liners often come from a specific series, and running short mid-project can mean a color-lot mismatch or a long reorder wait.
Layout and Grout Details
The layout sets the tone. A running bond, where each row shifts by half a tile, is the classic subway pattern and hides small wall imperfections. A stacked grid feels contemporary, while a herringbone or vertical stack adds movement. Whatever the pattern, plan your vertical grout lines so the cut tiles at inside and outside corners are balanced rather than a hairline sliver on one end.
Grout color changes the entire effect. A matching grout makes the wall read as a solid field, while a contrasting grout highlights every tile and emphasizes the pattern. For wet areas, use a quality grout and consider a mildew-resistant formula. Where the tile meets the floor, the tub, or a countertop, use flexible sealant rather than grout so the joint can move without cracking.
Cost of Tile Wainscoting
Cost depends heavily on the tile and your labor situation. Treat these as planning ranges. Basic ceramic subway tile runs roughly $2 to $6 per square foot for material, porcelain $4 to $12, and natural stone $8 to $25 or more. Professional installation typically adds $8 to $18 per square foot depending on the pattern complexity and wall prep.
Because wainscoting covers only the lower band, the square footage is modest, which keeps even a stone project reasonable. For a small powder room with a 36-inch band, you might be tiling only 40 to 60 square feet. Add the cap trim, thinset, grout, and sealer to your material budget, and get an itemized quote if you hire out so accent trim pieces are not a surprise.
Installation Basics for a Clean Result
A durable job starts with the substrate. In dry areas, tile can go over well-prepared drywall, but in wet zones like a tub surround you need a proper tile backer board and, where required, a waterproofing membrane. Skipping the backer in a splash zone is the most common reason wainscoting fails behind the tile where you cannot see it.
From there the sequence is familiar: establish a level baseline, spread thinset with the correct notched trowel, set tiles with spacers, and check the plane with a straightedge as you go. Cut edges are hidden behind the base trim at the bottom and capped by bullnose at the top, so the field cuts you have to be fussy about are mainly at the corners and any outlets. For waterproofing in showers and around plumbing penetrations, follow the membrane manufacturer’s instructions closely, and bring in a tile pro if the room involves a shower pan or structural moisture concerns.
Cleaning and Long-Term Care
Sealed and grouted tile is easy to live with. Wipe the field with a mild cleaner and a soft cloth, and avoid abrasive pads that dull the glaze. Grout is the part that shows wear, so keep a small brush handy for the joints and reseal cement-based grout every year or two in wet rooms. Natural stone tile needs a stone-safe cleaner and periodic sealing, since acidic cleaners can etch marble.
Inspect the flexible sealant joints at the floor, tub, and counter once a year, and recaulk any that have shrunk or discolored. That single habit keeps water out of the wall behind an otherwise bulletproof surface.
Finishing the Top Edge and Corners
The detail that separates a polished tile wainscoting job from a rough one is how the top edge and corners are handled. The cap is what your eye lands on, so it deserves a deliberate choice. A bullnose tile with a rounded, glazed edge gives a soft, traditional finish, while a pencil-liner or chair-rail trim tile adds a crisp shadow line. Many homeowners top the tile with a wood or MDF cap rail painted to match the trim, blending tile durability with millwork warmth.
Whatever cap you use, plan the transition to the drywall above. The wall paint or wallpaper should meet the cap cleanly, and a small bead of paintable caulk at that seam hides any minor gap and gives a built-in look. If you run the field tile straight to a painted cap rail, tuck the top course under the rail so there is no exposed cut edge.
Inside and outside corners each need their own approach. On outside corners, a bullnose or a metal or PVC edge trim wraps the exposed edge so you never see the raw tile body. On inside corners, leave a small gap and fill it with flexible sealant rather than grout, because that joint moves as the building settles and rigid grout there will crack. The same flexible-joint rule applies wherever the tile meets the floor, a countertop, or a tub.
Around outlets, switches, and plumbing, take your time with the cuts and use box extenders so the cover plates sit flush over the added tile thickness. These small finishing moves, the cap, the corners, and the flexible joints, are what make tile wainscoting look like it belongs to the house rather than something applied over it. Rushing them is the most common way an otherwise solid tile job ends up looking amateur.
Is Tile Wainscoting Worth It?
For rooms that see water and heavy use, tile wainscoting is one of the smartest finishes you can install. It delivers the charm of traditional millwork with a surface you can hose splashes off of for decades. Pick a height that suits the room’s proportions, choose porcelain or sealed stone for wet areas, plan the layout so cuts land cleanly, and confirm current tile and trim availability before you buy. Handle the waterproofing correctly, or hire a pro for the wet zones, and you will have a wall detail that looks sharp and holds up long after painted wainscoting would have failed.
Prefer to explore on your own?
See how new flooring looks in your actual room in seconds — free, no signup.
Try the free Floor Studio →