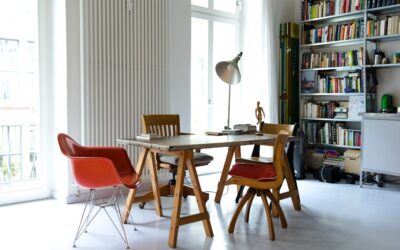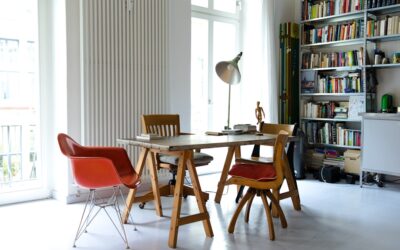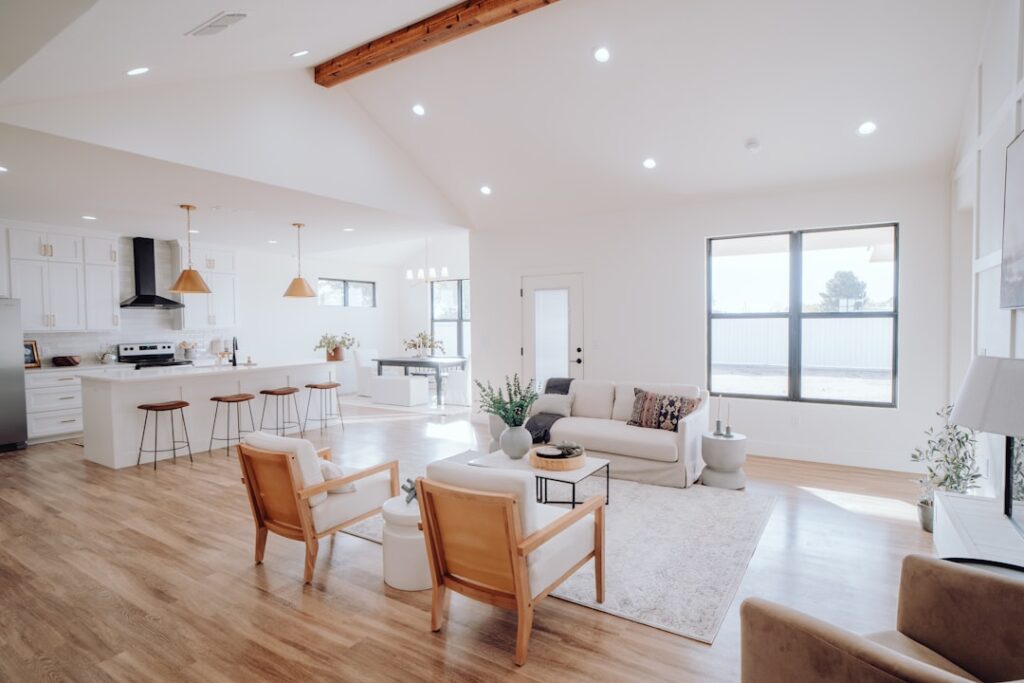
Open-concept floor plans created a problem flooring stores did not have to solve in 1985: how to handle a kitchen that flows into a dining nook that flows into a family room without making the whole 800 square feet look like one warehouse. Running two different flooring in one room defines zones, separates wet from dry, and gives the eye a place to land. Done right, it reads as designed. Done wrong, it looks like the previous owner ran out of money halfway through.
- Why Mix Floors at All
- The Most Common Pairings
- Transition Method One: T-Molding
- Transition Method Two: Schluter Strip
- Transition Method Three: Inlay Threshold
- Transition Method Four: Border Banding
- Where to Place the Transition Line
- Height Matching: The Critical Detail
- Color and Pattern Coordination
- Pricing for a Typical Mixed-Floor Project
- Avoiding the Most Common Mistakes
- When the Mix Works
Why Mix Floors at All
Three reasons drive the decision. Functional zoning separates a tile kitchen from a hardwood family room because tile takes water and dropped cookware better. Visual zoning anchors a banquette or reading corner with a different material to make it feel intentional. Budget allocation puts the premium material where it counts (foyer, dining room) and a more affordable option in lower-impact spots (mudroom).
The decision should always be driven by function or zoning, not by leftover material from the previous project.
The Most Common Pairings
Several combinations work consistently:
- Tile and hardwood: kitchen to dining or kitchen to family room
- Tile and LVP: bathroom to bedroom, mudroom to hallway
- Two hardwood species: foyer to living room with a contrasting border
- Hardwood and carpet: open landing to bedrooms
- LVP and tile: laundry to garage entry
Less successful combinations include vinyl plank in one zone and laminate in another (the materials look too similar to read as intentional zoning) and three or more materials in one open space (the room reads cluttered).
Transition Method One: T-Molding
The simplest transition is a T-molding, an inverted T-shaped trim piece that bridges two materials of similar height. Solid wood T-molding in oak or walnut matches hardwood floors. Color-matched aluminum or vinyl T-molding handles LVP-to-tile transitions. Installation runs $4 to $9 per linear foot for the molding and $3 to $5 per linear foot installed.
T-molding works when both surfaces sit within 1/16 inch of the same height. Any larger height difference creates a visible bump or a gap underneath the trim.
Transition Method Two: Schluter Strip
For tile-to-hardwood transitions where the tile is slightly taller, an aluminum or brass Schluter Reno-T or Schluter Schiene strip locks into the tile mortar and ramps down to the wood floor. The result is a clean, modern line that reads as architectural rather than a piece of trim.
Schluter strips run $8 to $16 per linear foot. Brass options like Schluter Designline run $18 to $28 per linear foot and add a designer-level detail that elevates the whole room.
Transition Method Three: Inlay Threshold
The most premium option mills a custom hardwood or stone threshold to the exact width and profile of the transition. A 4 inch wide oak threshold with bullnose edges set into the floor between dining room hardwood and kitchen tile reads as a true architectural detail. Run the threshold in the same species as the hardwood, contrast-stained to differentiate.
Custom thresholds run $25 to $60 per linear foot installed. Plan ahead because the threshold sets the height of both surrounding floors.
Transition Method Four: Border Banding
For mixed-hardwood layouts, a contrasting border 4 to 8 inches wide separates one species or color from another. Common pairings include white oak field with walnut border, or natural hardwood with a wide painted black border. The banding reads as a designer feature rather than a transition.
Custom border layouts add $4 to $9 per linear foot to install labor because each plank requires precise miter cuts. Plan for 8 to 12 hours of extra labor on a typical room.
Where to Place the Transition Line
The transition should land at a doorway, archway, or natural architectural break. Running a transition through the middle of an open floor (under a 12 foot opening with no doorframe) looks arbitrary. Run it under the leading edge of an archway, at the threshold of a doorway, or aligned with a kitchen island. The eye reads the change as intentional when it tracks an architectural feature.
For open floor plans with no doorways, use the kitchen island or a peninsula to anchor the transition. A 7 foot island provides a 7 foot transition line that reads naturally.
Height Matching: The Critical Detail
Mismatched floor heights are the single most common mistake. A 3/4 inch solid hardwood next to a 1/4 inch ceramic tile creates a 1/2 inch step that becomes a daily trip hazard and looks unfinished. Plan total floor stack height during the project, including underlayment, before any material order goes in.
For tile, that means specifying the mortar bed thickness. For hardwood, it means accounting for underlayment or felt paper. For LVP, the plank thickness and pad determine final height. Aim for both floors to land within 1/16 inch. Use ramped transitions only when the height differential is unavoidable.
Color and Pattern Coordination
The two materials should share an undertone or contrast intentionally. A warm honey oak hardwood pairs cleanly with a tan or terracotta tile. A cool gray porcelain pairs cleanly with a whitewashed white oak. A warm and cool pairing reads as a clash and ages poorly.
If pairing similar materials (two hardwoods, or wood-look LVP with real wood), choose contrast carefully. Tonal pairings (two warm browns one shade apart) read as accidental and look like the contractor ran out of one product. Strong contrast (light maple field with dark walnut border) reads as designed.
Pricing for a Typical Mixed-Floor Project
- 250 sq ft kitchen tile plus 600 sq ft hardwood: $11,000 to $18,000 turnkey
- 100 sq ft entry tile inlay plus 800 sq ft LVP: $7,500 to $11,500 turnkey
- 200 sq ft bathroom tile plus 300 sq ft bedroom LVP: $5,500 to $8,500 turnkey
- Premium hardwood with contrasting border banding (1,200 sq ft): $18,000 to $32,000 turnkey
Avoiding the Most Common Mistakes
Three errors show up over and over. Running too many materials in one open space (stick to two). Setting the transition line in a random spot rather than at an architectural break. Skipping the height-match calculation and ending up with a 1/2 inch step where there should be none. Plan all three before any product order is placed.
When the Mix Works
Combining two different flooring in one room is one of the highest-leverage design decisions in a renovation. It defines function, anchors zones, and adds visual richness that single-material rooms lack. Plan the heights, pick coordinating colors, and land the transition at an architectural break. The result is a room that reads as designed, not assembled.
Prefer to explore on your own?
See how new flooring looks in your actual room in seconds — free, no signup.
Try the free Floor Studio →