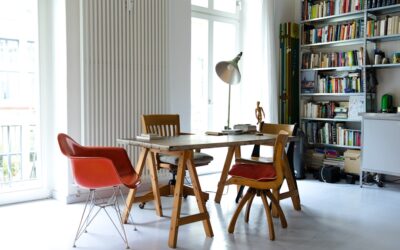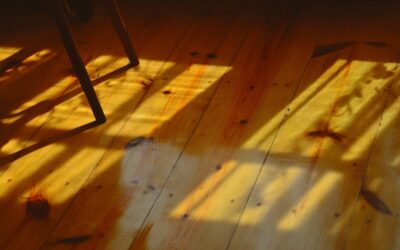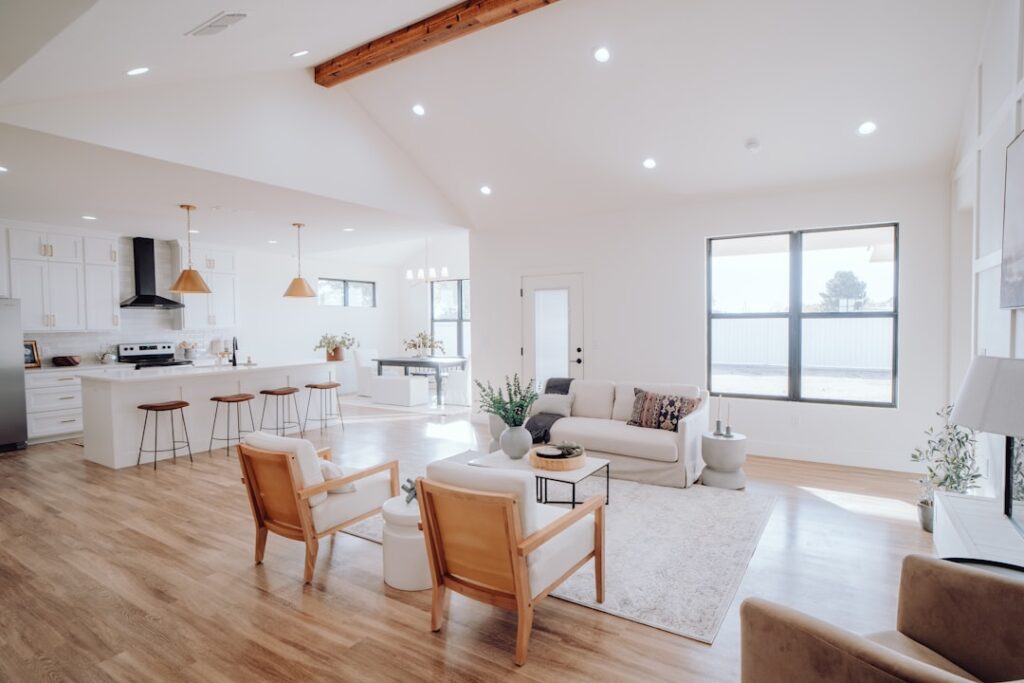
The trend started in design blogs around 2014 and has since spread into actual homes, rental remodels, and even mid-range new builds. Using plywood for flooring as a finished surface delivers a wide-plank wood look at one-quarter the cost of real hardwood, with a DIY-accessible install that lands inside a single weekend. The catch is that not all plywood works, the finish system matters more than the wood, and you give up some of the durability that solid oak or engineered planks provide. Done well, the floor looks fantastic for a decade. Done poorly, it peels and warps within a year.
- Which Plywood Grades Actually Work
- Why the Hardwood Veneer Matters
- Plank-Cut Method: The Standard Approach
- The Spacing Trick Defines the Look
- Finish Choice Drives Durability
- Brand Spotlight: Bona Mega Clear HD
- Pros That Make Plywood Worth Trying
- Cons That Push Buyers to Real Wood
- When This Project Makes Sense
Which Plywood Grades Actually Work
Construction-grade CDX plywood is the wrong choice. The face veneer is too thin and the C-grade surface contains too many voids and knots filled with patches. The right plywood for finished floors is A-grade or B-grade hardwood-faced sandeply plywood, ideally birch or maple-faced, available at lumber yards and Home Depot in 4×8 sheets.
- Birch sande plywood A-1: 3/4-inch, smooth A-grade face, $50-$75 per sheet
- Maple plywood: 3/4-inch with maple veneer face, $60-$85 per sheet
- Oak plywood: 3/4-inch with red or white oak face, $55-$80 per sheet
- Cabinet-grade Baltic birch: 3/4-inch multi-ply, $70-$100 per sheet
- Underlayment-grade plywood: 1/4-inch, smooth face, $30-$45 per sheet
Why the Hardwood Veneer Matters
The face veneer is the wear surface. Construction CDX uses 1/64-inch veneers full of voids and knots that show through any finish you apply. Cabinet-grade A-1 birch and oak plywoods use thicker, defect-free face veneers that accept stain and finish evenly. The veneer is still thinner than solid hardwood (roughly 1/40 to 1/32 inch versus a full 3/4 inch on solid oak), which means sanding down through the veneer ruins the floor permanently. Plan one careful sanding before installation and zero refinishes across the floor’s life.
Plank-Cut Method: The Standard Approach
The most popular plywood floor technique is the plank-cut method. Rip 4×8 sheets into 6, 8, or 10-inch wide planks using a table saw or track saw with a 60-tooth blade. The cuts must be straight because any wavy edge shows in the finished install. Plank length runs the full 8-foot sheet, which is longer than most engineered hardwood and contributes to the floor’s wide-plank character.
- Rip 4×8 sheets into uniform-width planks (6 to 10 inches typical)
- Sand each plank with 80, 120, and 220 grit before install
- Stain or apply pre-stain conditioner and stain on the plank face
- Apply 3 coats of water-based polyurethane (Bona Mega Clear, Loba Supra)
- Acclimate the finished planks in the install room for 48 hours
- Install over existing subfloor with construction adhesive and 1.25-inch finish nails
- Stagger end joints by at least 12 inches between adjacent rows
- Use 1/8-inch washers as spacers to mimic real plank gaps
The Spacing Trick Defines the Look
Pro DIY plywood floors leave a small intentional gap between planks, typically 1/16 to 1/8 inch. The gap separates planks visually, mimics real wood floors, and allows minor seasonal movement without buckling. Use plastic washers, popsicle sticks, or 16-gauge brad nails as temporary spacers during install. Fill the gaps with dark wood-tone caulk like DAP Color-Tone in espresso to read as a tight grout line between planks.
Finish Choice Drives Durability
The finish system matters more on plywood than on solid hardwood because there is no wear-layer thickness to spare. Three coats of water-based polyurethane (Bona Mega Clear HD or Loba 2K Supra) deliver the longest service life with the lowest VOC emissions. Oil-modified polys give richer amber color but cure slower and yellow over time. Hardwax oils (Rubio Monocoat, Pallmann Magic Oil) penetrate the veneer and spot-repair invisibly, which suits the plywood format because veneer damage cannot be sanded out anyway.
Skip single-coat finishes and dollar-store sealers. The plywood floor lives or dies on the finish. Plan to spend $1.50 to $2.50 per square foot on finish materials alone, and apply three coats minimum across two days.
Brand Spotlight: Bona Mega Clear HD
Bona Mega Clear HD water-based polyurethane is the most-used DIY finish for plywood floors in the US. The product applies with a microfiber pad or T-bar applicator, dries to recoat in 2 to 3 hours, and cures to walkable hardness in 24 hours. A gallon covers 500 to 600 square feet per coat. Three coats on a 200-square-foot plywood floor uses roughly 1.5 gallons, which costs about $130. Cheaper alternatives from Minwax and Varathane work but cure softer and develop scratches within months in high-traffic areas.
Pros That Make Plywood Worth Trying
Cost is the headline. Plywood plank floors install for $1.50 to $3 per square foot total including finish materials, versus $6 to $12 per square foot for engineered hardwood and $8 to $14 for solid hardwood. The wide-plank look is achievable in widths real hardwood charges premium prices to match. Installation skill required is moderate, well within the reach of an experienced DIYer with a table saw. Repairs in damaged areas swap out individual planks easily because the floor is just nailed and glued, not click-locked.
Cons That Push Buyers to Real Wood
The veneer cannot be refinished. Once the finish wears through, the floor is done and the planks must be removed. Real hardwood gets 4 to 6 refinish cycles. Resale value is also lower. Appraisers know the difference and value plywood floors as a step below real wood, even when the install looks great. Moisture sensitivity is higher than solid hardwood because the multi-layer construction can delaminate under sustained water exposure. Use plywood floors in dry rooms (bedrooms, living rooms, dining rooms) and skip kitchens, baths, and basements.
When This Project Makes Sense
Rental properties where ten-year service life is enough. Vacation cabins where the budget matters more than the appraised resale. DIY enthusiasts who want a custom wood look and are willing to do the work. Starter homes where the buyer plans to upgrade to real hardwood within a decade. For forever-home installations in primary residences, real engineered or solid hardwood remains the better long-term investment despite the cost difference. The plywood floor is a smart choice for the right project and a regret for the wrong one.
Prefer to explore on your own?
See how new flooring looks in your actual room in seconds — free, no signup.
Try the free Floor Studio →