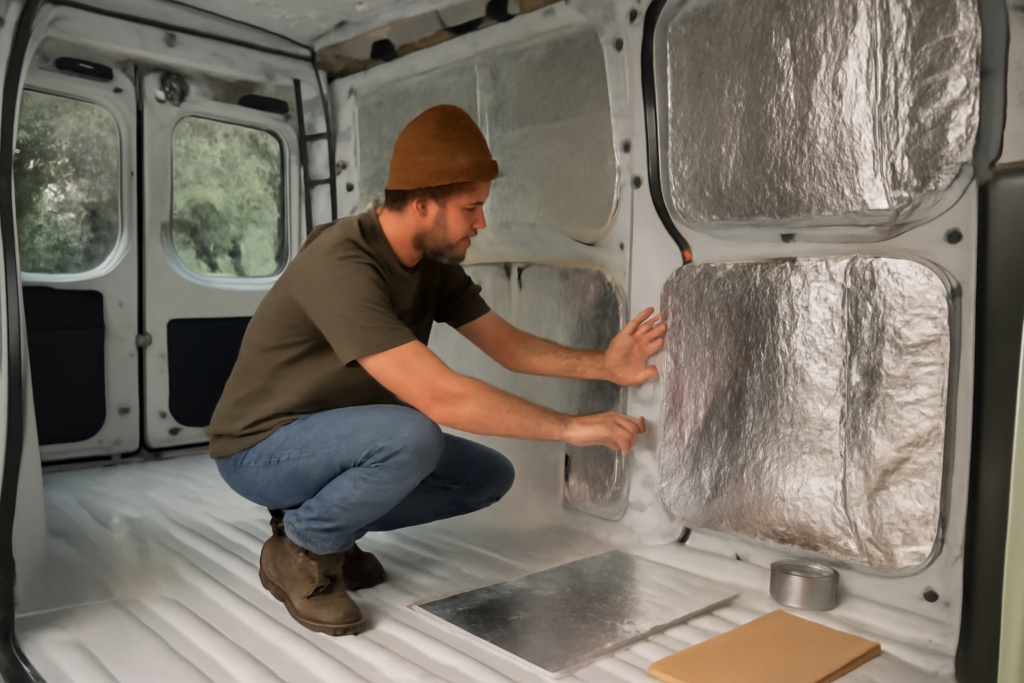
A bare metal van is a worst-case thermal envelope: single-skin steel conducts heat about 1,500 times faster than wood, every rib is a thermal bridge, and one sleeping human exhales roughly a pint of moisture a night onto those cold surfaces. Getting van insulation right is therefore less about chasing a big R-number than about managing condensation while taking the edge off heat and cold — a 3-inch-deep wall cavity was never going to perform like a house wall. This guide compares the materials van builders actually use, lays out a moisture strategy that prevents the rusty, moldy failures, and gives a proven install order with real costs for a full build.
Set Expectations: What Insulation Can and Cannot Do
Physics first. Van walls offer 1 to 3 inches of usable depth, so a realistic wall assembly lands between R-4 and R-8 — enough to slow heat flow meaningfully, not enough to make a van hold temperature like a building. Windows and the uninsulatable windshield dominate losses anyway. What insulation reliably delivers: a van that warms quickly and holds heat overnight with a small heater, stays livable a couple hours longer on summer mornings, drips far less condensation, and is dramatically quieter on the highway. What it cannot deliver: passive comfort in extremes. Budget accordingly — a diesel heater (about $200 to $1,200) plus modest insulation beats heroic insulation with no heater in every cold-weather build, and a roof fan is non-negotiable for both moisture and summer heat.
The Materials Van Builders Actually Use
Four materials cover 90 percent of good builds:
- 3M Thinsulate SM600L: synthetic microfiber, ~R-5.2 at 1.65 inches, hydrophobic and breathable, stuffs into ribs and pillars, glues up with spray adhesive. The premium default for walls and ceilings. About $2.00 to $2.80 per sq ft.
- Sheep’s wool (Havelock Wool): ~R-3.6 per inch, manages moisture by absorbing and releasing vapor without losing insulating value, naturally mold-resistant, pleasant to install. The natural-materials favorite. About $1.50 to $2.50 per sq ft at 2 inches.
- Polyiso or XPS foam board: R-6.5 and R-5 per inch respectively — the R-per-inch champions for flat surfaces, ideal under floors and on large wall panels, cheap ($0.60 to $1.00 per sq ft per inch). Rigid, so useless in curved cavities, and must be air-sealed at edges.
- Closed-cell spray foam: R-6+ per inch, air-seals and adheres to everything. Polarizing: done well it is excellent; done badly it traps moisture pockets, can warp panels as it expands, and is permanent in the worst way. Most builders skip it or limit it to small gaps with low-expansion cans.
Materials to avoid: fiberglass batts (itchy dust in a vibrating box, slumps when damp), denim (holds water), reflective bubble wrap as primary insulation (its R-1 works only as a radiant barrier with an air gap — fine for window covers, misleading in walls), and open-cell foam (a sponge against cold steel).
Moisture: The Strategy That Decides Whether Your Build Rusts
Condensation is the boss fight. Warm interior air hits steel at outside temperature and drops its water there, every night, forever. Two coherent strategies exist. The sealed approach — perfect vapor barrier so moist air never reaches metal — works in theory and fails in vans, because thousands of screw holes, ribs, and panel edges make a truly sealed barrier impossible, and a leaky vapor barrier traps water. The breathable approach wins in practice: use vapor-open, moisture-tolerant insulation (Thinsulate, wool), skip plastic sheeting entirely, leave small drainage/dry-out paths, and control humidity at the source with ventilation — a roof fan (Maxxair or Fantastic, $250 to $400) run on low overnight, cracked windows, and lids on boiling pots. Add heat when camping cold: a dry van is a warm, ventilated van. Accept that some condensation will happen on the coldest nights and design so it can dry: no soggy materials against steel, weep paths open at the floor, and periodic airing-out.
Zone-by-Zone Plan
Sound deadening first (not insulation, but do it now): butyl mats (Kilmat, Noico) on 25 to 40 percent of each large panel, roughly $80 to $150 for a van. Transformative for road noise and only possible before insulation goes in.
Floor: rigid foam is king — 1/2 to 1 inch of XPS or polyiso between or under sleepers, subfloor ply on top. Every 1/4 inch matters for headroom in low-roof vans; even 1/2 inch (R-2.5) kills the cold-floor effect. Do not obsess: floors lose the least heat of any surface.
Walls: stuff every cavity, rib, and pillar with Thinsulate or wool — the hidden channels are major convection loops if left empty. Large flat sections can take foam board glued and foil-taped.
Ceiling: your biggest heat gain/loss surface after glass; insulate to the full available depth, working around the fan opening and wiring runs installed first.
Doors, wheel wells, glass: doors get stuffed like walls; wheel wells get foam or wool boxes; windows get fitted Reflectix-and-fabric covers — the highest-R-per-dollar item in the whole build, worth making for every pane including the windshield.
Costs for a Full Build
Realistic 2026 material budgets for a 148-inch-wheelbase high-roof van (Sprinter, ProMaster, Transit):
- Budget build (foam board + rockwool scraps + DIY covers): $300 to $500
- Standard build (Thinsulate or wool walls/ceiling, foam floor, sound deadening, window covers): $800 to $1,400
- Premium build (full Thinsulate, professional headliner, custom covers): $1,500 to $2,200
Labor, if you hire it out, adds $500 to $2,000; most owners self-install over two or three weekends, since nothing in the job is beyond scissors, spray adhesive, and patience.
Tuning the Build to Your Climate
Where you plan to park should steer the material budget. Cold-focused builds — ski chasing, northern winters, four-season living — justify the full program: maximum cavity fill, insulated window covers for every pane, a partitioned cab, and the diesel or gasoline heater sized to the van (2 kW covers most builds). Moisture management gets harder as temperatures drop because the dew point moves into the assembly, so the breathable-materials approach and disciplined nightly ventilation matter most exactly when it feels coldest to crack a window. Budget heat, not hope: insulation slows loss; only the heater replaces it.
Hot-focused builds flip the physics. Insulation helps mornings but cannot fight all-day solar gain through steel and glass, so the winning moves are reflective: a white or light-colored roof (worth 10-15°F inside on its own), external windshield and window reflectors — outside the glass, where they reject heat before it enters — a roof fan running exhaust with a shaded window cracked for intake, and parking nose-out of the afternoon sun. Skip nothing on the ceiling insulation, which doubles as your defense against a sun-baked roof radiating onto the bed. Mixed-climate travelers should build the cold spec and add the reflective kit, which packs flat and costs under $150. One universal warning for humid regions: never insulate so enthusiastically that you seal the van’s factory drain holes and belly vents — trapped humidity in a closed steel box does more damage in one Gulf Coast summer than five Montana winters.
Install Tips From the Builds That Last
Sequence matters: run wiring and mount the roof fan before insulating, photograph every wall so you can find wires later, and label conduit. Clean bare metal with isopropyl alcohol before adhesive; 3M 90 holds Thinsulate for the life of the van, while cheap adhesive lets it sag into a cold gap in year two. Treat any surface rust with converter before covering it — you will not see it again for a decade. Leave the ribs’ drain holes and the factory floor plugs functional. Air-seal foam board edges with foil tape, but never create a sealed plastic bag of the van interior. Finally, insulate the cab bulkhead or hang an insulated curtain: the cab, with its acreage of glass, is the leak you can partition away in one afternoon, and a curtain effectively shrinks the space your heater must serve by a third.
Do those things and van insulation becomes what it should be: a quiet, dry, quickly-warmed shell that lets a small heater and a roof fan do the heavy lifting — comfortable at 20°F, survivable well below, and free of the drip lines and musty smell that mark the builds that got the moisture strategy wrong.