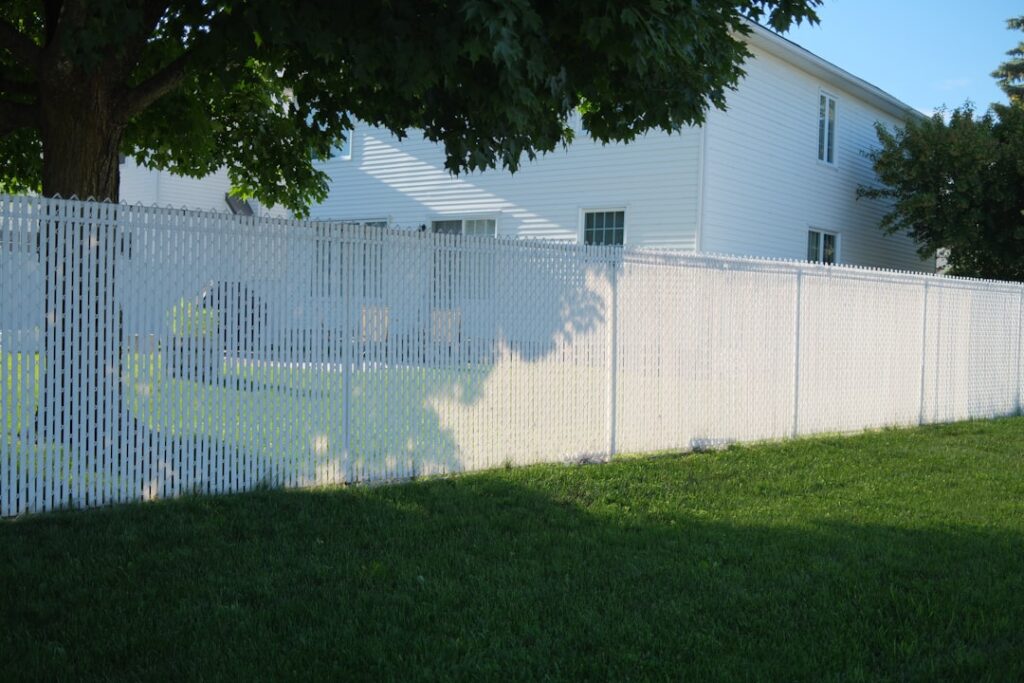
Vinyl fence caps are the small parts that do an outsized job. They sit on top of every fence post, sealing the hollow opening against rain, leaves, and insects while giving the fence its finished, intentional look. Lose one and the post becomes a funnel for water; lose a few and the whole fence starts to look neglected.
This guide walks through the styles, how to measure for the right fit, installation that actually stays put, and how to replace caps that have cracked, faded, or blown off in a storm. None of it is complicated, but a few details make the difference between caps that last and caps you keep re-gluing.
What Post Caps Do
Every hollow vinyl fence post has an open top. Left uncapped, that opening lets rainwater pool inside the post, which can hold moisture against hardware, freeze and stress the post in winter, and invite wasps and spiders to nest. A cap closes that gap. It also protects the cut edge of the post and finishes the line of the fence so the top reads as a clean, deliberate edge rather than a row of open tubes.
So while caps look decorative, they are doing real protective work. That is why replacing a missing one promptly is worth the few minutes it takes.
Common Cap Styles
Caps come in a surprising range of looks, which lets you match a fence to the house. The usual options include:
- Flat caps: low-profile and modern, sitting flush or just slightly proud of the post.
- External (cover) caps: slip over the outside of the post and overhang the edges, a very common residential look.
- Internal (insert) caps: push down inside the post opening for a near-seamless top.
- Gothic and pyramid caps: pointed profiles that add a traditional, decorative peak.
- Ball-top and ornamental caps: rounded or finial shapes for a dressier fence line.
- Solar-light caps: built-in LED lights that charge by day and glow at dusk along the fence.
Color usually matches standard fence palettes like white, tan, and clay. If your fence is a specific shade, bring the brand and a photo when shopping so the white you buy is the same white as your posts.
Getting the Size Right
Sizing is where most cap-buying goes sideways, because external and internal caps measure differently. The key is to measure the post itself, accurately, with calipers or a good tape:
- For external caps, measure the outside dimensions of the post; the cap slides over it.
- For internal caps, measure the inside opening; the cap drops into it.
- Common residential post sizes include 4×4, 5×5, and 6×6 nominal, but actual dimensions vary slightly by manufacturer.
Vinyl fences are not perfectly standardized between brands, so a 5×5 cap from one maker may not fit another maker’s 5×5 post. When you can, match the cap to your fence’s original manufacturer, or test-fit one cap before buying a whole boxful.
How to Install Vinyl Fence Caps
A cap that just rests on the post will eventually walk off in wind or get knocked loose. Securing it correctly takes minutes:
- Make sure the post top is clean and dry; wipe off dust, pollen, and any cobwebs inside the opening.
- Dry-fit the cap to confirm orientation and a snug seat.
- Apply a weatherproof exterior adhesive, such as a vinyl-safe construction adhesive or clear PVC cement, in a few dabs rather than a heavy bead.
- Press the cap down firmly and wipe away any squeeze-out before it cures.
- On windy days or exposed runs, hold the cap with painter’s tape until the adhesive sets.
Use an adhesive rated for outdoor use and for vinyl. Skip random super glues, which can craze the plastic or fail in temperature swings. Read the adhesive label for cure time and temperature range, and apply in dry conditions so moisture does not get trapped under the cap.
Replacing Lost or Damaged Caps
Caps go missing for predictable reasons: wind, lawn equipment, kids, and simple sun-driven brittleness over many years. Replacement is straightforward. First identify the exact post size and the cap style you have, then source a match. If the original brand is unavailable, an external slip-over cap is often the most forgiving option because it tolerates small dimensional differences better than an insert cap.
When you reinstall, take the extra moment to glue it this time rather than relying on friction. If several caps are fading or cracking at once, it is usually worth replacing the whole run together so the fence top looks uniform rather than patched. Keeping two or three spare vinyl fence caps in the garage means the next storm casualty is a five-minute fix instead of a shopping trip.
Care and Longevity
Vinyl caps are low maintenance by design. They will not rot or rust, and they shrug off most weather. The main enemies are UV exposure over the long term and physical impact. A yearly rinse with a hose, or a wipe with mild soapy water for stubborn grime, keeps them bright. Avoid abrasive scrubbers that dull the finish.
Check the caps each spring as part of general fence maintenance. Press on each one to confirm it is still seated, look for hairline cracks, and re-glue anything loose before storm season. Quality vinyl can last many years outdoors, and caps that are properly sized and adhered tend to outlast caps that were simply dropped on and forgotten. A little attention up top protects the posts, and the posts are what hold your whole fence upright.
Solar Cap Considerations
Solar-light caps are a popular upgrade, but they behave differently from plain caps. The LEDs run on a small battery charged by a panel on top, so they need direct daylight to perform; a cap shaded by a tree or a north-facing fence will glow weakly and for fewer hours. Output is ambient accent lighting, not pathway illumination, so set expectations accordingly. Batteries also wear out after a few seasons and are not always replaceable, which means a solar cap has a shorter service life than a standard one.
If you mix solar caps with plain caps along the same run, buy them as a matched set so the profiles and color line up. And because the electronics add weight and wind catch, glue solar caps just as carefully as any other style.
Cost and Where to Buy
Individual caps are inexpensive, often just a few dollars each for standard flat or external styles, while decorative gothic, ball-top, and solar-light caps cost more per piece. Treat those as rough estimates and confirm current pricing, since price climbs with size and ornamentation. You can find caps at home-improvement stores, fence suppliers, and online, but selection at big-box stores is usually limited to common sizes and colors. For an exact brand and shade match, a dedicated fence supplier or the original manufacturer is your best bet. Buy a few extras whenever you order so you always have a spare on hand, because a single missing cap is rarely worth a special trip on its own.