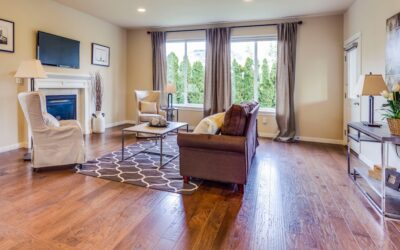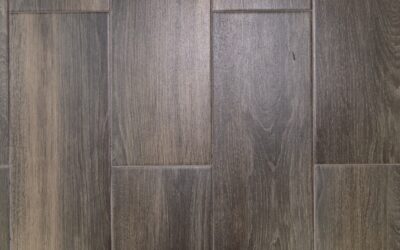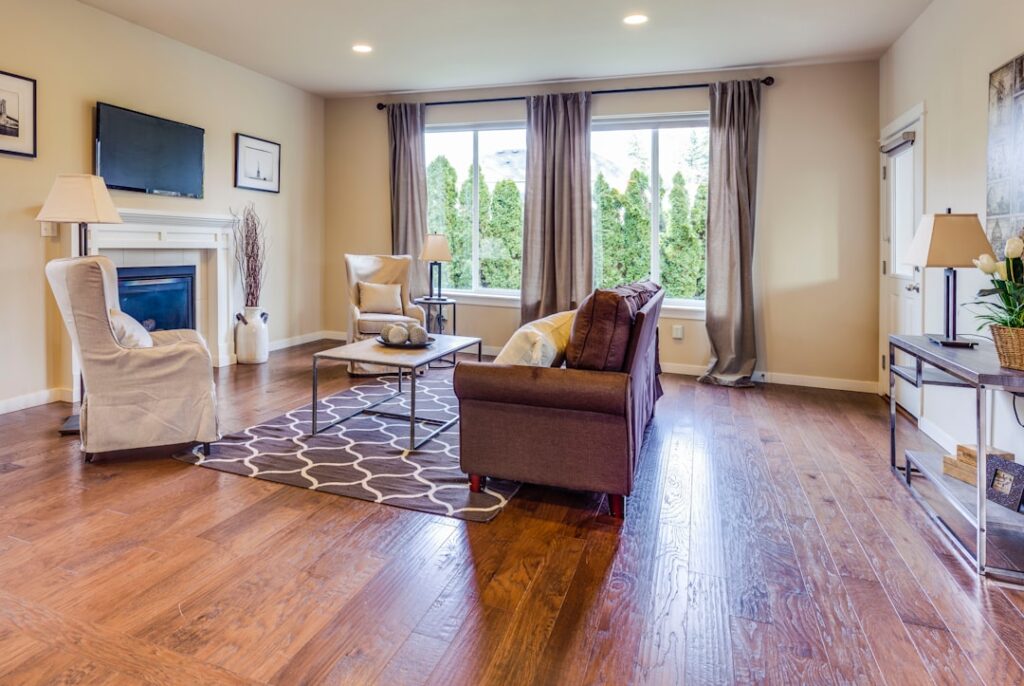
Browsing samples online never quite shows what a floor looks like installed across an actual room. Vinyl flooring pictures matter because plank width, bevel depth, embossing texture, and seam pattern all change dramatically at scale. A floor that looks rich in a 4 x 12 inch sample can read busy and patterned across 400 square feet. Use this guide to pair the visual you want with the spec details that actually deliver it — and avoid the common trap of buying based only on showroom lighting.
- Plank Width Drives the Whole Look
- Wood-Look Categories
- Stone-Look and Tile-Look Visuals
- Bevel Edges Versus Square Edges
- Embossed-in-Register (EIR) Realism
- Best Lighting for Showing Floors
- Pattern Variation and Plank Count
- Pattern Layouts That Photograph Well
- Real Rooms Versus Sample Boards
- Color Coordination With Walls and Cabinets
- Photography Tips for Showing Your Space
Plank Width Drives the Whole Look
Standard luxury vinyl plank widths run 5, 6, 7, and 9 inches, with lengths from 36 to 60 inches. Wider planks (7-9 inches) read modern and minimalist, especially in open floor plans where long sight lines exaggerate plank length. Narrow planks (5-6 inches) look traditional and forgive uneven subfloors better because the seams are more frequent. For rooms under 200 sq ft, planks over 7 inches wide can overwhelm the space; for rooms over 400 sq ft, 7-9 inch planks balance the scale and reduce visible seam count.
Wood-Look Categories
- Rustic oak: wirebrushed, knotty, painted to mimic reclaimed barnwood — try COREtec Pro Plus “Atlas Oak” or Karndean Korlok “Antique French Oak.”
- European white oak: tight grain, light blonde, often wirebrushed — Mohawk RevWood “Solidtech Premier” hits the look at $4-$6 per sq ft.
- Hand-scraped hickory: deep texture with knots and color variation — Mannington Adura Max “Eastern Hickory” remains a bestseller.
- Smooth maple: uniform grain, light color, modern — Pergo Extreme “Brookline Maple” delivers the look.
- Wide-plank pine: warm, traditional, knotty — Shaw Floorte “Antique Pine.”
Stone-Look and Tile-Look Visuals
Stone-look LVT is where SPC has caught up to porcelain. Karndean Knight Tile delivers convincing limestone, slate, and travertine looks at $4-$6 per sq ft, with chamfered grout lines and embossed textures. COREtec Stone offers oversized 12 x 24 inch and 18 x 24 inch tile formats. The visual trick: pair stone-look LVT with grout-fill installation from manufacturers like Karndean and Mannington for genuine “natural stone” appearance — homeowners walking through cannot tell the difference until they tap the floor.
Bevel Edges Versus Square Edges
Beveled edges create a visible groove between planks that mimics hardwood and helps hide minor subfloor irregularities. Microbevels (1-2 mm) read subtle and work in most rooms. Painted beveled edges (where the bevel is finished a different color) emphasize plank lines and look best on rustic visuals. Square-edge planks look seamless when installed perfectly flat, but any subfloor unevenness shows as a visible step. For DIY installs over imperfect plywood, choose beveled edges every time.
Embossed-in-Register (EIR) Realism
EIR is the feature that separates premium LVP from budget product. The embossing aligns precisely with the printed wood grain, so when you run a hand across a knot, the texture matches what your eyes see. Look for the EIR designation on COREtec Pro Plus HD, Mohawk RevWood Premier, Karndean Korlok Select, and Mannington Adura Max Apex. Non-EIR products have generic textures that repeat every few planks and read as obviously fake in raking light.
Best Lighting for Showing Floors
If you are taking vinyl flooring pictures for your own decision-making, photograph samples in three lighting conditions: bright daylight near a window, mid-day overhead light, and evening warm LEDs. Vinyl looks different under each. Many cool-toned grays read greenish under 2700K LEDs, and warm oaks look orange under 5000K daylight bulbs. The color you live with is the daily-average lighting, so weight your decision accordingly. Showrooms use very bright, neutral lighting that does not match home conditions.
Pattern Variation and Plank Count
Cheaper LVP repeats the same 4-6 plank visuals across thousands of square feet. Premium product offers 20-40 unique plank faces. Why this matters: in a large room with only 6 unique plank visuals, your eye picks up the repeat after about 15 minutes and the floor looks artificial. Look at the spec sheet for “number of unique plank faces” or count visuals across a sample pack. Karndean’s Knight Tile and Da Vinci collections offer 60+ unique visuals — the gold standard for realism.
Pattern Layouts That Photograph Well
Straight-plank installs along the longest wall remain the most common and photograph cleanly. Herringbone patterns using 6 x 36 inch or 6 x 48 inch planks have surged in popularity and look stunning in entryways, kitchens, and dining rooms. Karndean Da Vinci and Amtico Signature support traditional herringbone at $7-$11 per sq ft. Chevron is similar but requires angle-cut planks at the joint — labor cost runs about $2 per sq ft higher than straight installs. Diagonal installs at 45 degrees waste 12-15 percent more material and add 25-35 percent labor.
Real Rooms Versus Sample Boards
Always order full plank samples before committing. Manufacturers including Karndean, COREtec, and Mannington send free 9 x 9 or full-size samples on request. Lay 6-10 samples on your floor, take pictures from corner angles with your phone’s actual lens (not zoomed), and live with them for 3-5 days. Pay attention to how the color reads at sunrise, midday, and evening. The pattern repeats and the wider visual context only become visible at room scale — which is why showroom pictures and online photos can mislead even careful shoppers.
Color Coordination With Walls and Cabinets
Floor color sets the foundation, so coordinate it with your dominant fixed elements rather than trendy accents. Warm-toned cabinetry (cherry, walnut, maple stain) pairs well with mid-tone honey or natural oak LVP. Cool-toned cabinets (gray, white, painted blue) work best with light gray, white-washed, or cool walnut visuals. Avoid placing a cool gray plank against warm yellow oak cabinets — the contrast reads jarring and dates quickly. For open-concept layouts where the floor flows between rooms, choose a versatile mid-tone that bridges multiple cabinet finishes rather than maximizing contrast with any single one.
Photography Tips for Showing Your Space
If you are photographing your finished floor for resale or social media, follow three rules. First, shoot in the late afternoon when natural light is warm and directional — overhead noon sun flattens texture. Second, sweep before every shot and avoid wide-angle phone modes that distort plank proportions. Third, include a vertical element (a door frame, a piece of furniture) in the frame to give the floor scale and context. Real-estate photographers favor 20-24 mm equivalent focal lengths for floor shots that look natural without exaggerating perspective. The same techniques work when you photograph samples on your existing floor.
Prefer to explore on your own?
See how new flooring looks in your actual room in seconds — free, no signup.
Try the free Floor Studio →