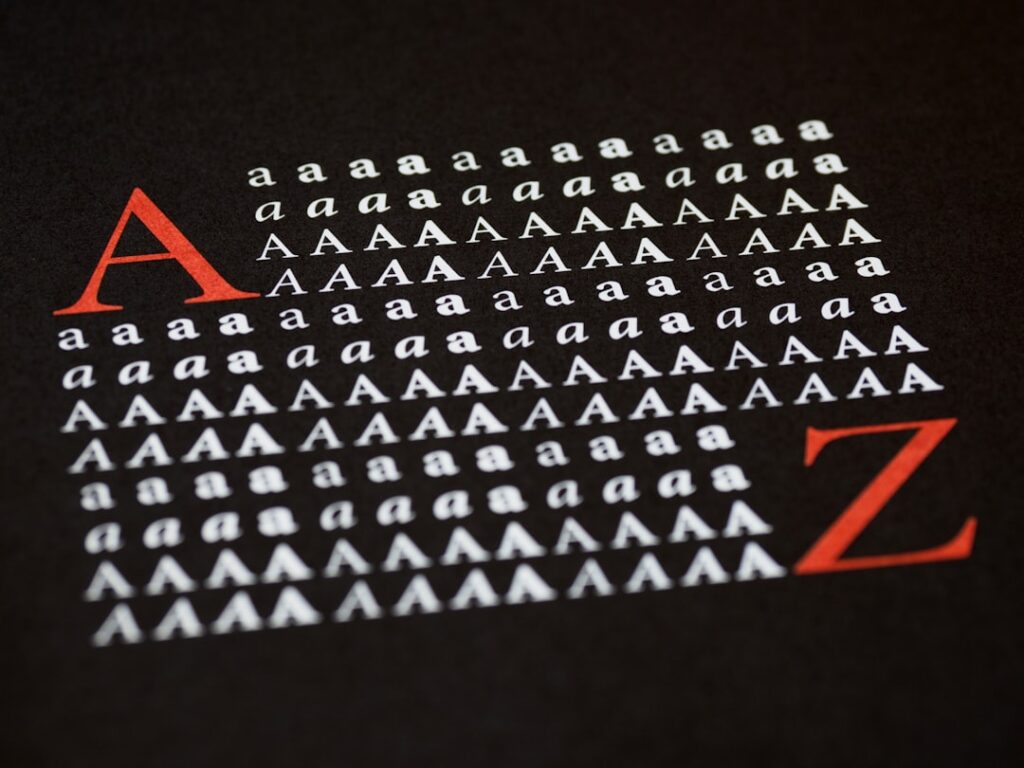
From a mailbox number to a custom quote across a living room wall, the cleanest way to add lettering to almost any surface is not paint or stencils. Vinyl letter stickers are precision-cut adhesive decals that press onto walls, windows, vehicles, signs, and crafts to create crisp, professional lettering without a single brushstroke. They are inexpensive, removable, and available in countless fonts, colors, and finishes, which makes them a favorite for DIY decor, small businesses, and craft projects alike. Knowing the types and the application technique is the difference between a flawless result and a wrinkled, bubbly mess.
- What Vinyl Letter Stickers Are
- Types of Vinyl for Lettering
- Where to Use Them
- What You Need to Apply Them
- How to Apply Vinyl Lettering
- Avoiding Common Mistakes
- Buying Pre-Made vs. Cutting Your Own
- Removing and Replacing
- Choosing the Right Size and Font
- Application on Different Surfaces
- Durability and Lifespan
- What They Cost
What Vinyl Letter Stickers Are
Vinyl lettering is cut from sheets of adhesive-backed vinyl, usually by a computerized cutting machine. Each letter is weeded, meaning the excess vinyl around it is removed, leaving only the letters held in position by a layer of transfer tape. You peel the lettering from its backing, position it, and press it down, then remove the transfer tape to leave just the letters stuck to your surface. Pre-spaced lettering keeps words perfectly aligned during application.
Types of Vinyl for Lettering
Choosing the right vinyl depends on where the letters will live:
- Permanent vinyl: A strong adhesive and durable film for outdoor signs, vehicles, and long-term use.
- Removable vinyl: A lighter adhesive that peels off cleanly, ideal for interior walls and temporary displays.
- Indoor vs. outdoor: Outdoor vinyl resists UV and moisture for several years; indoor vinyl is cheaper but less weather resistant.
- Finishes: Available in matte, gloss, metallic, glitter, frosted, and even reflective films.
Where to Use Them
Vinyl letter stickers are remarkably versatile. Common uses include accent walls with quotes or family names, window decals for storefronts and home offices, address numbers on mailboxes and homes, labels for pantry jars and bins, custom signage, vehicle and trailer lettering, and craft projects like tumblers, mugs, and gift items. Removable vinyl is especially popular for nurseries and rental walls because it lifts off without damaging paint.
What You Need to Apply Them
Before you start, gather a few simple tools:
- A plastic squeegee or an old credit card for smoothing.
- Painter’s tape to position and hinge the decal.
- A clean cloth and rubbing alcohol to prep the surface.
- A measuring tape and a level for straight placement.
How to Apply Vinyl Lettering
A patient, methodical approach prevents bubbles and crooked text. The hinge method keeps everything aligned.
- Clean the surface with rubbing alcohol and let it dry fully; dust and grease ruin adhesion.
- Position the lettering with painter’s tape, using a level to keep it straight.
- Place a strip of tape across the middle as a hinge, then fold one half up.
- Peel the backing paper away from the folded half, leaving the letters on the transfer tape.
- Slowly lower the vinyl and squeegee from the center outward to push out air.
- Repeat for the other half, then squeegee the entire design firmly.
- Peel the transfer tape away slowly at a sharp angle, leaving only the letters behind.
Avoiding Common Mistakes
Most failures trace to a few errors. Applying to a dusty or damp surface causes letters to lift. Pulling the transfer tape too fast or at the wrong angle can lift letters with it, so go slow and at a low angle. Air bubbles come from rushing; work outward from the center and pierce stubborn bubbles with a pin, then smooth them flat. On textured walls, press extra firmly, since vinyl grips smooth surfaces best.
Buying Pre-Made vs. Cutting Your Own
You have two main paths to vinyl lettering. Pre-made decals and custom-order lettering from a sign shop or online seller require no equipment and are perfect for occasional projects; you simply supply your text, font, color, and size. Cutting your own with a home cutting machine pays off if you make signs, labels, and gifts regularly, since a single roll of vinyl yields many projects at a low per-piece cost. Cutting your own also gives full control over fonts, sizes, and timing. For a one-time wall quote or address numbers, ordering pre-made is simpler; for an ongoing hobby or small business, a cutting machine quickly earns its keep.
Removing and Replacing
Removable vinyl peels off by lifting a corner and pulling slowly; warming it with a hair dryer softens the adhesive and helps it release cleanly. Permanent vinyl may leave residue, which a citrus-based adhesive remover will lift. Either way, vinyl letters let you refresh a space without repainting.
Choosing the Right Size and Font
Legibility depends on getting size and font right for the viewing distance. For a wall quote read up close, a 2 to 4 inch letter height works well. For a storefront window seen from the sidewalk, jump to 4 to 8 inches or more. Address numbers visible from the street usually need to be at least 4 inches tall, and many municipalities have minimum size rules, so check local code. Bold, simple fonts read best from a distance, while script fonts add elegance up close but can blur when small. Avoid very thin or intricate fonts at small sizes, since fine details are hard to weed and apply.
Application on Different Surfaces
Vinyl behaves differently depending on what it sticks to. Smooth, non-porous surfaces like glass, metal, sealed wood, and finished walls give the strongest, longest-lasting bond. Textured walls, raw wood, and brick are tougher; press firmly into the texture and expect a shorter lifespan. On freshly painted walls, wait at least two to four weeks for the paint to fully cure before applying vinyl, or the adhesive can lift the paint when removed. For vehicles, clean thoroughly and apply in mild temperatures for the best adhesion.
Durability and Lifespan
How long vinyl lasts depends on the film and the environment. Indoor decals on a wall can last for years until you choose to remove them. Quality outdoor permanent vinyl is typically rated for several years of sun and weather exposure before it fades or cracks. Cheaper indoor vinyl used outside may peel within months. For long-term outdoor signage, invest in premium cast vinyl rated for exterior use, and consider a laminate overlay for added protection.
What They Cost
Vinyl letter stickers are budget friendly. Pre-made lettering kits and simple decals often run $5 to $25, while custom-cut lettering for signs or vehicles is typically priced by size and complexity, frequently $10 to $50 for a small project. If you own a cutting machine, a roll of vinyl that yields many projects costs only a few dollars per square foot, making custom lettering remarkably affordable.
Prefer to explore on your own?
See how new flooring looks in your actual room in seconds — free, no signup.
Try the free Floor Studio →