After more than fifteen years of installing luxury vinyl on floors and stairs, I can tell you that vinyl plank stair treads are one of the most rewarding upgrades you can do in a home, and one of the easiest to get wrong. Stairs take more abuse than any other surface in the house, so the difference between a set of treads that lasts a decade and a set that peels loose in a season comes down entirely to prep, adhesive choice, and clean cutting. Vinyl plank gives you the look of hardwood with the water resistance and durability that a busy staircase demands.
The good news is that the process is well within the reach of a careful DIYer. You don’t need a shop full of specialized machines, just a few sharp blades, a good tape measure, the right glue, and the patience to measure each step individually. In this guide I’ll walk you through everything from acclimation and layout to trimming the nosing and keeping the finished stairs safe underfoot.
Why Vinyl Plank Works So Well on Stairs
Luxury vinyl plank, whether it’s a rigid SPC core or a softer WPC core, is dimensionally stable, moisture-resistant, and tough enough to shrug off the daily grind of shoes, pets, and dragged furniture. On a floor you typically float LVP over an underlayment, but on stairs the rules change completely. Stairs must be fully glued down. A floating installation on treads is dangerous because the planks can shift underfoot, and that movement is exactly how people slip and fall. Every piece on a staircase gets bonded directly to the substrate.
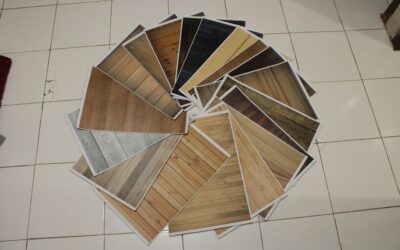
Another reason vinyl shines here is that it takes color and wood-grain embossing beautifully, so your stairs can match the LVP floor you already installed in the hallway or living room. Buying planks from the same lot or line as your floor keeps the grain and tone consistent, which is the detail that makes a stair job look professional rather than patched together. If you can’t match exactly, a deliberate contrasting tread color also looks intentional and handsome.
Understanding Treads, Risers, and Nosing
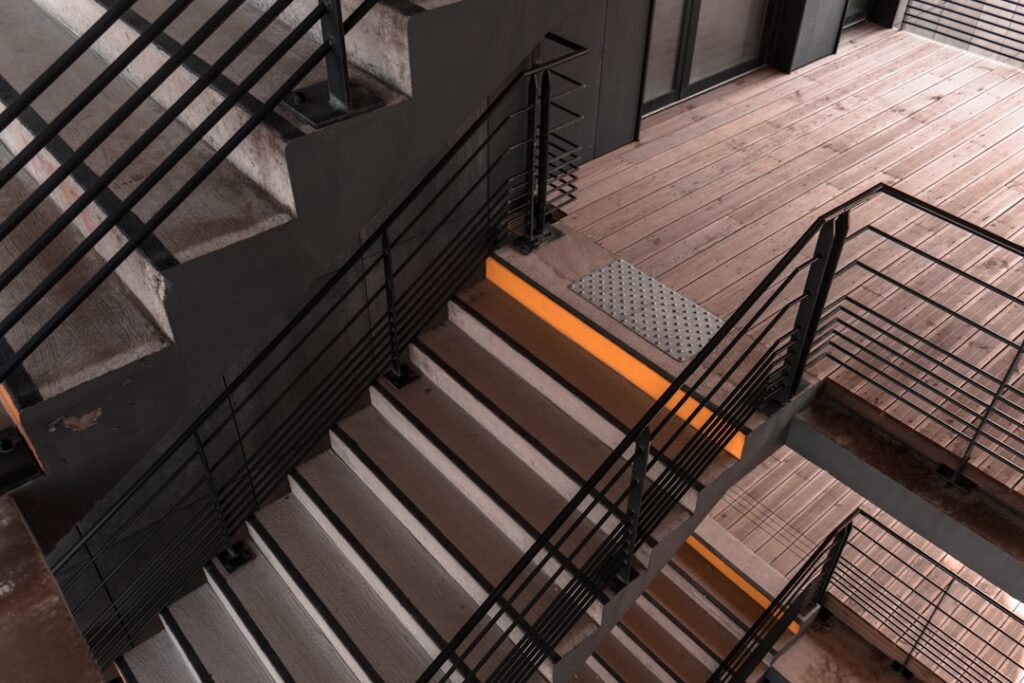
Before you cut anything, get comfortable with the anatomy of a stair. The tread is the horizontal surface you step on. The riser is the vertical face between treads. The nosing, or bullnose, is the rounded front edge of the tread that overhangs the riser below. That overhang is where most stair failures happen, because it’s the high-wear zone that takes the toe of every shoe.
For vinyl plank stair treads you’ll typically use three components per step: a plank cut to cover the tread, a plank cut to cover the riser, and a vinyl stair nose molding that wraps the front edge. The stair nose is a purpose-made profile with a rounded lip and a flat tongue that sits on top of the tread plank. Do not try to bend a flat plank around the nose; it will crack or lift. The dedicated stair-nose molding, sold to match most LVP lines, is what gives you a durable, code-friendly rounded edge.
Tools and Materials You’ll Need
Keep the kit simple. You’ll want a quality tape measure, a speed square, a sharp utility knife with plenty of fresh blades, and a fine-tooth jigsaw or miter saw for the harder rigid-core cuts. A scoring knife handles most straight cuts on softer vinyl, but SPC planks cut cleaner with a saw. Add a notched trowel or caulk-style adhesive gun, a roller or J-roller for pressing planks down, painter’s tape, construction adhesive rated for flooring, and a good bead of color-matched caulk for the seams.
For adhesive, use a high-quality flooring urethane or a heavy-duty construction adhesive specifically approved for vinyl. Many pros run a polyurethane construction adhesive in a caulk tube for treads and risers because it grabs fast and stays flexible. Avoid cheap solvent adhesives that can react with the vinyl backing. Buy roughly ten to fifteen percent more plank material than your raw measurements suggest, because you’ll waste some to cutting and matching grain direction.
Measuring and Acclimating the Material
Measure every single step. Old staircases are rarely uniform; I’ve measured flights where the treads varied by half an inch from top to bottom. Record the depth and width of each tread and the height and width of each riser, and label your cut pieces so they go back on the step they were measured from. This individual fitting is the single biggest factor in a tight, gap-free result.
Let the planks acclimate in the room for at least 48 hours before installation so the material settles to the home’s temperature and humidity. Meanwhile, prep the substrate: the stairs must be clean, dry, structurally solid, and free of squeaks. Screw down any loose treads, fill low spots or gouges with a floor patch, and sand off old finish or adhesive ridges. Vinyl telegraphs every bump underneath, so a smooth substrate is non-negotiable.
Step-by-Step Installation
Work from the top of the staircase down so you’re never kneeling on freshly glued pieces. Start with the risers. Cut each riser plank to fit, dry-fit it, then apply an even zigzag of adhesive across the back and press it into place, rolling firmly. The riser goes on first because the tread piece and stair nose will overlap its top edge, hiding the seam.
Next comes the tread. Cut the plank so its back edge meets the base of the riser above and its front edge stops where the stair nose will begin. Spread adhesive across the tread, set the plank, and roll it hard to squeeze out air pockets and lock down the bond. Finally, install the stair-nose molding along the front edge, gluing it to both the tread top and the riser face and clamping or taping it until it sets. Wipe any squeeze-out immediately, then run a bead of matching caulk where the nose meets the tread for a finished seam. Painter’s tape holds everything tight overnight while the adhesive cures.
Safety, Slip Resistance, and Building Code
Stairs are the number-one location for household falls, so slip resistance matters more here than anywhere. Choose a vinyl plank with a textured or embossed wear surface rather than a slick high-gloss finish. Many homeowners add slim, clear anti-slip strips or a low-profile stair runner on the treads for extra grip, especially in homes with kids or older adults.
Pay attention to nosing dimensions, too. Most residential codes call for a consistent nosing projection, typically between three-quarters of an inch and one-and-a-quarter inches, and they limit how much tread height and depth can vary between steps. Keeping your nosing overhang uniform isn’t just about looks; an inconsistent edge is a genuine trip hazard. If you’re at all unsure about local requirements, check your municipal building code before you start cutting.
What Vinyl Plank Stair Treads Cost
Material cost is reasonable. Expect to spend roughly two to five dollars per square foot for decent luxury vinyl plank, plus around fifteen to thirty dollars per linear foot for matching stair-nose molding, which is the pricey component. A typical flight of thirteen to fifteen steps runs somewhere between two hundred and six hundred dollars in materials for a DIY job, depending on plank quality and how many stair noses you need.
If you hire a professional, labor adds meaningfully to the total, often landing a full staircase in the eight-hundred to two-thousand-dollar range installed. Stairs are labor-intensive because every piece is custom-fit, so you’re paying for careful hand work. For a confident DIYer, doing the treads yourself is where the real savings live, and the skills transfer directly from a floating floor install with only the glue-down step to learn. Take your time, cut once, and your vinyl plank stair treads will look sharp and hold up for years.
Prefer to explore on your own?
See how new flooring looks in your actual room in seconds — free, no signup.
Try the free Floor Studio →