Choosing and installing vinyl siding nails correctly is one of the most important and most often misunderstood parts of a siding job. Vinyl expands and contracts significantly with temperature changes, and if it is nailed too tight, the panels buckle, warp, and ripple in the heat. The secret to a flat, professional-looking siding installation is using the right fasteners and, crucially, leaving them slightly loose so the panels can move. This guide covers nail types, sizes, spacing, and the loose-nailing technique that makes vinyl siding perform.
Why the Right Nails Matter
Vinyl siding can expand and contract up to half an inch over the length of a 12-foot panel between a cold winter and a hot summer day. If the fasteners pin the panel in place, that movement has nowhere to go, so the panel bows outward and develops the wavy look that screams amateur installation. The correct nails, driven the correct way, hold the siding securely while still letting it slide back and forth in its nailing slots. Get this right and the wall stays flat for decades.
What Kind of Nails to Use
Not just any nail will do. The material and head size matter for both holding power and corrosion resistance.
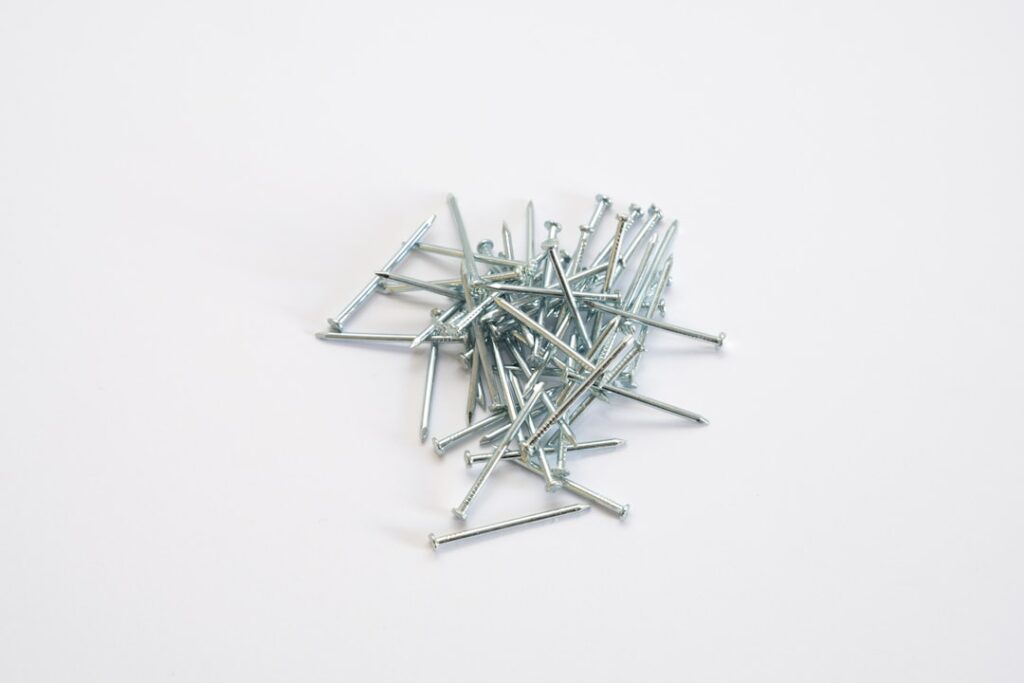
- Material: Use corrosion-resistant fasteners, hot-dip galvanized steel or aluminum nails. Plain steel rusts and will streak the siding. Aluminum nails are common, and stainless is the most durable option in coastal or harsh climates.
- Head size: Choose nails with a large head, roughly 5/16 to 3/8 inch in diameter, so the head spans the nailing slot and holds the panel without pinching it.
- Shank: A smooth or ring shank works; the key is that the nail penetrates into solid wood sheathing or studs.
Choosing the Right Length
The nail must be long enough to penetrate at least 3/4 inch, and ideally more, into the wood sheathing or framing behind the siding. For typical installations over wood sheathing, that usually means nails around 1-1/2 to 2 inches long. If you are siding over foam insulation board, you will need longer nails to reach through the foam and still bite solidly into the structural backing. Always measure the total thickness the nail must pass through and add the required penetration depth when selecting length.
The Loose-Nailing Technique
This is the single most important rule of vinyl siding installation: do not drive the nails tight. Instead:
- Drive each nail into the center of the nailing slot, not at the end, so the panel can shift in both directions.
- Leave a gap of about 1/32 inch, roughly the thickness of a dime, between the nail head and the siding. The panel should be able to slide side to side freely after nailing.
- Drive nails straight and level, not at an angle, so the panel hangs evenly.
- Never nail through the face of the siding; always fasten through the pre-punched nailing hem only.
A simple test: after nailing a panel, you should be able to grab it and slide it an inch or so left and right. If it is locked in place, your nails are too tight.
Nail Spacing
Proper spacing ensures the siding is held securely without over-fastening. As a general guideline, space nails roughly every 16 inches on horizontal siding panels, aligning with the studs where possible, and every 12 inches on vertical siding and accessories like trim and corner posts. Always follow the specific manufacturer’s instructions, since spacing requirements can vary by product and by wind-load zone. In high-wind regions, codes may call for tighter spacing, so check local requirements.
Common Nailing Mistakes
Avoid the errors that cause callbacks and buckling. Nailing too tight is the number one mistake, trapping the panel and causing waves. Nailing at the end of the slot instead of the center prevents the panel from expanding in one direction. Using the wrong, non-corrosion-resistant nails leads to rust stains. Driving nails crooked or at the bottom of the slot can lock the panel or distort the hem. And nailing through the face of the panel, rather than the slot, is a guaranteed source of cracks and buckling. Take your time and check each panel slides freely.
Nails vs. Screws and Staples
Nails are the standard and most common fastener for vinyl siding, but the same loose-fastening rule applies regardless of fastener type. If you use screws, which some installers prefer for the ability to back them off precisely, do not overtighten them; leave the same gap so the panel moves. Staples are sometimes used but must also be left loose and driven level. Whatever you choose, the non-negotiable principle is allowing the siding to float on its fasteners.
Hand Nailing vs. a Pneumatic Nailer
You can install vinyl siding with a hammer or a pneumatic nail gun, and each has trade-offs around the all-important loose fit. Hand nailing gives you precise control over depth, making it easier to leave the dime’s-width gap, but it is slow across a whole house and risks denting panels with a stray blow. A pneumatic nailer is far faster and is what most pros use, but it tends to drive nails flush or too tight, which defeats the purpose. The fix is to dial down the compressor pressure and set the nailer so heads land just shy of the panel, then check periodically that panels still slide. When in doubt on a few stubborn spots, finish them by hand.
Nailing Accessories and Trim Pieces
The loose-nailing rule applies to more than the field panels. Starter strips, J-channel, corner posts, soffit, and fascia trim all expand and contract too, so they need centered nails in their slots with the same slight gap. Corner posts in particular should hang from a nail at the top of the uppermost slot so they drop and rise with temperature, while the remaining nails sit centered. Utility trim and accessories around windows and doors follow the same logic. Skimping on this detail in the trim is a common reason an otherwise careful installation still ripples or pulls apart at the corners over a few seasons of heat and cold.
Final Thoughts
Vinyl siding nails are simple hardware, but the way you choose and drive them makes or breaks the entire installation. Use corrosion-resistant nails with large heads, long enough to bite at least 3/4 inch into solid backing, drive them through the center of the nailing slot, and always leave them slightly loose so the panels can expand and contract. Follow the manufacturer’s spacing and your local wind-load code, and your siding will stay flat, smooth, and trouble-free for the life of the home.