
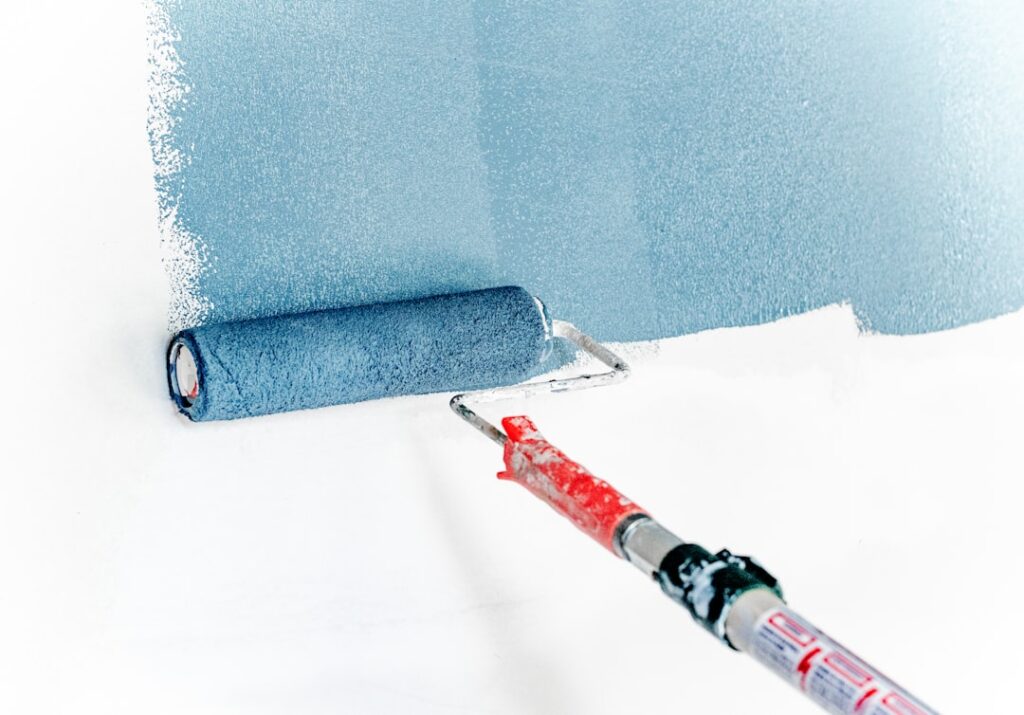
Water is the number one enemy of concrete, basements, and any surface that stays damp, and ordinary paint peels off those surfaces within a season. Waterproof epoxy paint solves that problem by forming a hard, seamless, moisture-resistant film that bonds tightly to properly prepared concrete and masonry, sealing out water while standing up to traffic and chemicals. It is the coating of choice for garage floors, basement walls and floors, pool decks, and workshop surfaces. But like all epoxy systems, it rewards careful prep and punishes shortcuts, so the difference between a floor that lasts a decade and one that peels in a year is almost entirely in how you apply it. Here is the full rundown.
What Waterproof Epoxy Paint Actually Is
Most products sold as waterproof epoxy paint are two-part systems: a resin and a hardener that you mix on site to trigger a chemical cure into a tough, plastic-like film. That cured film is what resists water, unlike single-part latex paints that simply dry. Some products are epoxy-modified acrylics that are easier to use but less durable, while true two-part epoxies deliver the toughest, most water-resistant result. On below-grade masonry, specialized waterproofing coatings like Drylok Extreme are formulated to resist hydrostatic pressure, which is a step beyond ordinary floor epoxy. Match the product to the job: floor coating for garages, masonry waterproofer for foundation walls.
Where to Use It
- Garage and workshop floors: seals against oil, water, and road salt while creating an easy-clean surface.
- Basement floors and walls: blocks moisture migration through concrete and reduces musty dampness.
- Pool decks and patios: waterproof, slip-resistant coatings for constant wet exposure when rated for exterior use.
- Laundry and utility rooms: protects concrete from standing water and detergent spills.
Note that basement waterproofing has limits. Epoxy paint stops moisture moving through sound concrete, but it will not fix active leaks, cracks under hydrostatic pressure, or a failed foundation. Address drainage and structural issues first; coating over an active leak just traps water and peels.
Surface Preparation Is Everything
Epoxy fails almost exclusively because of poor prep. The surface must be clean, sound, and open enough for the coating to grip. Work through these steps in order:
- Clean and degrease the surface, removing all oil, dirt, and old flaking paint.
- Etch or profile the concrete with the acid etch or mechanical grinding so the epoxy can penetrate. A slick, sealed slab will not hold the coating.
- Repair cracks and holes with a concrete patch and let them cure.
- Test for moisture using the plastic-sheet method; if condensation forms underneath overnight, the slab is too wet to coat until you address the source.
- Let everything dry fully, typically 24 hours or more after cleaning and etching.
New concrete must cure for at least 28 days before coating. Skipping the etch is the single most common reason a waterproof epoxy floor peels.
Application Conditions
Temperature and humidity govern the cure. Apply within the manufacturer’s window, generally between about 50°F and 90°F, and avoid coating when high humidity or rain is expected during the cure. Cold conditions leave a cloudy, soft film; excessive heat cuts your working time short. Ventilate the area well, wear a respirator rated for epoxy fumes, and keep the space dust-free while the coating cures.
How to Apply
- Mix the resin and hardener exactly per the label and observe any induction (wait) time before use.
- Cut in edges with a brush along walls, corners, and around obstacles.
- Roll the field with a 3/8-inch nap roller on a pole, keeping a wet edge and working in sections.
- Apply a second coat after the recommended recoat window for full waterproofing; two coats are almost always better than one.
- Add anti-slip grit to the final coat on floors, pool decks, and steps, since cured epoxy can be slick when wet.
Respect the pot life. Once mixed, two-part epoxy has a limited working time before it begins to gel, so mix only what you can apply and never thin it to stretch the batch.
Curing and First Use
Give the coating time to reach full strength. Most epoxy paints allow light foot traffic after about 24 hours, but full chemical and water resistance takes several days, often up to 5 to 7 days for a complete cure. Keep the surface dry and off-limits during that window; getting it wet too soon can ruin the finish. For floors that will see vehicles, wait at least 72 hours before parking.
Adding Slip Resistance and Topcoats
Cured epoxy is smooth, and smooth plus water equals slippery, so any waterproof epoxy floor in a wet area needs a slip-resistance plan. The simplest method is broadcasting a fine anti-slip aggregate into the final coat while it is still wet. Products range from purpose-made polymer grit to plain silica sand, and you either sprinkle it across the surface or mix it into the coating before rolling. The result is a subtle texture that grips underfoot without being harsh on bare feet, which matters on pool decks, shower floors, and garage entries where snow and rain get tracked in.
The clear topcoat is the other key layer. A topcoat adds a sacrificial wear surface that takes the abrasion so the color coat underneath stays intact, and it deepens the gloss or, if you choose a satin version, cuts glare. On floors that see vehicle traffic, chemicals, or standing water, a topcoat meaningfully extends the life of the whole system and is well worth the extra time and cost. Polyurethane and polyaspartic topcoats are common upgrades over a base epoxy, with polyaspartic curing fast and resisting UV yellowing better in areas that get sunlight.
Plan the layers in the right order: base coat, optional flakes or color, anti-slip aggregate in or on the final structural coat, then the clear topcoat to lock everything in. Do not add aggregate to a coat you will not topcoat, or the grit sits exposed and sheds over time. For exterior surfaces, confirm every product is rated for UV and outdoor use, since many interior epoxies chalk and yellow in direct sun. Getting slip resistance and topcoat right turns a merely waterproof surface into one that is also safe and durable for years of wet, high-traffic use.
Maintenance and Longevity
A properly applied two-coat waterproof epoxy floor lasts many years, especially with a clear topcoat added for extra abrasion resistance. Sweep and damp-mop with a mild cleaner, avoid harsh solvents that dull the surface, and touch up high-wear areas before they wear through to bare concrete. Use walk-off mats to catch grit, the main cause of surface wear. On basement walls, keep gutters and grading directing water away from the foundation so the coating is not fighting constant saturation.
When applied to a clean, etched, dry surface in the right conditions, waterproof epoxy paint is one of the most cost-effective ways to protect concrete from moisture and turn a raw slab into a durable, easy-clean surface. The product does the heavy lifting; your prep decides whether it lasts a decade or peels in a year. Etch thoroughly, confirm the slab is dry, apply two coats, and let it cure fully, and you will have a genuinely waterproof surface that holds up for the long haul.


