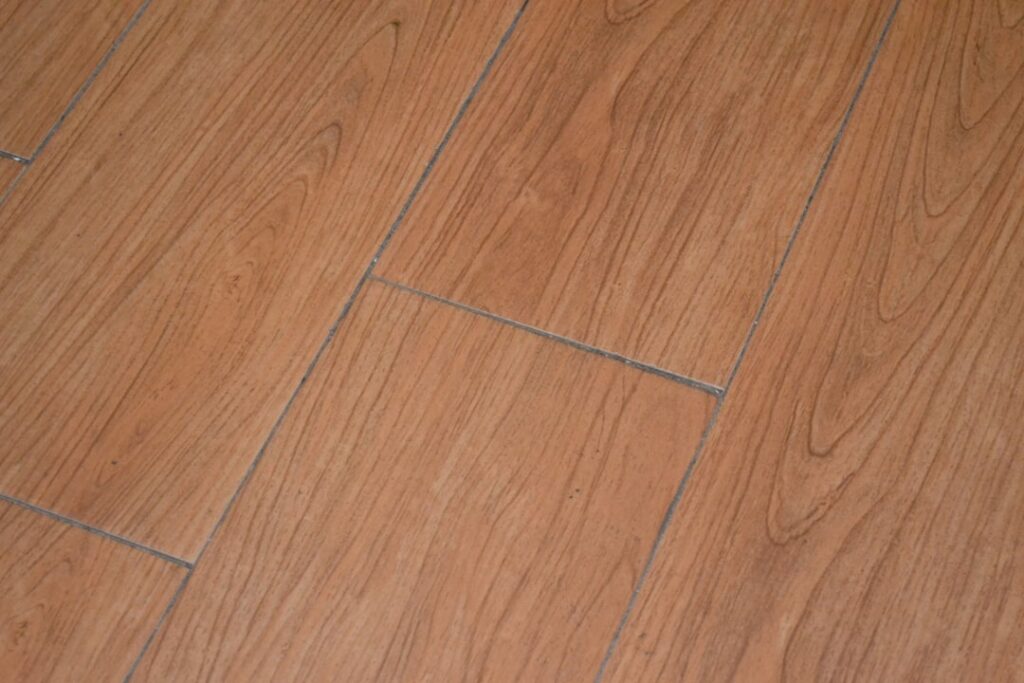
Here’s the surprise most homeowners miss: the vinyl planks themselves are waterproof, but the floor as a whole often isn’t. Water sneaks through seams, edges, and the perimeter gap, then sits on the subfloor where it causes mold and swelling you can’t see. That gap between “waterproof plank” and “waterproof floor” is exactly where waterproof sealant for vinyl flooring earns its keep. Used in the right spots, a bead of the correct sealant turns a water-resistant install into a genuinely watertight one.
- Why Vinyl Planks Aren’t the Whole Story
- When You Actually Need Sealant
- Which Sealants to Use
- How to Seal the Perimeter and Fixtures
- Sealing Sheet Vinyl Seams
- Common Mistakes to Avoid
- Cost and Upkeep
- Sealing Around Toilets, Tubs, and Showers Step by Step
- How Long Sealant Lasts and When to Redo It
- The Bottom Line
Why Vinyl Planks Aren’t the Whole Story
Luxury vinyl plank and tile are made from PVC, which does not absorb water. Submerge a single plank and it won’t swell. But floors are assemblies. Click-lock joints, the expansion gap around walls, transitions between rooms, and cuts around toilets and tubs all leave paths for water to reach the subfloor. In a dry bedroom that never matters. In a bathroom, laundry, or entryway, standing water can wick under the floor and rot the plywood or feed mold underneath, all while the vinyl surface looks perfect.
So the question isn’t whether your planks are waterproof. It’s whether water can get past them to the material below.
When You Actually Need Sealant
Most floating vinyl floors in ordinary rooms need no sealant at all; the click-lock joints shed everyday spills fine. Reserve sealing for genuine wet-exposure situations:
- Bathrooms — seal the perimeter and around the toilet, tub, and shower base where standing water is likely
- Laundry rooms — seal around the washer where hoses can leak or overflow
- Kitchens — seal along the dishwasher and sink base cabinets
- Entryways and mudrooms — seal transitions where snow and rain drip off shoes
- Seam-prone sheet vinyl — seal seams that could lift and admit water
In these areas, you are not coating the whole floor. You are sealing the specific joints and edges where water pools or where the floor meets fixtures.
Which Sealants to Use
Different jobs call for different products, and using the wrong one causes failures. Here are the main options:
- 100% silicone caulk — the standard for sealing the perimeter, around toilets, tubs, and where vinyl meets walls or fixtures; flexible, waterproof, and mold-resistant when you choose a bathroom/kitchen formula
- Vinyl seam sealer — a clear liquid that chemically welds sheet-vinyl seams; use it where two sheets meet
- Silicone-based grout or joint sealer — for grouted LVT, seal the grout lines to keep water out of the tile joints
- Polyurethane or acrylic floor sealer — occasionally used to topcoat older no-wax sheet vinyl that has lost its shine, though it is rarely needed on modern LVP
Avoid coating rigid click-lock LVP with a full-surface polyurethane sealer. These floors are designed to float and flex, and a hard film coating can crack, peel, and trap moisture. Sealant belongs at the edges and penetrations, not spread across the field.
How to Seal the Perimeter and Fixtures
The most valuable seal in any wet room is the perimeter bead. Here’s how to do it cleanly:
- Ensure the floor is fully installed, cured, and completely clean and dry
- Apply painter’s tape on the wall and along the floor edge to keep lines crisp
- Load a caulk gun with 100% silicone rated for kitchens and baths, and cut the tip at a 45-degree angle for a thin bead
- Run a continuous bead into the expansion gap between the floor edge and the wall or baseboard
- Smooth the bead with a caulk tool or a gloved finger dipped in soapy water
- Pull the tape while the silicone is still wet, then let it cure 24 hours before exposing it to water
Around a toilet, seal the base to the floor to prevent water from wicking underneath, but many plumbers leave a small unsealed gap at the very back so a hidden leak becomes visible before it does major damage. Around tubs and shower bases, a continuous silicone bead is essential.
Sealing Sheet Vinyl Seams
For sheet vinyl, seams are the weak point. Apply a bead of manufacturer-recommended seam sealer along each seam, following the label’s dry time. This liquid melds the edges into a continuous, waterproof surface and stops the curling that lets water reach the subfloor. Reapply if a seam ever begins to lift.
Common Mistakes to Avoid
Sealing a vinyl floor wrong can be worse than not sealing it. Watch for these errors:
- Sealing the expansion gap solid with rigid material — floating floors must expand and contract; use flexible silicone, never hard caulk or filler
- Coating the entire floor surface — creates a film that cracks and peels and traps moisture
- Applying sealant to a dirty or damp floor — it won’t adhere and will fail early
- Using acrylic latex caulk in wet zones — it isn’t as waterproof or mold-resistant as 100% silicone
Cost and Upkeep
Sealing is cheap insurance. A tube of quality kitchen-and-bath silicone runs $6 to $12 and seals an average bathroom perimeter with material to spare. Vinyl seam sealer costs $10 to $20 a bottle. Inspect silicone beads yearly and re-caulk any spots that crack, shrink, or discolor, which typically happens every three to five years in a busy bathroom.
Sealing Around Toilets, Tubs, and Showers Step by Step
Bathroom penetrations are where water damage most often starts, so give them extra care. The toilet base is the classic trouble spot: water tracks under the flange and wicks into the subfloor unseen. After the toilet is set and bolted, run a bead of 100% silicone around the base where it meets the vinyl, tooling it smooth for a clean look. Leave a small gap at the rear so a hidden leak reveals itself rather than pooling under the floor.
Around a tub or shower base, the goal is a continuous, unbroken silicone seal along the joint where the vinyl meets the fixture. Clean and dry the joint, tape both sides, lay a smooth bead, tool it, and pull the tape while wet. Any break in that line is a path for water, so inspect it carefully and re-run any thin or missed spots.
How Long Sealant Lasts and When to Redo It
Silicone doesn’t last forever, especially in a wet, warm bathroom. A quality 100% silicone bead typically holds three to five years before it begins to shrink, crack, discolor, or peel at the edges. Once that happens, its waterproofing is compromised even if it looks mostly intact. Make a habit of inspecting your seals during regular cleaning and watch for these failure signs:
- Cracks or splits along the bead
- Edges lifting or peeling away from the floor or fixture
- Black or pink discoloration, which signals mold or mildew growth
- Gaps where the silicone has shrunk and pulled back
To redo a failed seal, cut out the old silicone completely with a utility knife or a silicone-removal tool, clean the joint with rubbing alcohol so it’s free of residue and mold, let it dry fully, and apply fresh silicone. New silicone won’t bond well over old, so full removal is worth the effort.
The Bottom Line
The right waterproof sealant for vinyl flooring targets the gaps the planks can’t cover on their own: perimeters, fixtures, transitions, and sheet-vinyl seams. Use flexible 100% silicone at edges and penetrations in wet rooms, seam sealer on sheet vinyl, and never coat the entire floating floor with a hard film. Seal smart, keep the surface clean and dry during application, and you protect the subfloor without compromising the floor’s ability to move.
Prefer to explore on your own?
See how new flooring looks in your actual room in seconds — free, no signup.
Try the free Floor Studio →