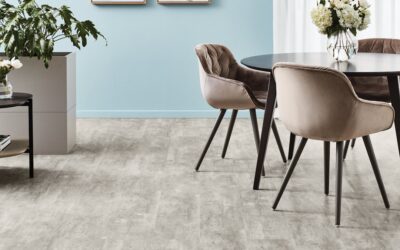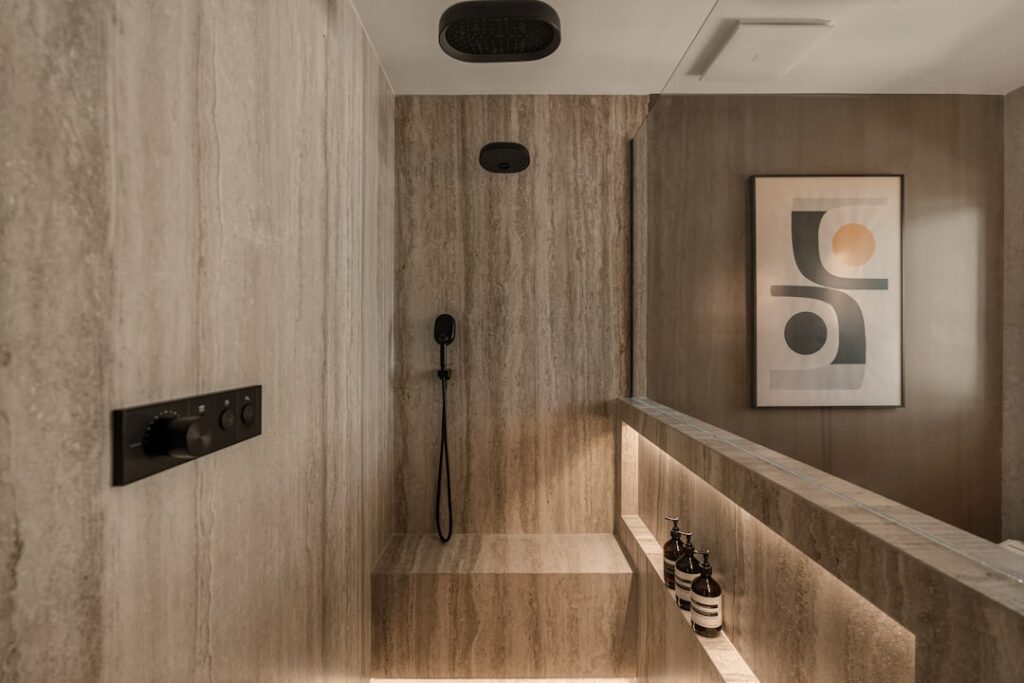
Waterproof vinyl flooring for bathrooms has become one of the most popular flooring choices in recent years, and for good reason. It combines the water resistance bathrooms demand with the warmth, comfort, and style that homeowners want. Unlike tile, vinyl feels warm underfoot. Unlike hardwood, it shrugs off moisture. And unlike sheet vinyl of decades past, modern waterproof vinyl looks remarkably like real wood and stone.
- Why Vinyl Flooring Works in Bathrooms
- Types of Waterproof Vinyl Flooring
- Key Features to Look For
- Cost of Waterproof Vinyl Bathroom Flooring
- How to Install Waterproof Vinyl in a Bathroom
- Preparing the Subfloor
- Acclimating the Flooring
- Planning the Layout
- Installing Click-Lock Planks
- Finishing the Installation
- Maintenance and Care
- Waterproof Vinyl vs. Other Bathroom Flooring
- Common Mistakes to Avoid
- Final Thoughts
This guide explains everything you need to know about choosing, installing, and maintaining waterproof vinyl flooring in your bathroom.
Why Vinyl Flooring Works in Bathrooms
Bathrooms are the most moisture-intensive rooms in any home. Between showers, baths, sink splashes, toilet condensation, and steam, your bathroom floor encounters water daily. Traditional flooring materials like hardwood and laminate cannot survive these conditions without warping, swelling, or developing mold.
Vinyl flooring solves this problem completely. Modern vinyl products feature waterproof cores that will not absorb moisture regardless of exposure duration. Water can sit on the surface indefinitely without causing damage. This fundamental water resistance makes vinyl the ideal material for bathroom environments.
Beyond waterproofing, vinyl delivers comfort that tile cannot match. It is warmer underfoot, slightly cushioned, and quieter to walk on. For families with young children or elderly members who frequently use the bathroom barefoot, vinyl provides a safer, more comfortable experience than cold, hard ceramic or stone.
Types of Waterproof Vinyl Flooring
Luxury Vinyl Plank (LVP)
Luxury vinyl plank is the most popular waterproof vinyl format for bathrooms. LVP planks mimic the appearance of hardwood with realistic wood grain textures, beveled edges, and natural color variations. They install with click-lock systems that snap together without adhesive.
Standard LVP features a WPC (wood polymer composite) core that is 100 percent waterproof. The core provides rigidity, dimensional stability, and slight underfoot cushioning. WPC-core LVP typically measures 5 to 8 millimeters thick and handles bathroom conditions with ease.
SPC Vinyl Flooring
SPC flooring — stone polymer composite — uses a limestone-based core that is denser and more rigid than WPC. SPC vinyl resists dents from heavy vanities and freestanding tubs better than standard LVP. Its dimensional stability means it will not expand or contract with temperature and humidity changes common in bathrooms.
SPC is the preferred choice for bathrooms with radiant floor heating systems because its stone core conducts heat more efficiently than WPC foam cores. If your bathroom has or will have heated floors, SPC vinyl is the smarter investment.
Sheet Vinyl
Sheet vinyl comes in continuous rolls up to 12 feet wide, allowing seamless installation in most bathrooms. Zero seams means zero entry points for water. This makes sheet vinyl the most waterproof option of all vinyl formats because there are simply no gaps for moisture to penetrate.
Modern sheet vinyl has moved far beyond the thin, cheap products of past decades. Premium sheet vinyl features fiberglass-reinforced construction, thick wear layers, and printed designs that realistically replicate tile, stone, and wood patterns.
Vinyl Tile
Luxury vinyl tile (LVT) comes in square formats that replicate ceramic, porcelain, and natural stone tiles. LVT delivers the look of tile flooring or natural stone flooring without the cold feel, difficult installation, or high cost.
Vinyl tile works beautifully in bathrooms where homeowners want a tile aesthetic with vinyl practicality. Popular styles include marble-look, travertine-look, and concrete-look patterns.
Key Features to Look For
Wear Layer Thickness
The wear layer is the transparent top coating that protects the printed design from scratches, scuffs, and wear. For bathroom installations, choose vinyl with a wear layer of at least 12 mils. Products with 20-mil or thicker wear layers provide even better long-term durability.
A thicker wear layer means the printed design stays intact longer, even under heavy foot traffic and frequent cleaning. Bathrooms with multiple daily users benefit from premium wear layers.
Core Type and Thickness
Both WPC and SPC cores are waterproof, but they differ in density and feel. WPC cores are lighter, warmer, and more cushioned. SPC cores are denser, harder, and more dimensionally stable. For bathrooms, either core type works well. Choose based on your preference for underfoot comfort versus rigidity and dent resistance.
Overall plank thickness matters too. Thicker planks (6 millimeters and above) feel more substantial, hide minor subfloor imperfections better, and provide superior sound dampening.
Attached Underlayment
Many waterproof vinyl products include pre-attached underlayment on the bottom of each plank. This foam or cork layer adds cushioning, sound absorption, and minor thermal insulation. Products with attached underlayment simplify installation and eliminate the need to purchase separate underlay material.
Slip Resistance
Check the slip resistance rating before purchasing vinyl for bathroom use. Look for products with textured surfaces and slip resistance ratings that meet or exceed ADA requirements. Embossed-in-register textures that follow the printed grain pattern provide both realism and traction.
Cost of Waterproof Vinyl Bathroom Flooring
Waterproof vinyl flooring for bathrooms costs between $2 and $8 per square foot for materials. Sheet vinyl sits at the lower end, while premium SPC with thick wear layers reaches the higher end.
Installation costs range from free (DIY click-lock installation) to $3 to $6 per square foot for professional installation. A typical bathroom of 40 to 70 square feet costs $200 to $700 for materials and $0 to $400 for professional installation.
Compared to porcelain tile ($8 to $25 per square foot installed) or natural stone ($15 to $50 per square foot installed), waterproof flooring in vinyl format delivers significant savings without sacrificing water resistance.
How to Install Waterproof Vinyl in a Bathroom
Preparing the Subfloor
Start by removing the existing flooring, toilet, and baseboards. Inspect the subfloor for damage, especially around the toilet flange and near the tub or shower. Replace any water-damaged plywood or underlayment before proceeding.
The subfloor must be clean, dry, and flat. Fill low spots and sand high spots to achieve flatness within 3/16 inch over a 10-foot span. Sweep and vacuum thoroughly — even small debris under vinyl creates visible bumps after installation.
Acclimating the Flooring
Store vinyl planks in the bathroom for at least 48 hours before installation. This allows the material to adjust to room temperature and humidity, ensuring proper fit after installation.
Planning the Layout
Measure the room and plan your plank layout before cutting any material. Start from the wall opposite the door and work toward the doorway. Stagger end joints by at least 6 inches between adjacent rows for structural stability and visual appeal.
Ensure the first and last rows are at least half a plank wide. If the last row would be too narrow, split the difference between the first and last rows by ripping the first row down.
Installing Click-Lock Planks
Angle the long side of each plank into the previous row at approximately 20 degrees and press down to lock. Then tap the short ends together using a tapping block to close the end joints. Leave a 1/4-inch expansion gap around all walls, fixtures, and transitions.
Cut planks with a utility knife (score and snap method) or a vinyl plank cutter for faster, cleaner cuts. For complex cuts around toilet flanges, use a jigsaw or oscillating multi-tool.
Finishing the Installation
Reinstall baseboards to cover the expansion gap. Apply silicone caulk (not grout) where the floor meets the tub, shower base, and toilet base. This flexible seal prevents water from seeping under the flooring at these critical junctions.
Reinstall the toilet with a new wax ring sized for the new floor height. If the floor is higher than the previous flooring, you may need a thicker wax ring or a wax-free gasket to ensure a proper seal.
Maintenance and Care
Waterproof vinyl bathroom floors require minimal maintenance. Sweep or vacuum weekly to remove grit that could scratch the wear layer. Damp mop with warm water and a vinyl-safe cleaner as needed.
Avoid steam mops, which can damage adhesive bonds and warp planks. Do not use abrasive cleaners, bleach, or ammonia-based products. These chemicals can dull the wear layer and break down surface treatments.
Wipe up standing water promptly. While the surface is waterproof, water that seeps through perimeter edges can become trapped beneath the flooring and cause subfloor damage over time. Proper silicone caulking at wet-area perimeters prevents most water infiltration issues.
Waterproof Vinyl vs. Other Bathroom Flooring
Vinyl vs. Tile
Tile is harder, more scratch-resistant, and offers higher resale value. Vinyl is warmer, more comfortable, easier to install, and significantly less expensive. Both are waterproof. For premium bathrooms where resale value matters, tile wins. For comfort, budget, and DIY friendliness, vinyl wins.
Vinyl vs. Laminate
Laminate flooring, even waterproof laminate, cannot match vinyl’s moisture performance. Vinyl’s solid synthetic construction is inherently waterproof, while laminate relies on sealants and treatments that can fail over time. For bathrooms, vinyl is always the safer choice.
Vinyl vs. Engineered Wood
Engineered wood flooring brings natural beauty but requires careful maintenance in wet environments. Vinyl requires almost no maintenance and handles moisture with zero risk of damage. Unless the authentic look and feel of real wood is essential, vinyl is the practical choice for bathrooms.
Common Mistakes to Avoid
Do not skip subfloor preparation. Uneven subfloors cause planks to rock, separate at joints, and wear unevenly. Invest time in leveling and cleaning before installation.
Do not forget the expansion gap. Vinyl expands slightly with temperature changes. Without a gap around the perimeter, planks can buckle and lift in the center of the room.
Do not use the wrong caulk. Silicone caulk remains flexible and waterproof indefinitely. Latex caulk shrinks, cracks, and allows water penetration. Always use 100 percent silicone around tubs, showers, and toilets.
Do not install over severely damaged subfloors. Waterproof vinyl keeps water off the subfloor from above, but pre-existing water damage, mold, or structural weakness must be addressed before new flooring goes down.
Final Thoughts
Waterproof vinyl flooring for bathrooms delivers an outstanding combination of water resistance, comfort, style, and affordability. Whether you choose LVP for its wood-grain beauty, SPC for its rigid durability, or sheet vinyl for its seamless coverage, you can trust that modern waterproof vinyl will handle everything your bathroom throws at it. Pair the right product with proper installation techniques, and your bathroom floor will look great and perform flawlessly for years to come.
Prefer to explore on your own?
See how new flooring looks in your actual room in seconds — free, no signup.
Try the free Floor Studio →