
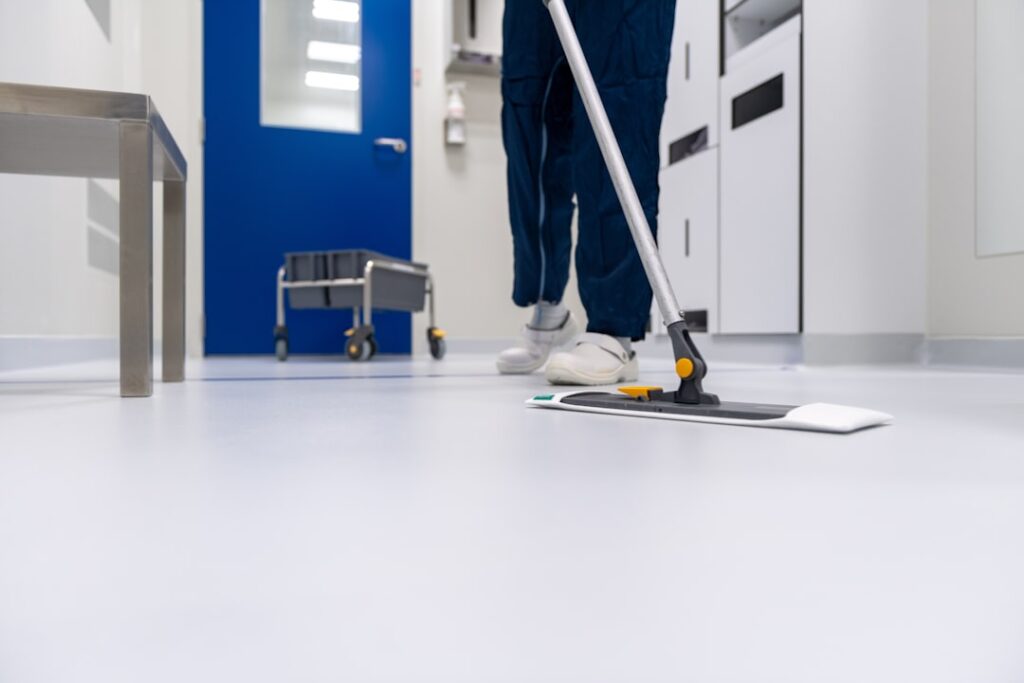
Knowing what to use to clean vinyl plank flooring is mostly about knowing what to leave in the cabinet. Luxury vinyl plank is tough against water and scratches, but the wrong cleaner can strip its finish, leave a dull film, or void the warranty. The good news is that keeping LVP spotless takes only a couple of inexpensive products and a light touch, no fancy machines required.
- Reach for pH-Neutral Cleaners
- The DIY Vinegar and Water Solution
- Dr. Bronner’s and Other Gentle Soaps
- Best Commercial Cleaners for LVP
- What to Avoid at All Costs
- Use a Microfiber Flat Mop, Damp Not Wet
- Protecting the Floor Between Cleanings
- A Simple Cleaning Routine
- Pros and Cons of the Product Types
Reach for pH-Neutral Cleaners
The single most important rule is to use a pH-neutral cleaner. Vinyl plank’s wear layer and the glue beneath it react poorly to harsh acids and alkalis, which can etch the surface or break down adhesive over time. A neutral formula, sitting around pH 7, lifts dirt without attacking the finish.
Most manufacturers, including COREtec, Shaw, and Mohawk, specify a neutral cleaner in their care guides. When in doubt, that is your safe default and it will never harm the plank.
There is a warranty angle here too. Many LVP warranties require you to follow the maker’s care instructions, and using a harsh or wax-based product can technically void coverage. Save the care card that comes with your flooring, or snap a photo of it, so you always know which cleaners the manufacturer blesses. A neutral product keeps you inside the rules no matter which brand you installed.
The DIY Vinegar and Water Solution
For everyday cleaning, a homemade mix is cheap and effective. Combine one cup of white vinegar with one gallon of warm water. The mild acidity cuts grease and leaves no soapy residue, which is why so many contractors recommend it.
Add a single drop of dish soap only if you are fighting greasy kitchen film, then follow with a plain-water pass to rinse. Do not overdo the vinegar, since a stronger ratio drifts too acidic for daily use on the finish.
Dr. Bronner’s and Other Gentle Soaps
A few drops of Dr. Bronner’s Castile soap in a gallon of warm water make another gentle, plant-based option. Use it sparingly, because too much soap leaves a dull haze that attracts dirt. If your floor starts looking cloudy, you are using too much product and not rinsing enough.
Castile soap shines in homes with allergies or small children, since it skips synthetic fragrance and dye. Stick with the unscented or a light scent like lavender, and always finish with a clear-water pass to lift any soap film. That rinse step is the secret to keeping a Castile-cleaned floor looking bright rather than dull.
Best Commercial Cleaners for LVP
Ready-made bottles buy you consistency and a formula tuned for hard surfaces, which is worth the modest premium if you dislike mixing solutions or want a reliable streak-free shine. When you would rather buy off the shelf, several products are formulated specifically for vinyl and other hard surfaces:
- Bona Hard-Surface Floor Cleaner — pH-neutral, streak-free, comes as a spray or refill; widely trusted for LVP and one of the easiest to find.
- Better Life Naturally Dirt-Destroying Floor Cleaner — plant-based, no rinse required, safe around kids and pets.
- Zep Hardwood and Laminate Floor Cleaner — a budget spray that also works on vinyl; wipe quickly to avoid streaks.
- Black Diamond or Rejuvenate — no-rinse formulas that clean without dulling the finish.
Any of these beats a general-purpose spray, which is often too alkaline for vinyl. Spray-and-mop refill systems, where a bottle clicks into the mop handle, are the most convenient for large floors, while concentrates you dilute yourself stretch further and cost less per gallon over time.
What to Avoid at All Costs
The list of things that damage LVP is longer than the list of things that clean it. Steer clear of the following:
- Bleach and ammonia — harsh chemicals that can discolor the plank and degrade the finish.
- Wax and polish — LVP has a factory finish; wax builds a sticky film that traps dirt and is miserable to remove.
- Abrasive pads and scouring powders — steel wool or a Magic Eraser used hard will scratch the wear layer.
- Steam mops — heat and forced moisture drive water into the seams and can loosen adhesive or warp planks, and they usually void the warranty.
- Oil soaps like Murphy Oil Soap — designed for sealed wood, they leave a residue that dulls vinyl.
When in doubt, test any new product in a closet corner first.
Use a Microfiber Flat Mop, Damp Not Wet
Tools matter as much as cleaner. A microfiber flat mop is the ideal applicator because it glides gently, holds just enough solution, and picks up fine dust that a string mop pushes around. Wring it until it is barely damp; standing water is the enemy of any floating or glued vinyl floor, seeping into seams where it does not belong.
Work in sections, mop along the plank length, and let the surface air-dry in minutes. If you see streaks, you used too much cleaner and need a plain-water follow-up.
Keep two microfiber pads in rotation and wash them without fabric softener, which coats the fibers and kills their grabbing power. A clean pad picks up dust; a softener-coated one just smears it around.
Protecting the Floor Between Cleanings
The best cleaning is the mess you never let happen. Place walk-off mats at every exterior door to catch the sand and grit that scratch vinyl, and use felt pads under chair and table legs so nothing gouges the wear layer when it slides. In the kitchen, a washable runner in front of the sink catches drips before they dry into spots.
Wipe spills the moment they land, especially anything oily or brightly colored, and avoid dragging appliances or heavy furniture across the planks. Lift and carry instead, or lay down a sheet of plywood to roll over. These small habits cut your actual scrubbing in half and keep the finish factory-fresh for years.
A Simple Cleaning Routine
Consistency beats intensity. Follow this rhythm and your LVP stays like new:
- Dry sweep or dust-mop first — remove grit before it gets ground in, since sand and dirt are what actually scratch vinyl.
- Damp-mop weekly with your neutral solution in high-traffic areas.
- Spot-clean spills immediately with a damp cloth so nothing dries and stains.
- For stuck-on messes, lay a warm damp cloth over the spot to soften it, then wipe. For scuffs, a dab of rubbing alcohol on a soft cloth lifts most marks.
Tougher marks respond to targeted treatment rather than brute force. Dried candle wax or gum lifts cleanly once you harden it with an ice cube and scrape gently with a plastic edge, never metal. Ink or dye stains usually surrender to a little rubbing alcohol, while dried grease loosens under a warm, barely soapy cloth. Whatever the mess, patience and a soft tool beat aggressive scrubbing every time on a vinyl wear layer.
Pros and Cons of the Product Types
Homemade vinegar solutions cost pennies and skip harsh chemicals, but they lack the shine-enhancers of commercial formulas and can smell sharp. Ready-made cleaners are convenient and consistent, though they cost more and vary in quality. Castile soap is natural and safe yet unforgiving if overused. The smartest approach for most homeowners is to keep a vinegar mix for routine mopping and one bottle of Bona on hand for a streak-free finish before guests arrive. Master those basics and you will always know exactly what to use to clean vinyl plank flooring without risking the finish you paid for. Buy a fresh spray bottle, a couple of microfiber pads, and a jug of white vinegar, and you have a complete, contractor-approved cleaning kit for well under $25 that will outlast a cabinet full of specialty products.
Prefer to explore on your own?
See how new flooring looks in your actual room in seconds — free, no signup.
Try the free Floor Studio →

