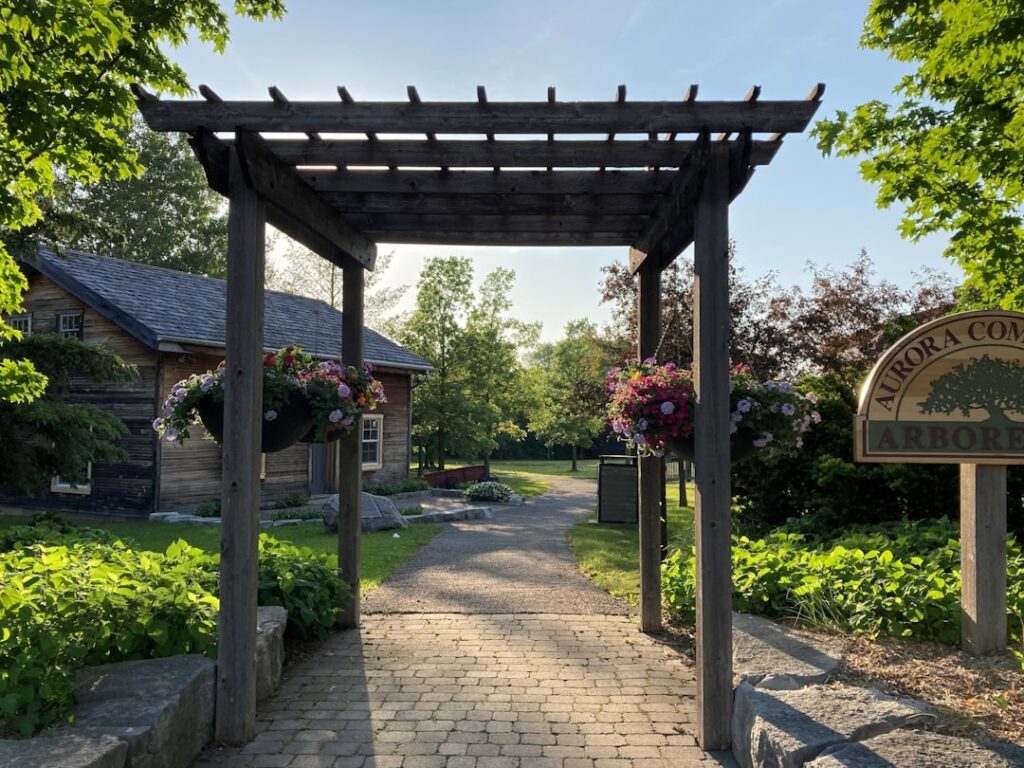
Most homeowners pick a pergola design first and worry about location second, and that backward order is exactly why so many end up baking in the afternoon sun or crammed against a fence. Figuring out where to put a pergola in your yard is the single decision that determines whether you actually use the thing. A well-placed 12-by-14-foot pergola becomes the most-used square footage on your property. A poorly placed one turns into an expensive trellis you glance at from the kitchen window. I have set dozens of these, and placement comes down to sun, sightlines, access, and the dirt underneath.
- Start With the Sun, Not the View
- Attached or Freestanding Changes Everything
- Respect Setbacks and the Property Line
- Anchor It to a Real Destination
- Read the Ground Before You Commit
- Frame a View and Block the Bad One
- Mind Trees, Roots, and Overhead Lines
- Wire in Utilities From the Start
- Putting It All Together
Start With the Sun, Not the View
The first thing I do on any pergola job is stand in the yard at three different times of day. A pergola’s open-slat roof blocks maybe 40 to 60 percent of direct sun depending on rafter spacing, so orientation matters more than people expect. Run the rafters north-to-south and they cast moving stripes of shade through the day. Run them east-to-west and you get denser shade at midday when you need it most.
Position the structure so its west or southwest side is protected. That afternoon sun between 2 and 6 p.m. is what drives everyone indoors in July. If your only open spot faces due west, plan on adding a shade sail, a retractable canopy, or a run of climbing vines like wisteria or trumpet vine on the hot side. In USDA zones 8 through 10 you want as much shade as possible; in zones 4 through 6, a little extra spring and fall sun under the pergola is a feature, not a bug. Track the sun for a full day before you commit, because a spot that looks perfect at 10 a.m. can be an oven by four.
Attached or Freestanding Changes Everything
Where you put the pergola depends heavily on whether it ties to the house. An attached pergola, bolted to a ledger board on the exterior wall, extends your living space right off a patio door and is the cheapest to build because it needs only two posts instead of four. It also throws shade onto the house wall, which can trim cooling costs on a south-facing room during the hottest months.
A freestanding pergola gives you total freedom to chase the best microclimate in the yard, but it needs four footings and reads as a destination you walk to. As a rule, put attached pergolas over an existing patio or deck within 10 feet of a door, and set freestanding ones at least 8 to 12 feet from the house so the two structures do not visually crowd each other. A freestanding unit also lets you rotate the whole thing to chase shade or a view that an attached one never could.
Respect Setbacks and the Property Line
Before you drive a single stake, check your local setback rules. Most municipalities require accessory structures to sit 5 to 10 feet off side and rear property lines, and some count a pergola as a permitted structure once it exceeds a certain size or height, often 12 feet tall or 200 square feet. Utility easements are the other trap. Never set a footing over a buried gas, water, or electrical line.
- Call 811 for a free utility locate at least three business days before digging.
- Pull your plat map and mark the true property line, not the fence, which often sits 6 to 18 inches inside it.
- Keep footings a minimum of 3 feet from a septic drain field.
- Verify height limits; many HOAs cap freestanding structures at 10 to 12 feet.
- Ask whether your permit requires a wind-load rating for open structures in your county.
Anchor It to a Real Destination
A pergola works best when it covers something people already do. The strongest placements sit over a dining patio, an outdoor kitchen, a hot tub, or a fire-pit lounge. Sizing follows the use. For a six-person dining set you want a minimum footprint of 12 by 12 feet so chairs can slide back without leaving the shade. For a lounge grouping with a sofa and two chairs, 14 by 16 feet feels right.
Do not float a pergola in the middle of the lawn with nothing under it. Empty pergolas feel unfinished, and they become mowing obstacles you curse every week. If you want one as a garden focal point, at least run a paver or gravel pad beneath it, 4 to 6 inches of compacted base topped with pavers, so the ground stays usable in wet weather and furniture legs do not sink into the turf.
Read the Ground Before You Commit
Slope and drainage quietly rule out otherwise-perfect spots. A pergola needs relatively level ground, and every post footing must reach below the frost line, which runs from 12 inches in the Deep South to 48 inches or more across the northern tier. On a slope over about 5 percent you will either step the footings or build a level pad, both of which add cost and labor.
Avoid the low spot where water collects after a storm. Standing water rots post bases, breeds mosquitoes, and makes the space unusable exactly when you want to sit out in the evening. If the best sun happens to fall on a soggy area, plan on regrading or a French drain first. A 4-inch perforated drain pipe in a gravel trench, sloped a quarter inch per foot, will pull water away from the footings and keep the pad dry.
Frame a View and Block the Bad One
Think about what you see while sitting under the pergola and what the neighbors see of you. Angle the seating toward your best asset, a garden bed, a water feature, or an open tree line, and put the solid or vined side of the structure toward the neighbor’s window or a busy street. On a corner lot I often push the pergola toward the back property line and use the posts as anchors for privacy panels or lattice on two sides.
Prevailing wind matters too. In most of the country the summer breeze comes from the southwest, so leave that side open to catch it and close down the side that faces winter storms. A pergola set to catch the evening breeze can feel ten degrees cooler than one tucked into a dead-air pocket against a solid fence, and that difference decides whether you sit out after dinner or retreat inside.
Mind Trees, Roots, and Overhead Lines
A mature shade tree seems like the ideal partner, and dappled light plus a pergola is genuinely pleasant, but the roots are a problem. Digging footings inside the drip line of an established oak or maple means cutting structural roots, which can destabilize the tree and stress it for years. Keep footings outside the drip line, roughly the radius of the canopy, and never within 6 feet of the trunk.
Look up as well. You need at least 3 feet of clearance from any overhead service drop, and dropping leaves, sap, or pine needles onto a pergola means constant cleanup and slick, mossy slats. A spot 10 to 15 feet clear of large deciduous trees keeps maintenance sane while still borrowing some of that leafy backdrop for a softer, cooler feel.
Wire in Utilities From the Start
Decide early whether the pergola gets lighting, ceiling fans, a heater, or an outlet, because that influences placement. Running a dedicated 20-amp GFCI circuit is far cheaper when the pergola sits within 30 to 40 feet of the panel or an existing exterior outlet. A ceiling fan under a pergola makes summer evenings genuinely comfortable and requires a rated outdoor fan box mounted to a beam.
If you want string lights, plan the layout so at least two posts line up with the house or a second anchor point to hang the runs. Low-voltage landscape lighting on the posts, roughly 3 watts per fixture, washes the structure at night and defines the space without glare. Set the transformer and any switch location while you still have open trenches, because trenching after the pavers are down is miserable work.
Putting It All Together
The best pergola location is the intersection of four things: afternoon shade, a real use underneath, legal setbacks with clear utilities, and stable, well-drained ground. When one spot checks all four, that is your answer. When no spot is perfect, prioritize sun and drainage, because you can add privacy screens and lighting later but you cannot cheaply fix a footing sitting in a wet, shaded corner. Walk the yard, mark the corners with stakes and string, and live with that outline for a few days before you dig. Getting the placement right is worth far more than any upgrade to the pergola itself, and it costs nothing but a little patience.