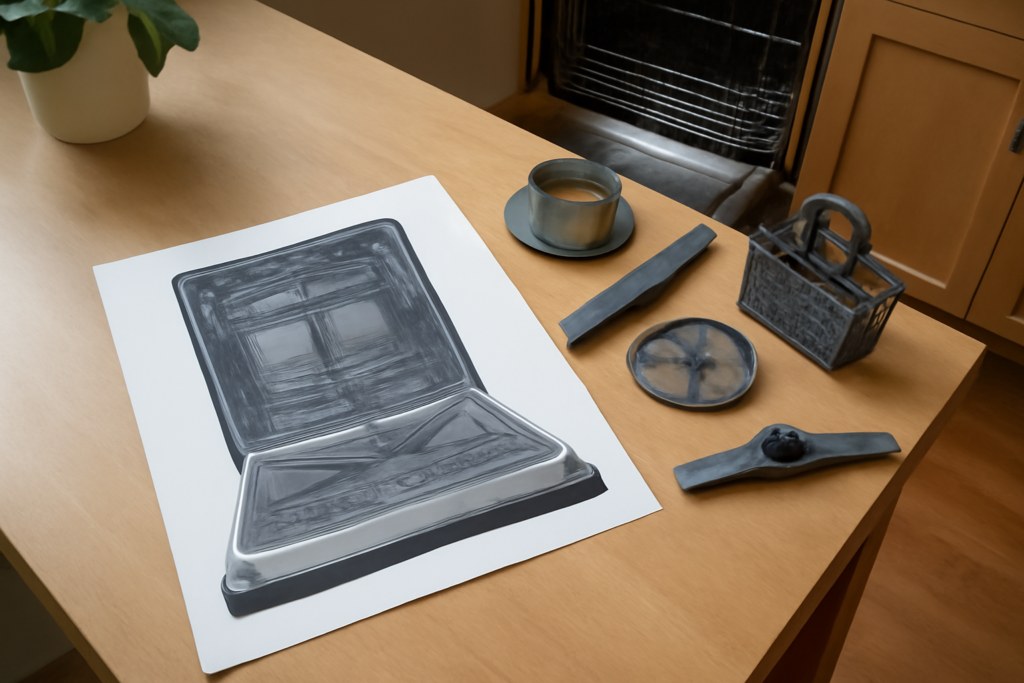
A Whirlpool dishwasher parts diagram turns a confusing tangle of hoses, motors, and plastic into a clear map you can order from. Whether you’re chasing a leak, a no-drain fault, or a spray arm that won’t spin, knowing where each part lives and what it’s called is half the repair. This guide walks the diagram zone by zone the way a tech reads it.
- Find Your Model Number Before Anything Else
- The Tub and Door Assembly
- The Lower Wash System
- Spray Arms and Water Distribution
- The Water Inlet and Fill System
- Heating and Drying Components
- The Control and Electrical Group
- The Racks and Interior Hardware
- Matching Symptoms to Diagram Zones
- Reading an Exploded View
- OEM vs. Aftermarket Parts
- How to Use the Diagram to Order the Right Part
- Safety and a Final Tip
Whirlpool also builds Maytag, KitchenAid, Amana, and JennAir dishwashers, so this same layout covers a huge share of American kitchens. Grab your model number first, then follow along.
Find Your Model Number Before Anything Else
The exact parts diagram is keyed to your model. Open the door and look on the left tub jamb or the top edge for a sticker with a model number like WDT750SAKZ. Plug that into a parts site or the owner’s manual and you’ll get the exploded diagrams that match your machine precisely, since a pump from one series won’t fit another.
The Tub and Door Assembly
The tub is the stainless or plastic chamber that holds everything. The door section of a parts diagram is where many repairs start:
- Door gasket / tub seal: the rubber strip around the opening that stops leaks. A common wear item at $15 to $40.
- Door latch and strike: the assembly that holds the door shut and tells the control it’s closed. A failed latch means the machine won’t start.
- Door hinges and springs / cables: control how the door drops. A snapped door cable makes the door slam open.
- Detergent and rinse-aid dispenser: the door-mounted cup with a spring-loaded lid and a rinse-aid reservoir.
- Vent and fan assembly: releases steam during drying.
The Lower Wash System
Turn the diagram to the bottom of the tub and you’re looking at the heart of the machine. This is where most no-clean and no-drain problems live:
- Sump assembly: the collection basin at the tub floor where water pools before recirculating or draining.
- Filter assembly: the cylindrical and flat mesh filters that trap food. The number-one cause of poor draining and cloudy dishes when clogged.
- Wash pump / circulation motor: drives water up to the spray arms. If the arms don’t spin, look here.
- Drain pump: a separate motor that pushes wastewater out to the disposal or drain line. A jammed impeller here means standing water.
- Chopper / food grinder: on some models, breaks down soft food so it flushes out.
- Check valve: a one-way flap that stops drained water from flowing back in.
Spray Arms and Water Distribution
The diagram shows lower, middle, and often an upper spray arm, plus the feed tubes that carry water to each. Spray arms clog at their nozzle holes with hard-water scale and food, which kills cleaning performance. They snap or thread on and off for cleaning and cost $15 to $50 to replace. The water feed tube that runs up the back of the tub to the upper arm is a frequent leak point where it connects.
The Water Inlet and Fill System
On the lower left of most diagrams, near the base, sits the water management group:
- Water inlet valve: the solenoid valve where the household supply line connects. It opens to let water in. A failed valve causes no-fill or overfill and runs $25 to $60.
- Float and float switch: a plastic float in the tub floor that shuts off filling at the right level to prevent overflow.
- Fill hose: carries water from the valve into the tub.
Heating and Drying Components
Many Whirlpool models use a heating element, the metal loop at the tub bottom, to heat water and dry dishes. It’s shown on the diagram bolted through the tub floor with two terminals underneath. A burned-out element leaves dishes wet and cold; replacements run $25 to $70. Newer condensation-dry models skip the exposed element and rely on rinse aid and a heated final rinse instead.
The Control and Electrical Group
The brains sit behind the door panel and under the tub:
- User interface / control panel: the buttons and display on the door.
- Main control board: usually in the door or base, runs the cycle logic. Failures here cause dead panels and phantom errors; boards run $100 to $250.
- Thermistor / temperature sensor: tells the control the water temperature.
- Wiring harness and door switch: connect it all and confirm the door is latched.
The Racks and Interior Hardware
The diagram’s rack pages list the upper and lower racks, the rack rollers and wheels, adjuster clips, tine tips, silverware basket, and any third-rack hardware. These are the parts most owners actually replace, since tines rust and wheels wear. Order rack wheels by model number because axle spacing varies.
Matching Symptoms to Diagram Zones
The fastest way to use a parts diagram is to let the symptom point you to the right zone before you ever open the exploded view. A quick cheat sheet:
- Standing water: sump, filter, drain pump, and check valve at the tub bottom.
- Won’t fill: water inlet valve, float switch, and fill hose in the base group.
- Dishes not clean: spray arms, filter, wash pump, and heating element.
- Leaking: door gasket, door latch, hose clamps, and pump seals.
- Won’t start / dead panel: user interface, main control board, door switch, and thermal fuse.
- Dishes wet: heating element, vent and fan assembly, or missing rinse aid.
Start at the zone, not the whole machine, and you’ll find the numbered callout you need in seconds.
Reading an Exploded View
A Whirlpool exploded diagram shows every part “blown apart” along assembly lines, with a number beside each piece. Those numbers aren’t part numbers themselves; they’re keys to a parts list printed alongside. Find the piece visually, note its callout number, then read across to the list to get the actual manufacturer part number and price. The diagrams are usually split into sub-assemblies, tub, door, lower wash system, racks, control, so you jump to the relevant sheet rather than hunting through the whole set. Pay attention to the assembly order shown, since it tells you what has to come off first to reach the part you want.
OEM vs. Aftermarket Parts
Once you have a part number, you’ll often see two options. OEM (original equipment manufacturer) parts are made by or for Whirlpool and guarantee an exact fit, but cost more. Aftermarket parts are third-party equivalents that can save money and are fine for simple items like rack tips, wheels, and hoses. For anything that seals or carries the machine’s logic, gaskets, pumps, valves, and control boards, OEM is the safer bet, since a slightly off aftermarket seal is exactly what causes the leaks you’re trying to fix. Always cross-reference the aftermarket part’s compatibility list against your model number.
How to Use the Diagram to Order the Right Part
Put it all together like this:
- Identify the symptom and the zone it points to, for example, standing water points to the sump, filter, and drain pump.
- Open the matching sub-diagram for your model number.
- Find the numbered callout for the part on the exploded view.
- Match that callout number to the parts list to get the exact manufacturer part number.
- Order by that part number, not by a generic description, so you get a piece that actually fits.
Safety and a Final Tip
Before removing any part, cut power at the breaker or unplug the dishwasher and shut the water supply valve under the sink. A parts diagram is only useful if you can work safely to reach the piece it shows.
Keep your model number and the relevant Whirlpool dishwasher parts diagram saved somewhere handy, because once you can read it, ordering the right pump, valve, or gasket takes minutes instead of guesswork, and you avoid the classic mistake of buying a part that doesn’t fit your machine.