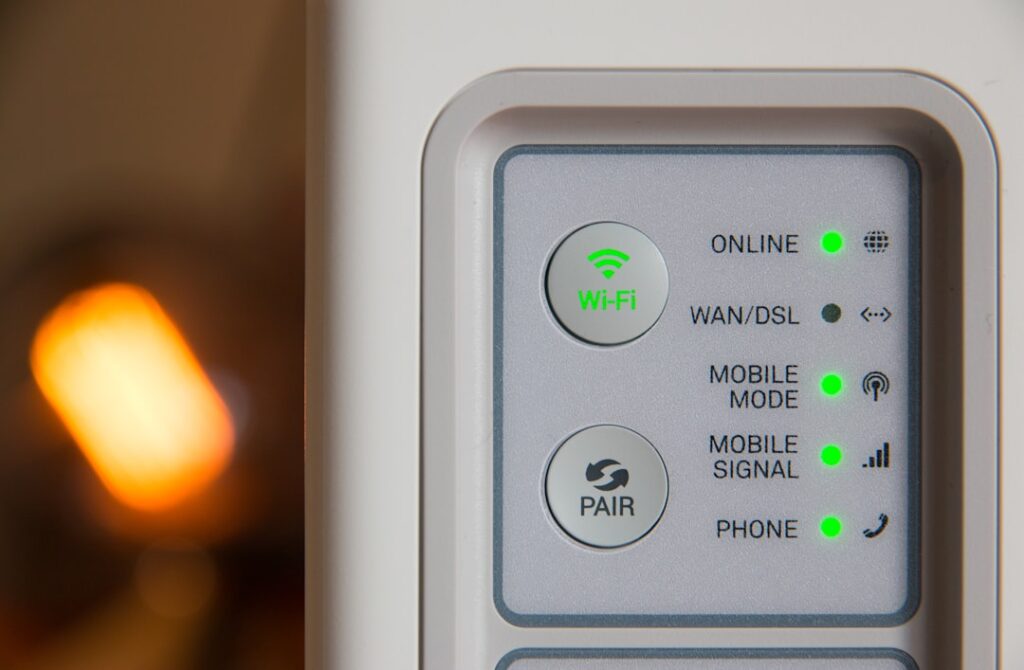
A wifi light switch replaces an ordinary wall switch and lets you control your lights from your phone, on a schedule, or with a voice command — all while still working as a normal switch anyone can flip by hand. It’s one of the most satisfying smart-home upgrades because it improves lights you already own without swapping a single bulb. Install runs $15 to $50 per switch and takes about 20 minutes once the power is off.
The single most important thing to check before you buy is whether your electrical box has a neutral wire. That one detail decides which switch you can use, so let’s start there.
The Neutral Wire Requirement
Most WiFi switches need a neutral wire to work. The switch’s radio and processor draw a small amount of power around the clock, even when the light is off, and they need the neutral as a return path to do that. Homes wired after the mid-1980s usually have a neutral bundled in the switch box, but older homes often don’t — the switch loop only carries the hot and switched-hot conductors.
Before you buy, pull the wall plate and look inside the box (with the breaker off — more on that next). A neutral is typically a white wire, and you’re looking for a bundle of them capped together at the back of the box. If you see them, you can use any standard smart switch. If there’s no neutral, you have two choices:
- Buy a no-neutral WiFi switch — Lutron Caseta and some Leviton and TP-Link Kasa models are designed to run without one.
- Hire an electrician to run a neutral, which usually means opening the wall unless the cable happens to have a spare conductor.
Safety First: Kill the Breaker
Before you touch any wiring, shut off the circuit at the breaker panel. Flip the breaker that feeds the switch to OFF, then go back and confirm the light and switch are truly dead using a non-contact voltage tester held against the wires. Do not trust the switch position alone — I’ve opened plenty of boxes that were still live because of a shared circuit or a mislabeled panel. You’re working with 120 volts, and it will hurt you. If the tester lights up at all near any conductor, stop and find the right breaker.
Work in daylight or with a battery lantern, never by the light you just killed, and keep one hand in your pocket when probing to avoid becoming a path to ground.
Types of WiFi Light Switches
Standard On/Off
Replaces a basic single-pole switch. Full brightness on, off, and app or voice control. The cheapest option at $15 to $30. Kasa and Wyze are popular budget picks.
Dimmer
Adds brightness control from the wall, app, or voice. Make sure your bulbs are dimmable LED or you’ll get flicker and buzz. Figure $20 to $50. Lutron Caseta is the gold standard for smooth, flicker-free dimming.
3-Way and Multi-Location
For lights controlled from two or more switches — a staircase or a long hallway. These use a smart primary switch plus a companion or the app for the second location. Read the box; not every model supports 3-way.
Hub vs. Direct WiFi
Direct-WiFi switches connect straight to your router — simple, but each one loads your network. Hub-based systems like Lutron Caseta use their own low-power radio through a small bridge, which is more reliable in homes with many devices or weak WiFi.
Tools and Materials
- The WiFi switch and its wire connectors
- Non-contact voltage tester (a must-have, about $15)
- Flathead and Phillips screwdrivers
- Needle-nose pliers and a wire stripper
- A few extra wire nuts and a short length of white 14-gauge wire for a pigtail
- Your phone with the manufacturer’s app installed
Wiring a WiFi Light Switch
With the breaker off and the wires confirmed dead, you’re ready. Here’s the general sequence — always follow the diagram that ships with your specific switch, since terminal labels vary.
- Photograph the old switch. Snap a picture of the existing wiring before you disconnect anything. It’s your map if something goes sideways.
- Remove the old switch. Unscrew it from the box and pull it forward. Note which wire is the line (incoming hot) and which is the load (going to the light). Label them with tape.
- Connect the ground. Join the smart switch’s green or bare wire to the bare copper ground in the box.
- Connect line and load. Attach the incoming hot to the switch’s line terminal and the light wire to the load terminal.
- Connect the neutral. Tie the switch’s white neutral lead into the bundle of neutrals. If the bundle is buried, add a short white pigtail so you can reach it.
- Tuck and mount. Fold the wires neatly into the box, screw the switch to the box, and put the plate on.
Take your time folding the wires — smart switches are deeper than standard ones, and cramming them can loosen a connection. If a wire won’t seat, add a pigtail rather than forcing it.
Connecting to WiFi and Voice Assistants
Restore power at the breaker and open the manufacturer’s app. Most switches broadcast a setup signal or use a QR code to pair. A couple of pointers that save headaches:
- Nearly all direct-WiFi switches need a 2.4 GHz network, not 5 GHz. If your router combines both under one name, temporarily separate them or the switch won’t connect.
- Once it’s on your network, link the app to Amazon Alexa, Google Home, or Apple HomeKit if supported, and assign the switch to a room so voice commands make sense.
- Set schedules and scenes in the app — a porch light that comes on at sunset is the feature you’ll use most.
3-Way and Multi-Switch Wiring Notes
If a light is controlled from two switches — the top and bottom of a staircase, say — the wiring is more involved and the terminals aren’t labeled line and load in the usual way. In a 3-way circuit you have a common terminal plus two traveler wires, and only one of the two boxes carries the true incoming hot. Most smart-switch makers sell a matched primary-plus-companion pair for exactly this situation; the primary does the smart work and the companion just tells it what to do. Before you start, identify the common wire at each box (it’s often on a differently colored screw, usually black or dark) and follow the manufacturer’s 3-way diagram to the letter. If the wiring doesn’t match the diagram, don’t improvise — this is a good moment to bring in an electrician.
Where WiFi Switches Shine
Not every switch in the house needs to be smart. Spend your money where automation actually earns its keep:
- Exterior and porch lights on a sunset-to-sunrise schedule — the feature you’ll use every single day.
- Hard-to-reach fixtures like a two-story foyer or stairwell light.
- Away-from-home security, running random on/off patterns so the house looks occupied.
- Whole-room voice control, grouping several switches so one command clears a room.
A closet or pantry switch you flip twice a day by hand gains almost nothing from going smart. Start with three or four high-value locations and expand from there.
Troubleshooting
If the switch won’t pair, confirm you’re on 2.4 GHz and standing near the switch during setup. If the light flickers on a dimmer, your bulbs likely aren’t dimmable — swap in dimmable LEDs. If the switch is dead after install, cut the breaker and recheck that neutral connection, the most common miss. And if anything about the wiring looks unfamiliar — aluminum wiring, no ground, a crowded box — call a licensed electrician. A wifi light switch is a great DIY project, but nobody should gamble on a wiring job they can’t read confidently.