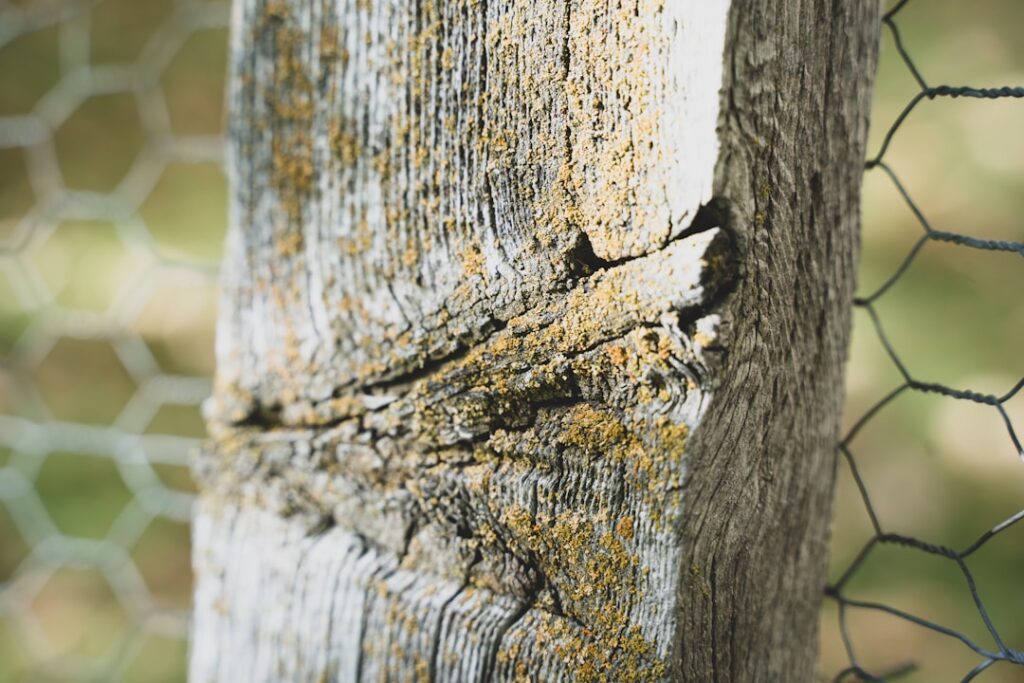
A wood fence with chicken wire is the go-to solution when you need a barrier that keeps small animals in or out but still lets light and air through, and it costs a fraction of a solid privacy fence. Whether you are penning chickens, protecting a vegetable garden from rabbits, or containing a small dog, the wood frame gives you structure and looks while the wire mesh does the containment work. I have built these for backyard flocks and garden borders alike, and the trick is matching the mesh to the animal and attaching it so it stays taut for years.
The beauty of a wood fence with chicken wire is flexibility: you control the height, the post spacing, and the mesh gauge, so you can build exactly the barrier your situation calls for without overspending on solid panels.
Pick the Right Mesh for the Job
Not all wire fencing is the same, and choosing wrong is the most common mistake. True chicken wire, or poultry netting, is a light hexagonal mesh that is cheap but flimsy. Here is how the options compare:
- Poultry netting (chicken wire): 1-inch hex openings, 20-gauge. Great for keeping chickens in, but a determined raccoon or dog can tear through it.
- Hardware cloth: 1/2-inch square openings, 19- to 23-gauge welded. Far stronger and predator-resistant, the right choice if raccoons, weasels, or hawks are a concern.
- Welded wire fencing: 2-inch by 4-inch openings, 14- to 16-gauge. Best for larger dogs and garden perimeters where you want strength and a longer life.
For a coop run I always spec hardware cloth on the lower 2 feet where predators dig and reach, then poultry netting or welded wire above. It costs a little more but it is the difference between losing birds and not.
Setting the Posts
Your fence is only as good as its posts. Use pressure-treated 4×4 posts rated for ground contact, spaced 6 to 8 feet apart. Dig holes at least one-third the post height deep, so a 6-foot-tall fence needs posts set roughly 2 feet into the ground.
Set each post in concrete for a permanent fence or tamped gravel for one you may move later. A 50-pound bag of fast-setting concrete runs about $6 and fills roughly one post hole. Brace the posts plumb and let the concrete cure for at least 24 hours before you attach rails or mesh.
Framing the Rails
Between the posts you need horizontal rails to give the mesh something to attach to and to keep the fence rigid. Use 2×4 pressure-treated lumber for the top and bottom rails, and add a middle rail on anything over 4 feet tall.
Attach rails to the posts with exterior structural screws or galvanized brackets. A top rail also gives the fence a finished look and a place to mount a gate. For a tidy appearance, keep all rails level with a line level as you go, because a sagging rail telegraphs to the eye immediately.
Attaching the Mesh Correctly
This is where most DIY fences fail early. Loose, wavy wire looks bad and lets animals push through. To get a taut result:
- Start at a corner post and staple the mesh to it with 1-inch galvanized poultry staples every 4 inches
- Unroll the mesh along the fence, pulling it hand-tight as you go
- Use fence pliers or a come-along to stretch it taut before stapling to each post
- Staple to the top and bottom rails every 6 to 8 inches
- Overlap seams by 3 to 4 inches and hog-ring or wire them together
Bury the bottom of the mesh 4 to 6 inches, or bend an L-shaped apron outward along the ground, to stop diggers. This buried skirt is essential for anything meant to keep out foxes or dogs.
Adding a Gate
You need access, so plan a gate from the start. Build a simple frame from 2x4s with a diagonal brace running from the bottom hinge corner up to the opposite top corner, which prevents sag. Cover it with the same mesh you used on the fence.
Hang it on heavy-duty galvanized T-hinges and add a spring latch or a hook-and-eye. For a chicken run, a self-closing spring hinge is worth the $12 because it keeps you from accidentally leaving the run open.
Wire Placement: Inside or Outside the Frame
Which side of the posts you staple the mesh to is a small decision with real consequences. For a fence keeping animals in, such as a chicken run, mount the wire on the inside face of the posts and rails. That way, when an animal pushes against it, the mesh presses into the wood frame rather than pulling away from the staples.
For a fence keeping predators out of a garden, the calculus flips slightly, but inside mounting still resists pushing better. Whichever side you choose, keep it consistent around the whole perimeter for a clean look. On a decorative garden fence where appearance matters most, some people sandwich the wire between the posts and a thin batten strip, which hides the staples and gives a finished edge.
Protecting Against Diggers and Climbers
Many animals defeat a fence not by going through it but under or over it. A determined dog, fox, or rabbit will dig at the base, so the buried apron is your most important defense. Here is how to build effective dig protection:
- Trench 4 to 6 inches deep along the fence line before attaching the lower mesh
- Bend the bottom of the mesh outward into an L shape and lay it in the trench
- Backfill and tamp the soil over the horizontal apron
- For serious diggers, add a row of paver stones or a concrete mow strip along the base
For climbers, keeping the fence at least 4 feet tall stops most small animals, and adding a slight inward overhang at the top discourages anything trying to go over. A coop run protecting against hawks and owls also needs mesh or netting across the top, since aerial predators ignore the walls entirely.
Choosing the Right Height
Match the height to what you are containing or excluding. A 2-foot fence keeps chickens penned in a run but does nothing against a dog. A 3- to 4-foot fence handles rabbits and most poultry. For a fence meant to keep deer out of a garden, you need 7 to 8 feet, because deer clear a 6-foot fence easily. And for a small dog with a jumping habit, go at least 4 feet and consider that inward top overhang.
Think about the animal’s behavior, not just its size. A goat or a persistent dog tests every weak point, so build stronger and taller than you think you need. Overbuilding a foot of height at the start is far easier than adding it after an escape.
What It Costs
For a 100-foot perimeter fence at 4 feet tall, here is a realistic material estimate:
- Pressure-treated 4×4 posts (about 16): $200 to $320
- 2×4 rails: $150 to $250
- Welded wire or hardware cloth mesh: $120 to $300 depending on gauge
- Concrete, staples, screws, and hinges: $120 to $200
That puts a DIY build in the $600 to $1,100 range, versus $2,000 or more to have it installed. Expect a weekend for posts and curing, then another for rails and mesh.
Making It Last
Use galvanized or vinyl-coated mesh, never bare steel, or you will be rebuilding in a few years as rust eats the wire. Seal or stain the wood with an exterior-grade product every two to three years to fight rot and UV. And walk the fence line each spring to re-tension any loose staples and check the buried apron. With decent materials and honest post-setting, a wood fence with chicken wire will protect your garden or flock reliably for a decade or more.