A 200-year-old hardwood floor in a Vermont farmhouse is rarely original throughout. It is a patchwork of repairs done by every owner since 1820, often invisible because each one was matched to the existing wood with patience. Wood flooring repair covers everything from filling a single nail hole to weaving in a new board across a kitchen subfloor, and the techniques have not changed much in two centuries. This guide breaks down each common repair scenario, real costs in 2026, the tools that produce invisible results, and the situations where refinishing the entire floor is cheaper than spot repair.
Why Wood Floors Need Repair
Even properly installed hardwood develops issues over time. Seasonal humidity swings open and close gaps between boards. Heavy furniture leaves dents. Pet claws scratch the finish. Spilled water cups boards near sinks and dishwashers. Settling foundations open larger gaps that no expansion joint can close.
The good news is that solid hardwood is the most repairable flooring material in residential use. Engineered hardwood is repairable too, though limited by veneer thickness. Both can be sanded, filled, replaced board by board, or refinished entirely if the damage is widespread.
Scratches and Surface Marks
Light scratches that have not cut through the polyurethane finish wipe away with a buff cloth and a drop of orange oil or natural floor restorer. Bona Floor Polish High Gloss ($20 for 32 oz) covers an entire room and hides minor scratches for 4 to 8 months between applications.
Deeper scratches that expose raw wood need a multi-step repair. Use a wood filler like Minwax Stainable Wood Filler ($8 for 6 oz), match the stain color, and seal with polyurethane.
- Clean the scratch with mineral spirits and dry completely
- Apply filler with a plastic putty knife, slightly overfilling the scratch
- Sand flush with 220 grit after 30 to 45 minutes of cure
- Apply matching stain with a small artist brush and let dry 4 hours
- Seal with 2 thin coats of compatible polyurethane
Allow 24 hours of cure before normal foot traffic and 7 days before placing area rugs over the repaired area.
Dents and Gouges
Small dents in solid hardwood often raise themselves with steam. Place a damp cloth over the dent, then press a hot iron over the cloth for 5 to 10 seconds. The steam swells the compressed wood fibers back to their original height. This trick works on most species except very dense woods like Brazilian walnut or Hickory.
Larger gouges that have removed wood need filler. Use a tinted epoxy like Mohawk Fil-Stik Putty ($6 per stick) or Quick Fix Wood Repair ($15) for repairs over 1/8 inch deep. Build the repair in layers, sand between coats, and finish with stain and polyurethane.
For visible repairs in living areas, color-match against the lightest and darkest grain tones in the surrounding boards. Trying to match an “average” tone usually produces a visible patch because real wood grain has high color variance.
Gaps Between Boards
Seasonal gaps that open in winter and close in summer should not be filled. Filling them in winter causes the boards to crush adjacent boards or buckle in summer when wood expands.
Permanent gaps from settled subfloors or shrunk boards are different. For gaps under 1/16 inch, fill with a flexible wood-tinted caulk like Color Rite or DAP DryDex Gap Filler. For gaps from 1/16 to 1/4 inch, use thin wood strips ripped from a matching board, glued in with PVA wood glue and trimmed flush.
Gaps wider than 1/4 inch usually indicate a structural problem (settled joist, missing fastener, severely shrunk board). Address the underlying issue first, then fill or replace as needed.
Water Damage and Cupping
Cupping (where board edges rise above the center) almost always results from moisture imbalance: too much humidity above the floor or too much moisture below it. Identify the cause first or any repair will fail within a season.
Common culprits include unsealed crawl spaces, missing vapor barriers, leaking dishwashers, ice maker lines, AC condensation drains, and basement moisture wicking up through the slab. Fix the source, dehumidify the space to 35 to 55 percent RH, and wait 60 to 90 days for the floor to stabilize before sanding.
Once moisture content is balanced, mild cupping often flattens on its own. Severe cupping may need re-sanding to flatten the surface, though this should be a last resort because each sanding removes 1/16 to 1/8 inch of wood thickness.
Replacing Single Boards
Damaged boards in the middle of a floor require careful removal to avoid damaging adjacent boards. The standard method is to drill 1/2 inch holes near the corners of the damaged board, then use a circular saw set to the exact board thickness to plunge-cut along the length, splitting the board into removable strips.
Pry the strips out toward the cut line, exposing the substrate. Cut a replacement board to fit, removing the bottom of the groove on one long side so it drops in from above. Glue and face-nail the replacement board, then countersink the nails and fill with matching wood putty before staining.
For wide-plank or premium hardwood floors, source replacement boards from the same manufacturer or a salvage yard with reclaimed material. Big-box store boards rarely match older floors in either species or stain.
Real Costs in 2026
DIY wood flooring repair material costs are modest. Professional repair labor is the bigger line item.
- Wood filler kit and stain: $25 to $60 total
- Replacement boards: $4 to $15 per sq ft depending on species
- Professional spot repair (small scratch or dent): $80 to $200 per visit
- Professional board replacement (per board): $100 to $250
- Buff and recoat (whole room): $1.50 to $3 per sq ft
- Full sand and refinish (whole floor): $4 to $9 per sq ft
For a single damaged area, DIY repair is almost always cheaper. For widespread damage across multiple rooms, refinishing the entire floor often costs less than spot-repairing 30 to 50 individual boards.
When to Refinish Instead of Repair
Several scenarios push the math toward full refinishing. Refinish if more than 15 percent of boards show wear or damage, if the existing finish has worn through to bare wood in traffic paths, if you want to change the floor color, or if the polyurethane shows widespread crazing or peeling.
Refinishing is also a one-time opportunity to fix smaller issues at minimal added cost. Filling gaps, replacing a few boards, and resetting loose nails all happen during the sanding phase, so the additional labor is folded into the larger project.
Tools That Make a Difference
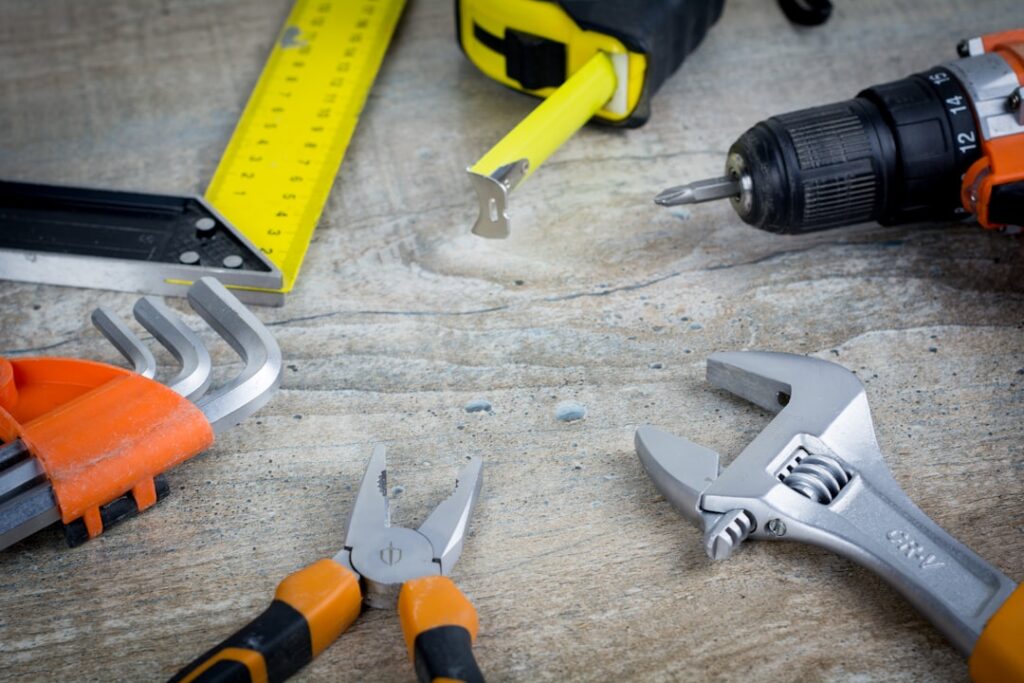
Stock these tools and you will handle 90 percent of common repairs.
- Oscillating multi-tool: Dewalt DCS354 or Bosch GOP, $90 to $180
- Stainable wood filler kit: Minwax or Famowood, $20
- Burn-in stick set: Mohawk Fil-Stik, $40 for 12 colors
- Random orbital sander: 5-inch with hook-and-loop pads, $80 to $150
- Touch-up brushes and stain markers: $25 for a complete set
- Floor jack: for raising sagging joists during structural repairs, $80
Frequently Asked Questions
How many times can hardwood flooring be sanded?
Solid 3/4 inch hardwood typically tolerates 6 to 10 sanding cycles over its lifetime. Engineered hardwood with a 4mm wear layer can be sanded 2 to 4 times. Engineered with a 2mm wear layer is usually limited to 1 sanding. Always confirm the wear layer thickness before scheduling a sanding job.
Can I match the stain on an old floor exactly?
An exact match is difficult because wood ages and oxidizes over time, shifting the original stain color. The best technique is to sand a small test patch in a closet or under furniture, apply your candidate stains, and compare under the same lighting conditions as the room. Most professional refinishers carry 30+ stain samples for this purpose.
Should I repair or replace water-damaged hardwood?
Replace boards that have cupped, crowned, or developed black mold. Repair boards that show only surface staining without structural damage. The decision often comes down to how many boards are affected: under 6 means replace, 7 to 20 means consider sanding, more than 20 usually means full floor replacement.
Prefer to explore on your own?
See how new flooring looks in your actual room in seconds — free, no signup.
Try the free Floor Studio →